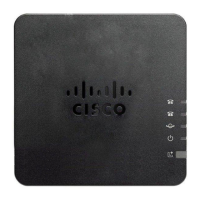
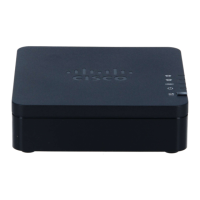
Install your new ATA
Your ATA comes with everything to power it up, connect it to the network, and set it up on your desk.
Before you begin
Before you begin the installation, make sure you have the following equipment:
• Ethernet cable to connect to your network.
• Analog phone or fax machine to connect to your ATA.
• Phone cable to connect your phone.
• Uninterruptible power supply (UPS) to provide backup power.
Procedure
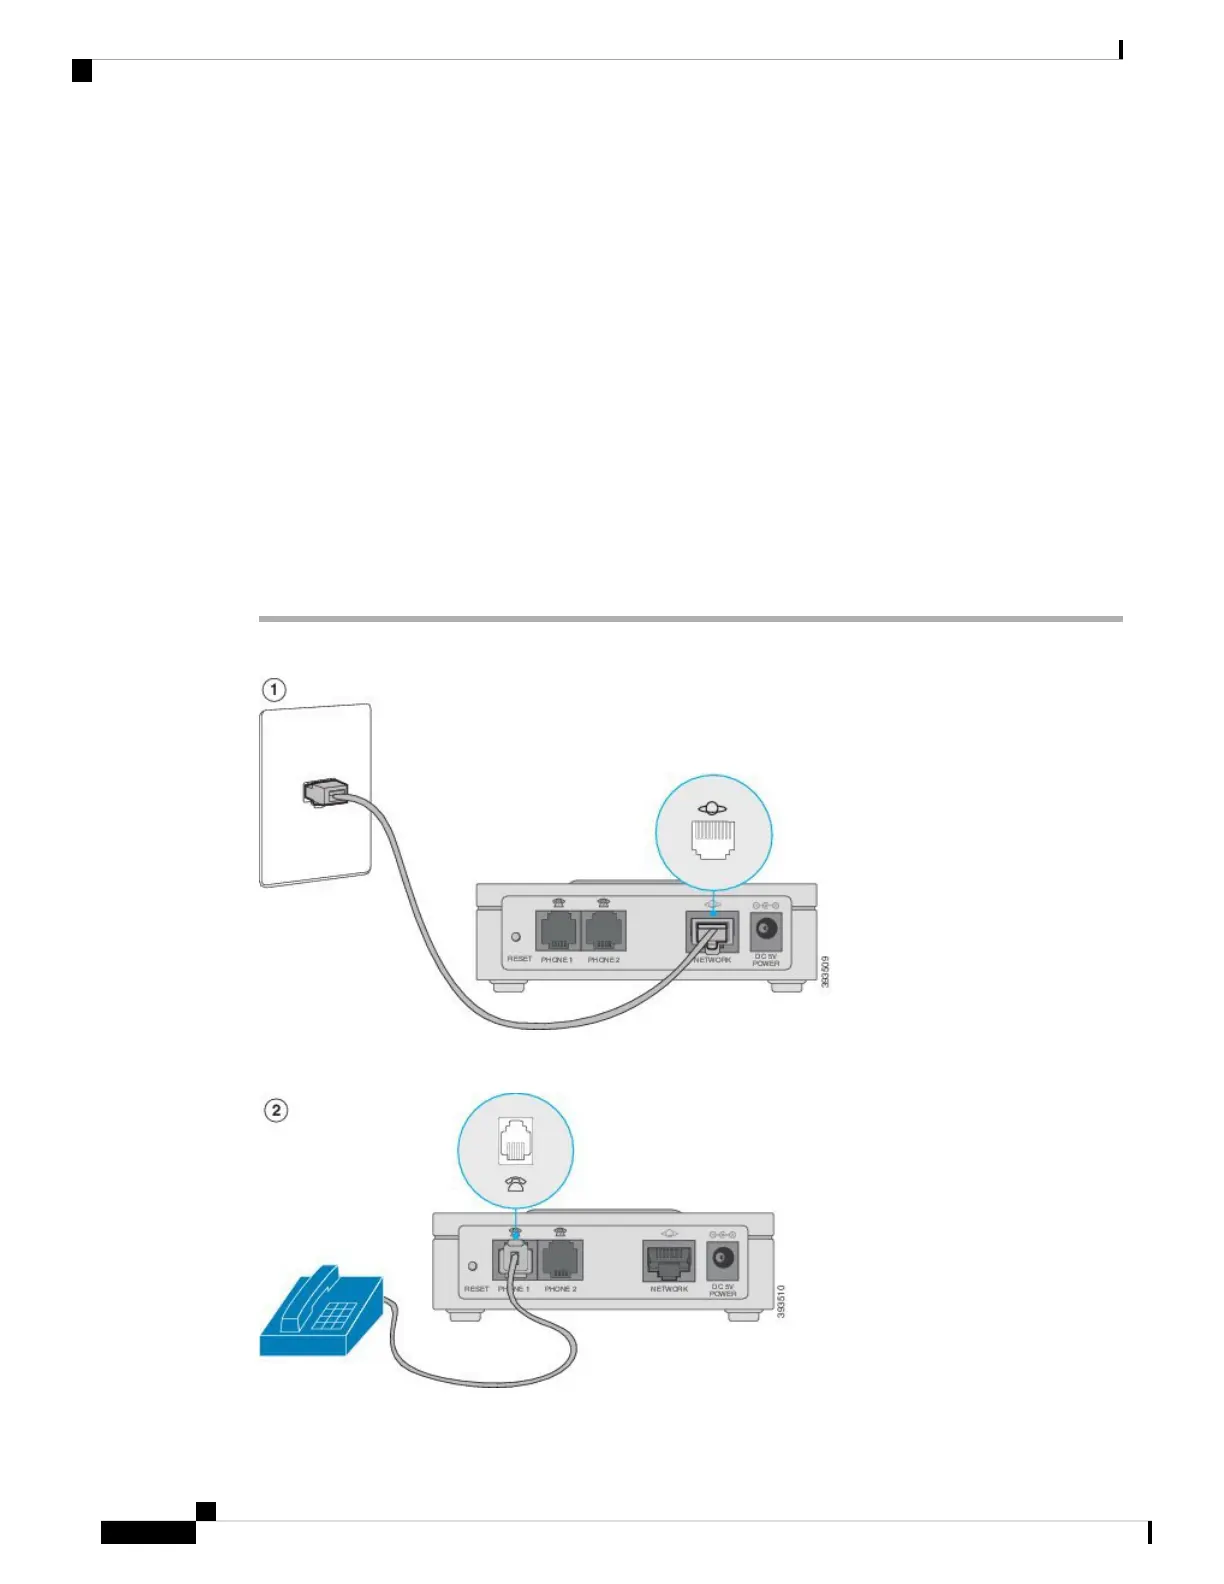
Step 1 Connect the network cable to your network and to the NETWORK port on the ATA.
Step 2 Connect the phone cable to the PHONE 1 port on the ATA and to your analog device (phone or fax machine).
Cisco ATA 191 and ATA 192 Analog Telephone Adapter User Guide for Multiplatform Firmware
6
Your ATA
Install your new ATA