Step 4
After the rear weight of the chassis is resting on the installation bracket, one person can hold it in place while the second
person moves to the rear of the rack to help slide it into place and hold the weight while the rack mount screws are tightened.
Step 5
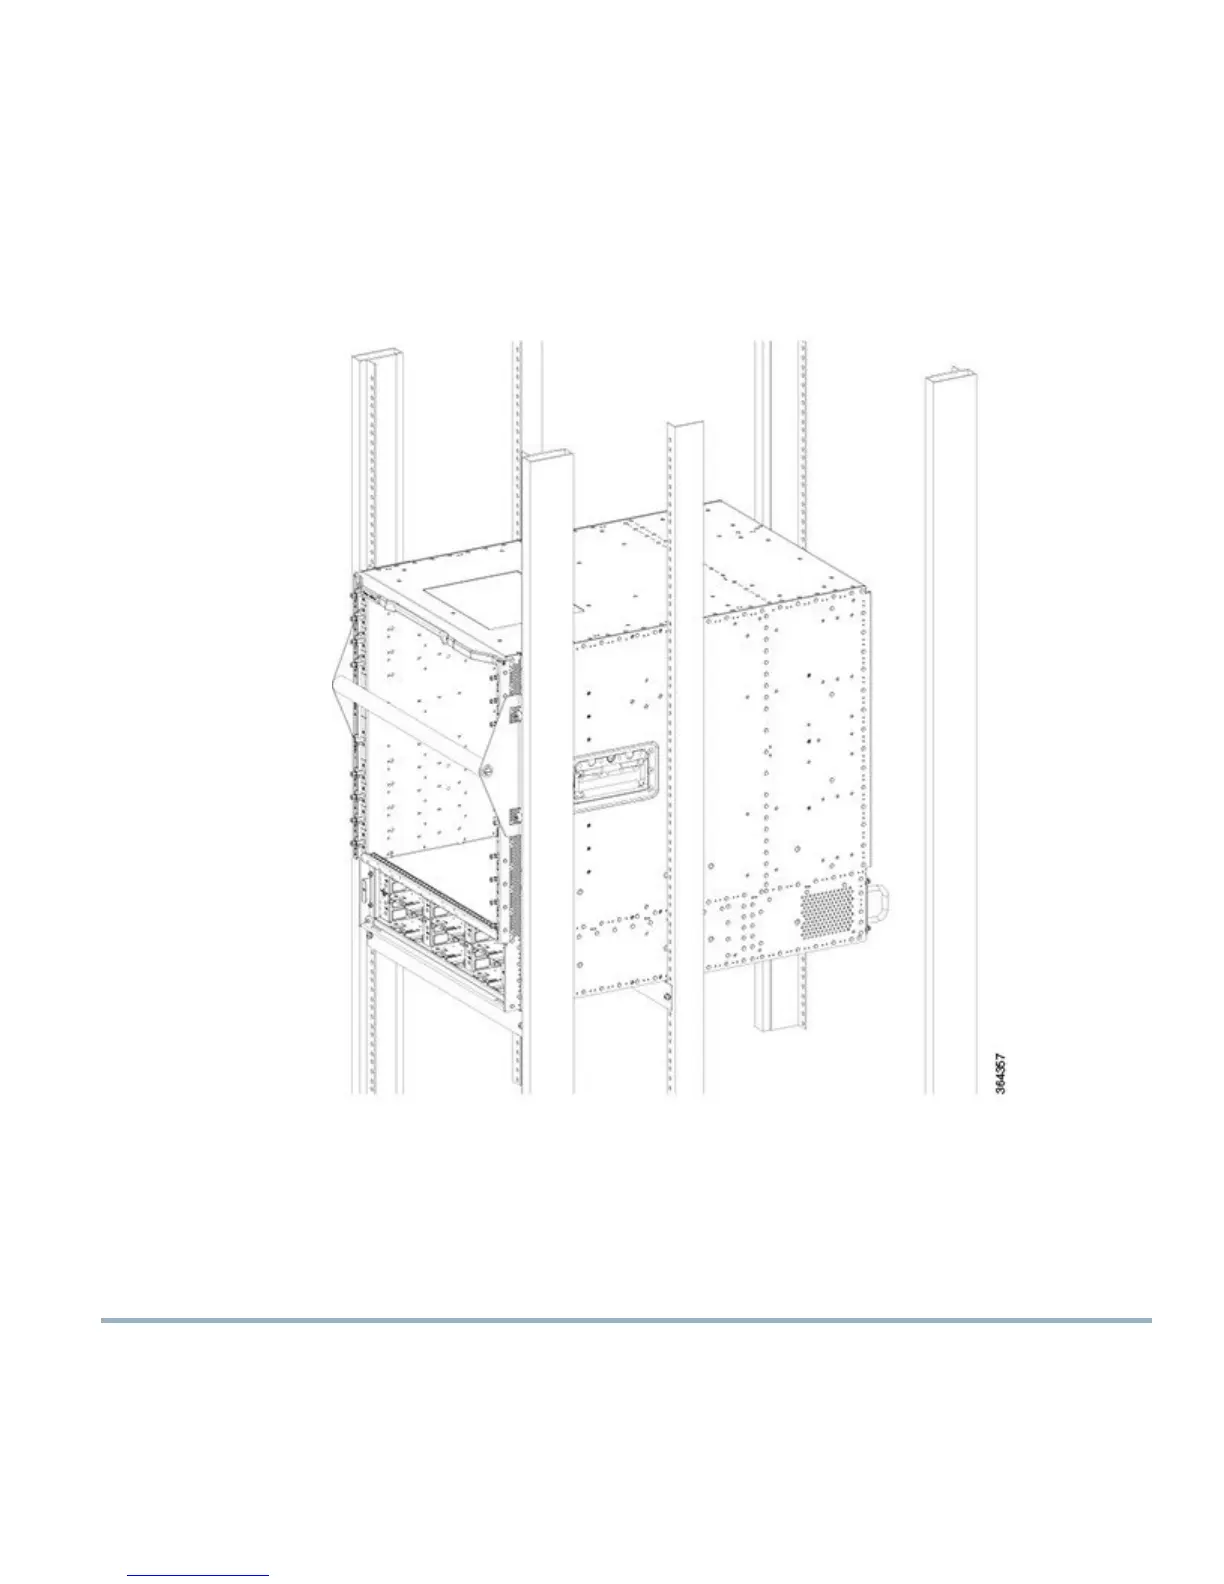
Position the chassis until the rack-mounting flanges are flush against the mounting rails on the rack.
Figure 6: Flushing Against Mounting Rails
Step 6
Hold the chassis in position against the mounting rails and do the following:
a) Insert a bottom screw into the rack mount ear on each side and use a hand-held screwdriver to tighten the screw to the
rack rail.
b) Insert a top screw into each side rack mount bracket and tighten the screw to the rack rail. Insert a minimum of 4 screws
per bracket on both sides of the chassis.
Remove the chassis installation handle before installing the fourth screw.Note
11

 Loading...


