23
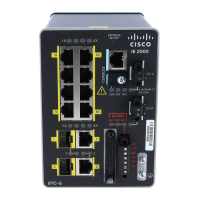
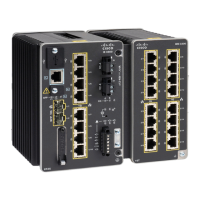
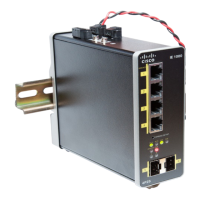
Switch Installation
Connecting Destination Ports
4. Insert the exposed wires for the external alarm device into the connections based on an alarm input or output circuit
setup.
5. Use a ratcheting torque flathead screwdriver to tighten the alarm connector captive screw (above the installed wire
leads) to 2 in-lb (0.226 Nm).)
Caution: Do not over-torque the power and alarm connectors’ captive screws. The torque should not exceed 2 in-lb
(0.226 Nm).
6. Repeat Step 2 through Step 5 to insert the input and output wires of one additional external alarm device into the
alarm connector.
Attaching the Alarm Connector to the Switch
Warning: Failure to securely tighten the captive screws can result in an electrical arc if the connector is accidentally
removed. Statement 397
Warning: When you connect or disconnect the power and/or alarm connector with power applied, an electrical arc
can occur. This could cause an explosion in hazardous area installations. Be sure that all power is removed from the
switch and any other circuits. Be sure that power cannot be accidentally turned on or verify that the area is
nonhazardous before proceeding. Statement 1058
To attach the alarm connector to the front panel of the switch, follow these steps:
1. Insert the alarm connector into the receptacle on the switch top panel.
2. Use a ratcheting torque flathead screwdriver to tighten the captive screws on the sides of the alarm connector to
1.6 in-lbs (0.181 Nm).
Caution: Do not exceed 1.6 In-lbs (0.181 Nm).
Connecting Destination Ports
These section provide more information about connecting to the destination ports:
Connecting to 10/100 Ports, page 23
Installing and Removing SFP Modules, page 24
Connecting to SFP Modules, page 26
Connecting to 10/100 Ports
The switch 10/100 ports automatically configure themselves to operate at the speed of attached devices. If the attached
ports do not support autonegotiation, you can explicitly set the speed and duplex parameters. Connecting devices that
do not autonegotiate or that have their speed and duplex parameters manually set can reduce performance or result in
no linkage.
To maximize performance, choose one of these methods for configuring the Ethernet ports:
Let the ports autonegotiate both speed and duplex.
Set the port speed and duplex parameters on both ends of the connection.
The models that support PoE provide up to eight ports of PoE.
 Loading...