6
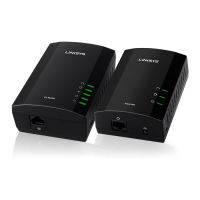
Wireless-N Extender
Linksys RE1000 Chapter 2: Advanced Configuration
Wi-Fi Protected Setup (Client mode for the
initial setup with the access point or router
Wi-Fi Protected Setup is a feature that makes it easy to set
up your wireless network. If your access point or router
supports Wi-Fi Protected Setup, then you can use Wi-Fi
Protected Setup.
Three methods of Wi-Fi Protected Setup are available. Use
the method that applies to the Extender device you are
configuring.
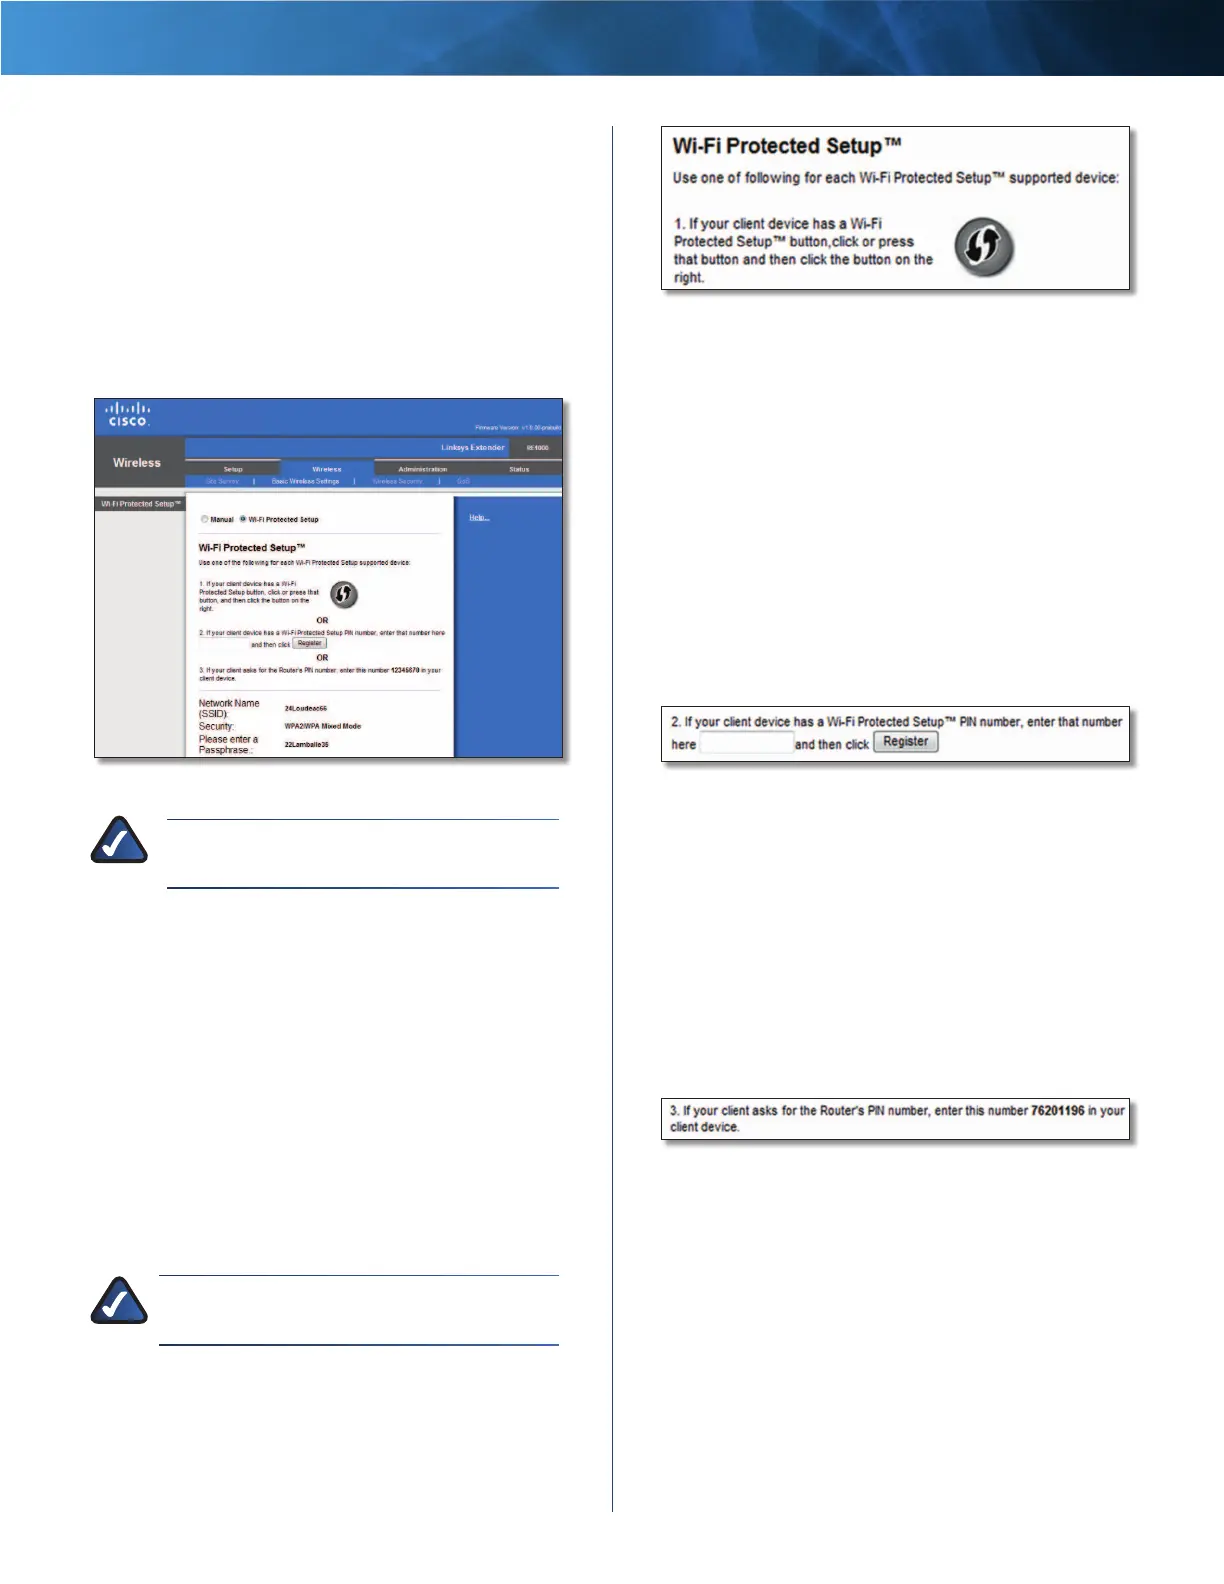
Wireless > Basic Wireless Settings (Wi-Fi Protected Setup)
NOTE: Wi-Fi Protected Setup configures only
device at a time.
Wi-Fi Protected Setup Light Activity
• The Cisco logo on the top panel of the Extender
functions as the Wi-Fi Protected Setup light.
• When the Wi-Fi Protected Setup process is active, the
light flashes slowly. When the Wi-Fi Protected Setup is
successful, the light is continuously lit.
• If there is an error, the light flashes quickly for two
minutes; please wait and try again.
• Wait until the light is continuously lit, before starting
the next Wi-Fi Protected Setup session.
• Wi-Fi Protected Setup Button Use this method if
your client router has a Wi-Fi Protected Setup button.
NOTE: Make sure you configure one device at a
time.
Wi-Fi Protected Setup > Wi-Fi Protected Setup Button
a. Click or press the Wi-Fi Protected Setup button on
the Extender.
b. Click the Wi-Fi Protected Setup button on the
router’s Wi-Fi Protected Setup screen, OR press and
hold the Wi-Fi Protected Setup button on the back
panel of the router for one second.
c. After the Extender has been configured, click OK
on the router’s Wi-Fi Protected Setup screen within
two minutes.
• Enter Extender PIN on Router The Wi-Fi Protected
Setup PIN (Personal Identification Number) can
be found on the product label of the Extender .
Wi-Fi Protected Setup > Enter Extender PIN on Router
a. Enter the PIN from the Extender in the field on the
router’s Wi-Fi Protected Setup screen.
b. Click the Register button on the router’s Wi-Fi
Protected Setup screen.
c. After the Extender has been configured, click OK
on the router’s Wi-Fi Protected Setup screen within
two minutes.
• Enter Router PIN on Extender Use this method if
your Extender asks for the router’s PIN.
Wi-Fi Protected Setup > Enter Router PIN on Extender
a. On the Extender, enter the PIN listed on the router’s
Wi-Fi Protected Setup screen. (It is also listed on the
bottom of the router.)
b. After the Extender has been configured, click OK
on the router’s Wi-Fi Protected Setup screen within
two minutes.
For each wireless network, the Network Name (SSID),
Security, and Passphrase are displayed at the bottom of
the screen.
 Loading...