Cisco AP541N Dual-band Single-radio Access Point Quick Start Guide 13
Connecting the Equipment
This section describes the process for connecting the device to power
and the network.
STEP 1 Attach the power cord to the power connector and outlet (if used).
STEP 2 Connect a network Ethernet cable to the access point Ethernet
port.
STEP 3 Connect the other end of the Ethernet cable to your network or the
Ethernet port of the PC you are using to configure the access point.
CAUTION DHCP is enabled by default. If a DHCP server is running on
your network and you have not turned DHCP off, the device
will accept a new IP address when it is connected to your
network. You must use this IP address to configure the
device.
Verifying the Hardware
Installation
To verify the hardware installation, complete the following tasks:
• Check the cable connections.
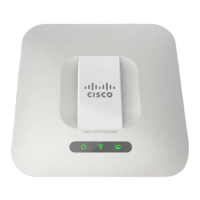
• Check the LED states, as described in the “Getting to Know the
Cisco AP 541N” section.
NOTE If you need help resolving a problem, visit the Cisco Small
Business Support Community at www.cisco.com/go/
smallbizsupport. For technical documentation and other links, see
Where to Go From Here, page 14.
 Loading...