PurposeCommand or Action
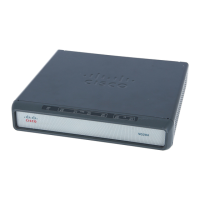
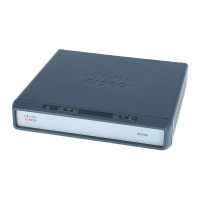
Attach the voice gateway to the wall using the brackets.
Step 2
If you prefer, you can also install the voice
gateway diagonally using the other two sides.
Note
After you install the voice gateway, you must connect the
chassis to a reliable earth ground. For the chassis ground
connection procedures, see the Chassis Grounding section.
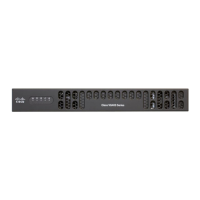
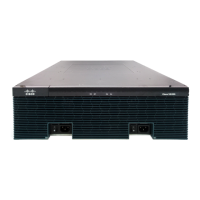
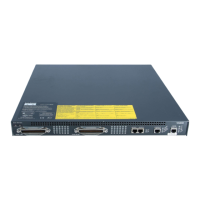
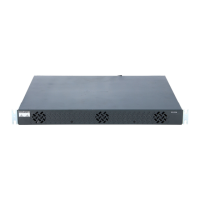
Mount Cisco VG400 Voice Gateway Chassis in Rack
To prevent bodily injury when mounting or servicing this unit in a rack, you must take special precautions to
ensure that the system remains stable. The following guidelines are provided to ensure your safety:
• This unit should be mounted at the bottom of the rack if it is the only unit in the rack.
• When mounting this unit in a partially filled rack, load the rack from the bottom to the top with the
heaviest component at the bottom of the rack.
• If the rack is provided with stabilizing devices, install the stabilizers before mounting or servicing the
unit in the rack. Statement 1006.
Warning
Cisco VG400 Voice Gateway can be installed in 19-inch (48.26-cm) EIA and 23-inch (58.42-cm) Southwestern
Bell Corporation (SBC) racks. The voice gateway can also be mounted in a 600-mm ETSI rack. Use the
standard brackets shipped with the hardware for mounting the chassis in a 19-inch EIA rack; you can order
optional larger brackets for mounting the chassis in a 23-inch SBC rack.
You can mount the voice gateway in the following ways:
• Center-front mounting: Brackets attached in the center front of the chassis with only the front panel
facing forward.
• Center-back mounting: Brackets attached in the center back of the chassis with only the back panel facing
forward.
• Front mounting: Brackets attached at the front of the chassis with the front panel facing forward.
• Back mounting: Brackets attached at the back of the chassis with the back panel facing forward.
1. Attach the mounting brackets to the chassis as shown in the following images, using the screws provided.
Do not over-torque the screws. The recommended torque is 15 to 18 inch-lb (1.7 to 2.0 N-m).
Caution
2. Attach the second bracket to the opposite side of the chassis. Use a number-2 Phillips screwdriver to
install the number-8 bracket screws.
Your chassis installation must allow unrestricted airflow for chassis cooling.
Caution
Cisco VG400 Voice Gateway Hardware Installation Guide
21
Installing the Cisco VG400 Voice Gateway
Mount Cisco VG400 Voice Gateway Chassis in Rack
 Loading...