- Eng 8 -
Pyсский Français Español
English
3
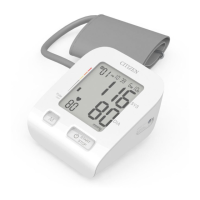
Date
After month is set, “date” indicator begins
ashing. Press the
button to adjust the “date”.
Press the button repeatedly to increase the date
value. Press and hold the button to automatically
cycle through date values. Press the “
START/
STOP” button to conrm the date setting.
4 Hour
After date is set, “hour” indicator begins ashing.
Press the
button to adjust the “hour”. Press
the button repeatedly to increase the hour value.
Press and hold the button to automatically cycle
through hour values. Press the “
START/
STOP” button to conrm the hour setting.
5
Minute
After hour is set, “minutes” indicator begins
ashing. Press the
button to adjust the
“minutes”. Press the button repeatedly to
increase the minutes value. Press and hold the
button to automatically cycle through minutes
values. Press the “
START/STOP” button to
conrm the minutes setting.
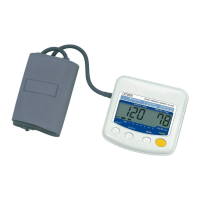
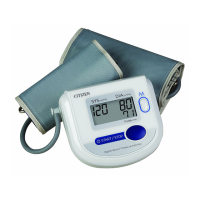
9. ATTACH THE CUFF
1 Insert the air hose plug into the main unit.
* Do not bend the air hose during measurement,
which may cause ination error or harmful injury
due to continuous cuff pressure.
Air hose socket
Air hose plug
2 Attach the cuff.
Unroll the cuff and put the end of the cuff through
the metal loop so that the side with the hook and
loop fastener is on the outside.
* Be sure that the cuff size is appropriate to your
arm circumference before attaching the cuff.
* Attach the cuff over a bare arm or a thin sleeve.
* If you roll up your sleeve, your upper arm will be
constricted and this affects your result.
* The blood pressure value is likely to differ
between the right arm and left arm. Measure your
blood pressure with the same arm each day.
Metal loop
CHUD514_517_1802_ENES.indb 8 2018/12/05 9:34