Do you have a question about the Citizen H41 Series and is the answer not in the manual?
This document outlines the operation and features of the H41* Abbreviated Instruction watch, a solar-powered timepiece designed for precision and ease of use. The watch incorporates radio-controlled timekeeping, manual adjustment capabilities, and a system for checking and correcting its reference position.
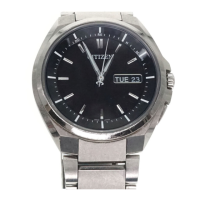
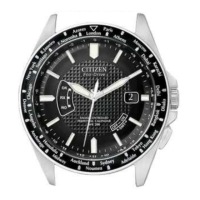
The H41* watch is primarily a timekeeping device that displays hours, minutes, seconds, and the date. Its core functionality revolves around solar power, meaning it charges when exposed to light, eliminating the need for battery replacements under normal use. A key feature is its radio-controlled timekeeping, which allows the watch to automatically receive time signals from the Japan station daily, ensuring accurate time synchronization.
The watch provides clear indications for its operational status. The "Reception result indication (NO)" signifies that no signal reception has occurred or that the reception failed. The "Reception-in-progress indication (RX)" lights up when the watch is actively attempting to receive a time signal. The "Reception result indication (H/M/L)" provides feedback on the quality of the last successful reception: 'H' for very good, 'M' for good, and 'L' for not-good.
Beyond automatic time synchronization, the watch offers comprehensive manual adjustment capabilities. Users can manually set the time, date, year, and month, providing flexibility for various scenarios, such as travel across time zones or when the watch has been in an environment where signal reception is difficult. The watch also features a "reference position" system, which is the internal alignment of the hands and date indication. This system ensures that the watch's internal mechanism is correctly calibrated, which is crucial for accurate time display.
The H41* watch is designed for intuitive operation, with several features enhancing its usability.
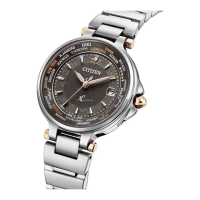
Solar Power and Charging: The watch is solar-powered, requiring exposure to light for charging. Users are advised to expose the dial to light to ensure it is sufficiently charged for optimal performance. This feature contributes to the watch's low maintenance and environmental friendliness.
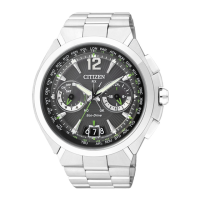
Component Identification: The watch's components are clearly labeled for easy identification:
Adjusting the Time and Calendar Manually:
Checking Signal Reception Result:
Receiving Signal Manually (On-demand Reception): This process takes 2-15 minutes.
Adjusting the Hour and Date Easily: This feature is useful for quick adjustments, such as when traveling.
The H41* watch incorporates features that aid in maintaining its accuracy and proper functioning over time.
Checking the Reference Position: The reference position is the internal alignment of the watch's hands and date. Checking this ensures the watch's internal calibration is correct.
Correcting the Reference Position: If the reference position is found to be incorrect, follow these steps:
After correcting the reference position, it is recommended to adjust the time and calendar manually or by performing a manual signal reception (on-demand reception) to ensure complete accuracy.
The solar-powered nature of the watch means that regular exposure to light is the primary "maintenance" required to keep it running. The radio-controlled feature minimizes the need for manual time adjustments, contributing to its overall low-maintenance design. The detailed instructions for checking and correcting the reference position empower users to ensure the watch's internal mechanisms remain precisely aligned, which is fundamental for accurate timekeeping.
| Case Material | Stainless Steel |
|---|---|
| Water Resistance | 100 meters |
| Crystal | Mineral Crystal |
| Dial Color | Black |
| Movement | Eco-Drive |
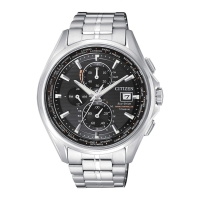
| Functions | Chronograph, Alarm, Date |
| Band Material | Stainless Steel |