For this reason, a second drain is provided which may be connected to either a larger container
or a permanent drain.
This continuous drain connector is shown in fig. 2 on page 3. Simply pull the connector out from the
side of the unit, and attach the hose, which is supplied for the purpose, or a hose of similar size,
which may then be led away to a large container or drain.
Always ensure the hose is not restricted or kinked in any way, otherwise water may build up and
leak on to a carpet etc.
It should be noted that this continuous drain connector must always be pushed firmly into place,
into its recess, other than when it specificaly used for draining, otherwise water will not enter the
water receptacle, but will leak from the open drain connector. Care should be taken to ensure
that children for example do not pull it out.
For maximum efficiency, you should ensure that all doors and windows are firmly closed.
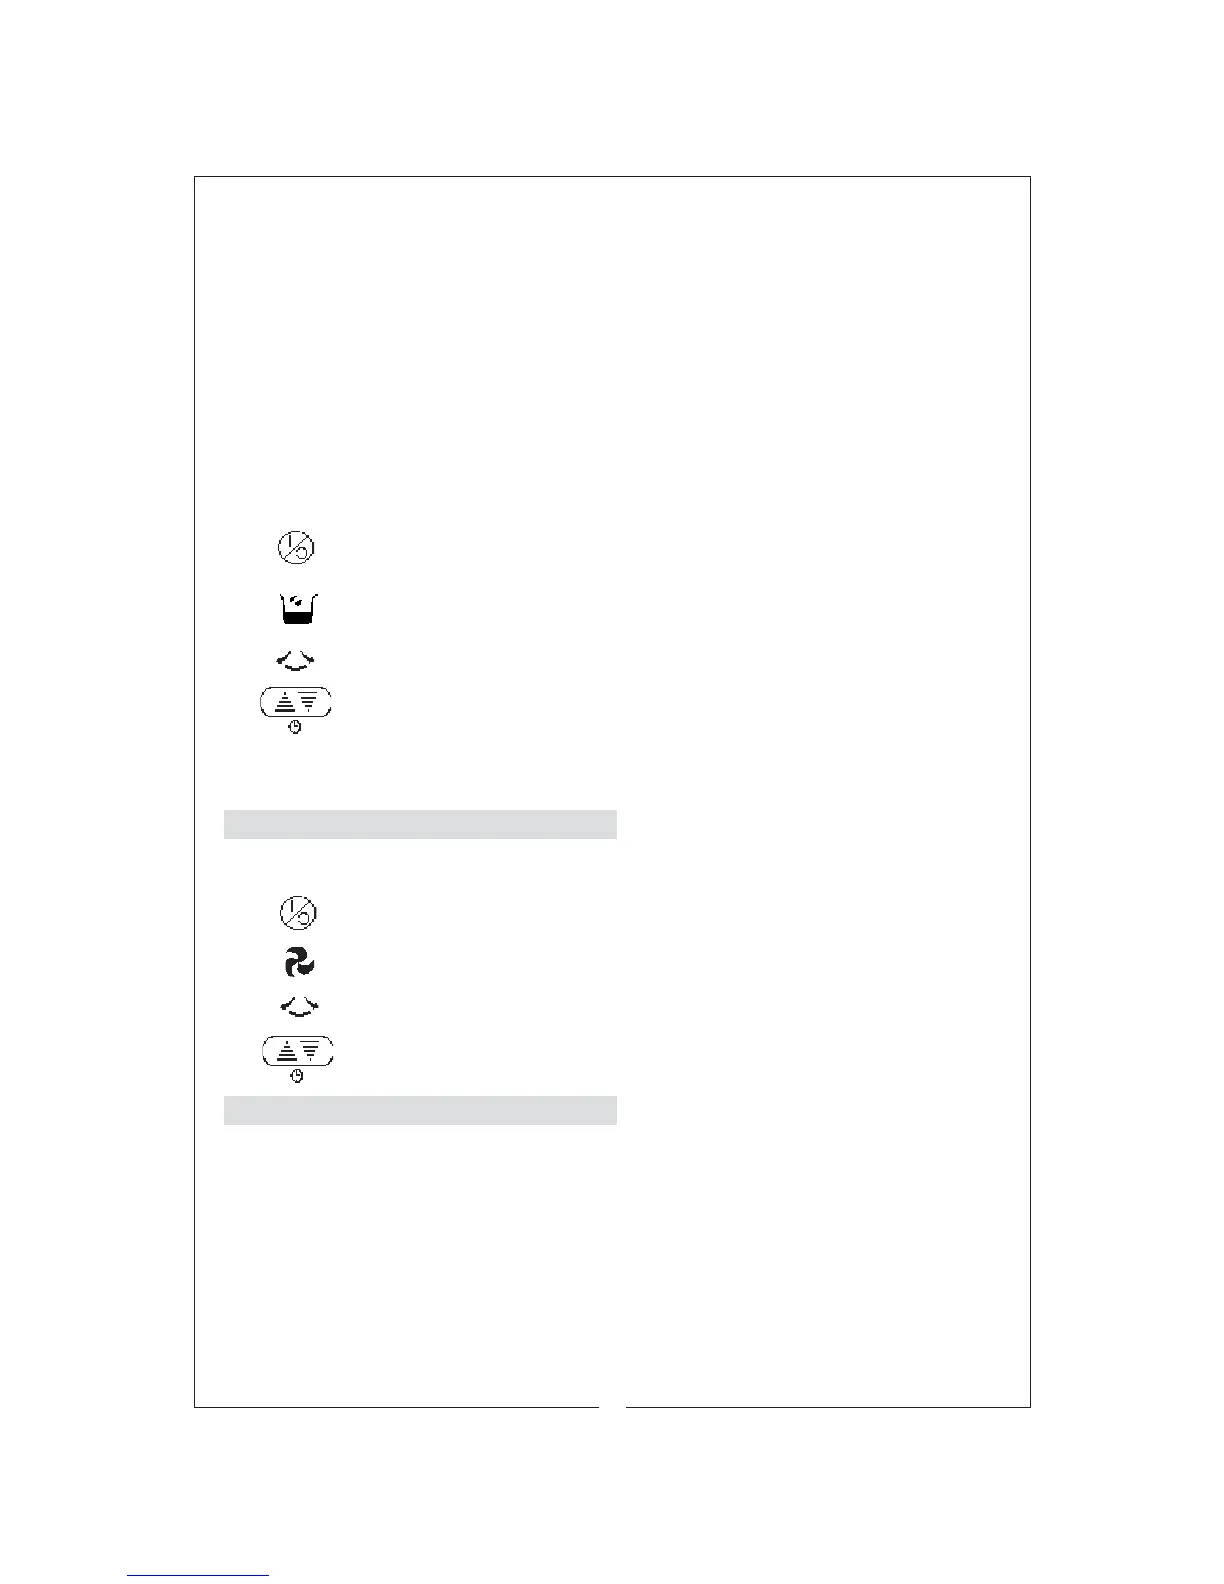
To set the unit to Dehumidifier mode, proceed as follows:
1. Once the unit is set up as previously described, and the unit plugged into the
mains, press the (ON/OFF) button and the unit will operate in its most recent setting.
2. Press the mode button until the dehumidify mode is selected.The compressor will
start and the indicator light will illuminate.
3. Set the sweep control, if desired.
4. Set the time you wish the unit to stop, if desired.
You may now leave the unit which will function automatically until it is either switched OFF, using
the I/O button, the timer (if set) intervenes, or the water receptacle becomes full.
C. FAN
To set the unit to Fan mode, proceed as follows:
1. Once the unit is set up as previously described, and the unit plugged into the
mains, press the (ON/OFF) button and the unit will operate in its most recent setting.
2. Press the mode button until the fan mode is selected and set the fan speed.
3. Set the sweep control, if desired.
4. Set the time you wish the unit to stop, if desired.
D. TIMER ON
You may wish to start the unit some time in the future, when it is unnattended. i.e. if you intend to
be away from home or office for a period of time, but would like the air-con. to cool the room
before your arrival. This is provided for by setting the timer when the unit is switched OFF but
connected to the mains supply.
Firstly, however, it is necessary to switch the unit ON, by pressing the I/O button, and selecting the
mode you require on re-start, plus any other settings, and then switching the unit OFF.
These settings will be entered into memory, and will be used when the unit is next re-started.
With the unit OFF, set the number of hours, from the current time, at which you would like the unit
to re-start, by pressing the Timer button the appropriate number of times. The minimum period is
1 hour (from the current time), with a maximum period of 18 hours.
9