20
Parts & Service: 020 8988 7400 / E-mail: Parts@clarkeinternational.com or Service@clarkeinternational.com
• The fence can be adjusted for accuracy when parallel to the side of the
blade by loosening the two socket bolts (H). Check the alignment with a
square before tightening the bolts.
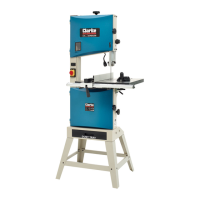
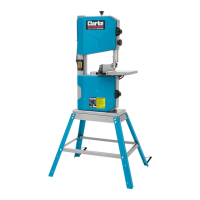
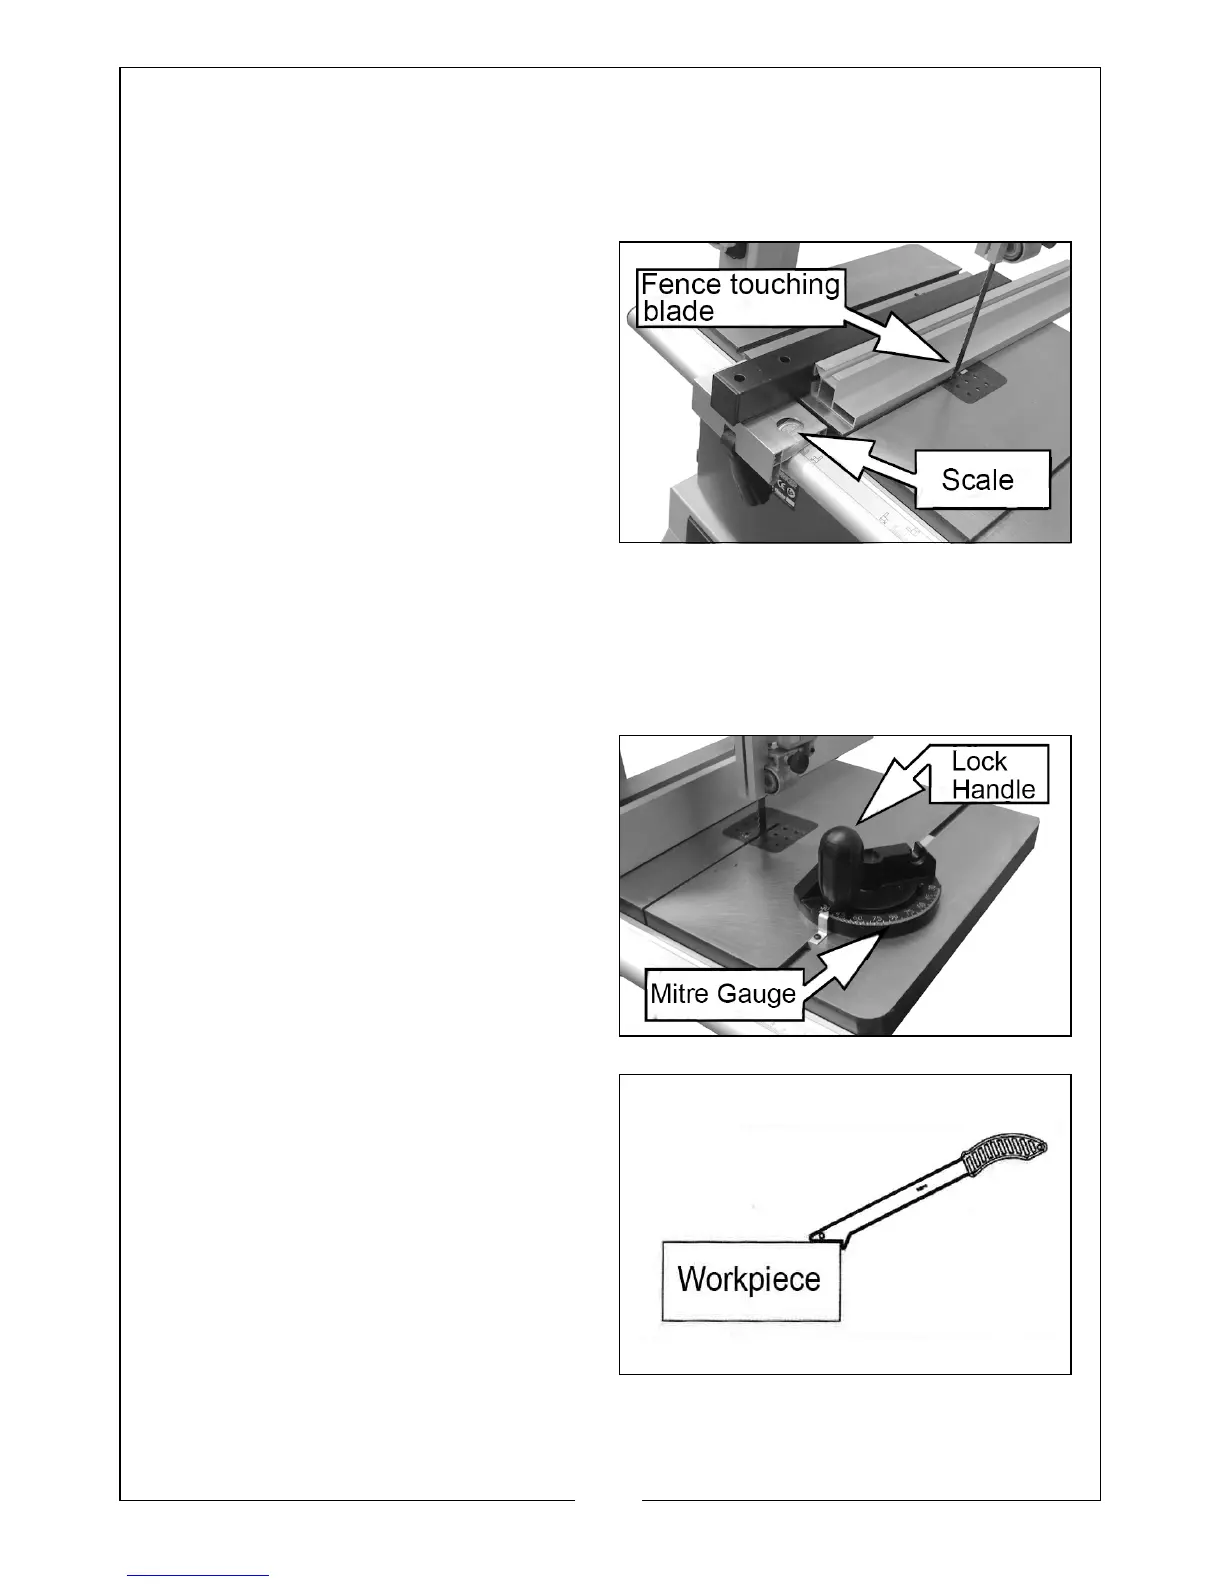
ALIGNING THE FENCE WITH THE BLADE
To determine the distance of the
fence from the saw blade, the scale
on the fence guide rail must be set to
line up with the blade.
1. To do this, position the fence so
that it just touches the blade while
it is free to move along the guide
rail.
2. Loosen the guide rail locking
knobs and move the guide rail to
the side until the indicator scale is on ‘Zero’, then re-tighten the knobs
• If the fence is changed to the alternative height, the guide rail will need to
be re-set for that configuration.
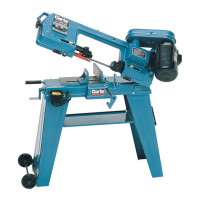
USING THE MITRE GAUGE
The mitre gauge is inserted into the
table slot from the front edge.
The mitre gauge can be turned to
60
o
in both directions.
To set a mitre angle, loosen the lock
handle by turning it counter-
clockwise. Firmly tighten the handle
to secure the mitre gauge in position.
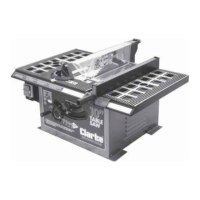
USING THE PUSH STICK
The push-stick serves as an extension
of the operators hand as protection
against accidentally touching the
saw blade.
The push-stick should be used if the
distance between the blade and rip
fence is less than approx 150 mm.
When not in use, the push-stick can
be stored on the hook provided on
the bandsaw frame.
Always replace the push-stick if lost or damaged.
 Loading...