13
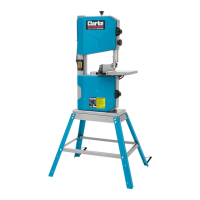
Using the Bandsaw Ref: Fig.13
Ensure the blade is correctly tensioned, the workpiece firmly secured, the cutting
speed set, Blade Guides correctly positioned and the Arm is in the raised position.
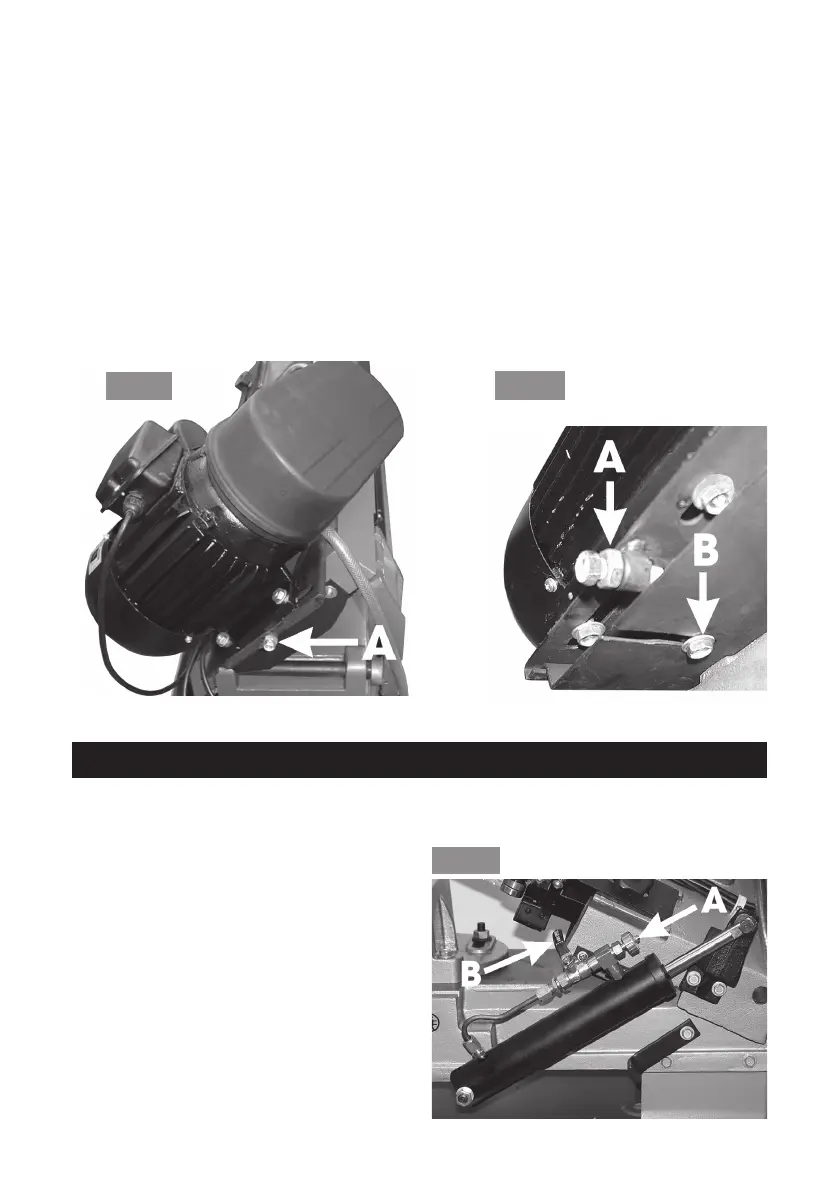
To reposition the drive belt, proceed as follows: Ref: Figs. 11 & 12
REMEMBER to ensure the machine is disconnected from the mains supply.
1. To gain access to the drive belt, undo the screw securing the pulley cover, and
open the cover, noting the microswitch mounted on the base of the casing.
2. Slacken off the securing bolt on the underside of the mounting plate, shown at ‘B’.
3. Undo the locknut shown at ‘A’, then screw OUT (anticlockwise) the adjuster bolt
until the drive belt is slack enough to be repositioned on the appropriate pulleys.
4. Re-tension the belt by screwing IN (clockwise) the adjuster bolt ‘A’, until one
side of the belt can be deflected by approx. 1/2”, midway between the pulleys,
using reasonable thumb pressure. When satisfied, tighten the locknut ‘A’,
followed by securing bolt ‘B’
View from beneath
motor mounting plate
Fig. 11
Fig. 12
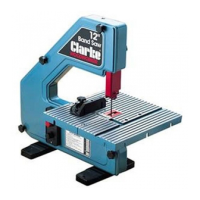
Fig. 13
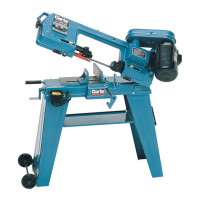
Lower the Arm as described on page
9, gently, and when the blade
approaches the workpiece, shut OFF
the oil flow to the Ram by turning the
lever ‘B’, to the 9 o’clock position,
(This will stop the Arm from
descending further), then turn the
knob ‘A’ fully clockwise.
Taking all necessary precautions, plug
the machine into the mains supply
and switch ON by pressing the GREEN
button marked ‘I’ (shown in Fig. 14).