For a professional looking finish paint must be thinned. If manufacturers recom-
mendations on thinning are not available, the following can be used as a
general guide.
Water based paints (emulsions) 10-20% water.
Oil based paints (gloss) up to 10% thinners.
Cellulose paints up to 50 % cellulose thinners.
HANDLING THE GUN
the first requirement for a good resultant finish is the proper handling of the gun.
The gun should be perpendicular to the surface being covered and moved par-
allel with it. The stroke should be started before the trigger is pulled and likewise ,
released before the stroke is ended. This gives accurate control of the gun and
material.
The distance between the gun and the surface to be covered should be 6 to 12
inches depending on the material and atomising pressure. The material depos-
ited should always be even and wet. Lap each stroke over the preceding stroke
to obtain a uniform finish.
NOTE: To reduce overspray and obtain maximum efficiency, always spray with
the lowest possible atomising air pressure
.
PAINT SPRAYING HINTS Cont.
PAINT THINNING
- 11 -
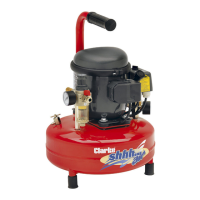
Fig.2
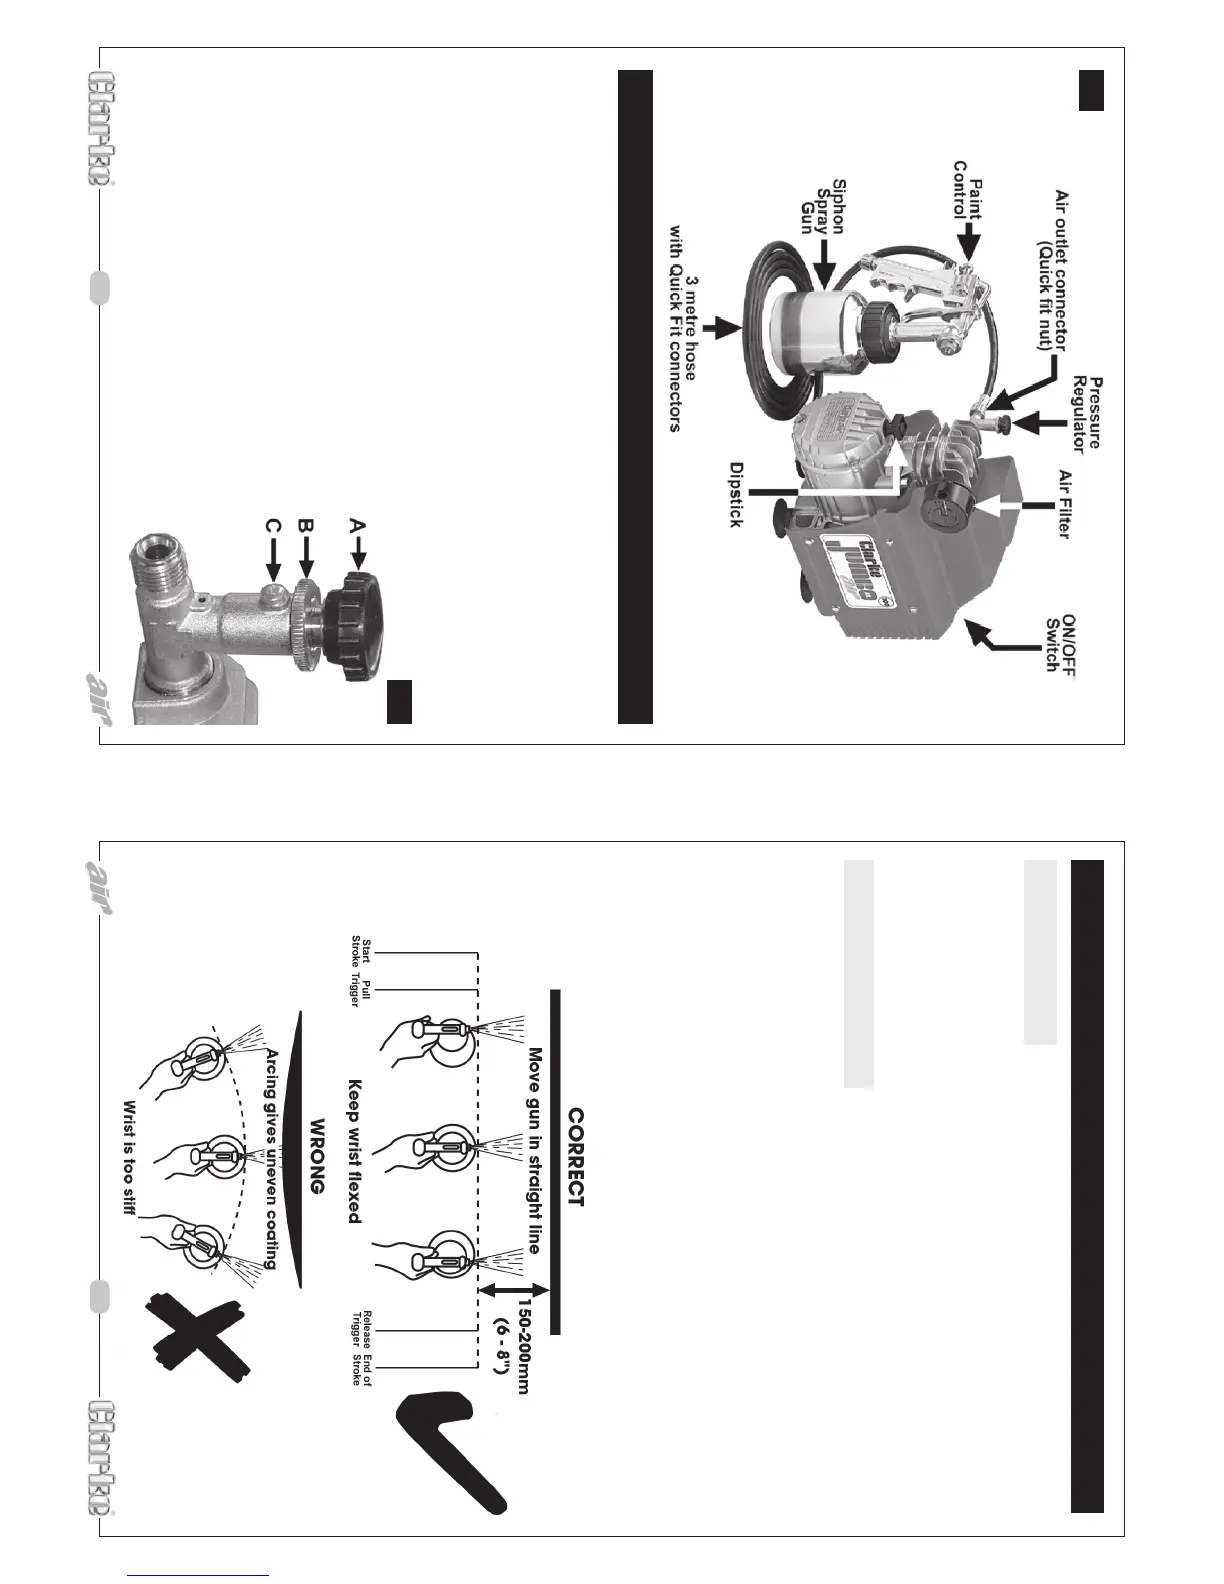
OPERATION
- 6 -
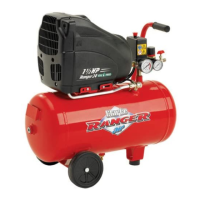
Fig.1
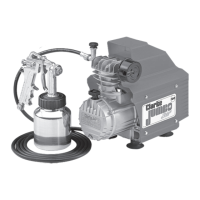
Before connecting your Jumbo to the mains supply, ensure:-
(A) The Dipstick, contained in the bag of loose items, is installed. Remove the
plastic travel plug in order to do so.
(B) The GREEN coloured ON/OFF Rocker switch is in the ‘O’ position.
(C) The Pressure Regulator at the air outlet, ‘A’ Fig.2, is in the low pressure or
‘Start’position i.e. turned fully anticlockwise. It may be necessary to release
the Locking Ring (‘B’ Fig.2) in order to turn the Regulator Knob.
IMPORTANT!
The Jumbo is supplied with the outlet air pressure
regulated to a maximum 8bar.....116psi. It is
IMPORTANT that in order to avoid damage to the
spraygun (provided), the pressure is regulated to
3.5bar....50psi MAX.
In order to achieve this, it is necessary to replace
the spring, within the Regulator chamber, as follows:
1. Unscrew the Regulator Locking Ring - ‘B’, half a turn.
2. Unscrew the Retaining Screw - ‘C’, sufficiently
for the Regulator Knob - ‘A’ to be unscrewed
and removed completely.
3. Replace the spring, within, with that supplied in
the bag of loose items, then reassemble.