7
ENGLISH
3.5 Connecting to the mains
1. Connect the mains lead to the connection on the back of the record player and then connect the plug to a
wall socket.
. To shut the power off completely pull out the plug from the wall socket. Also pull out the plug from the wall
socket during strong thunder storms to protect the device.
3.6 External sound input (AUX-IN)
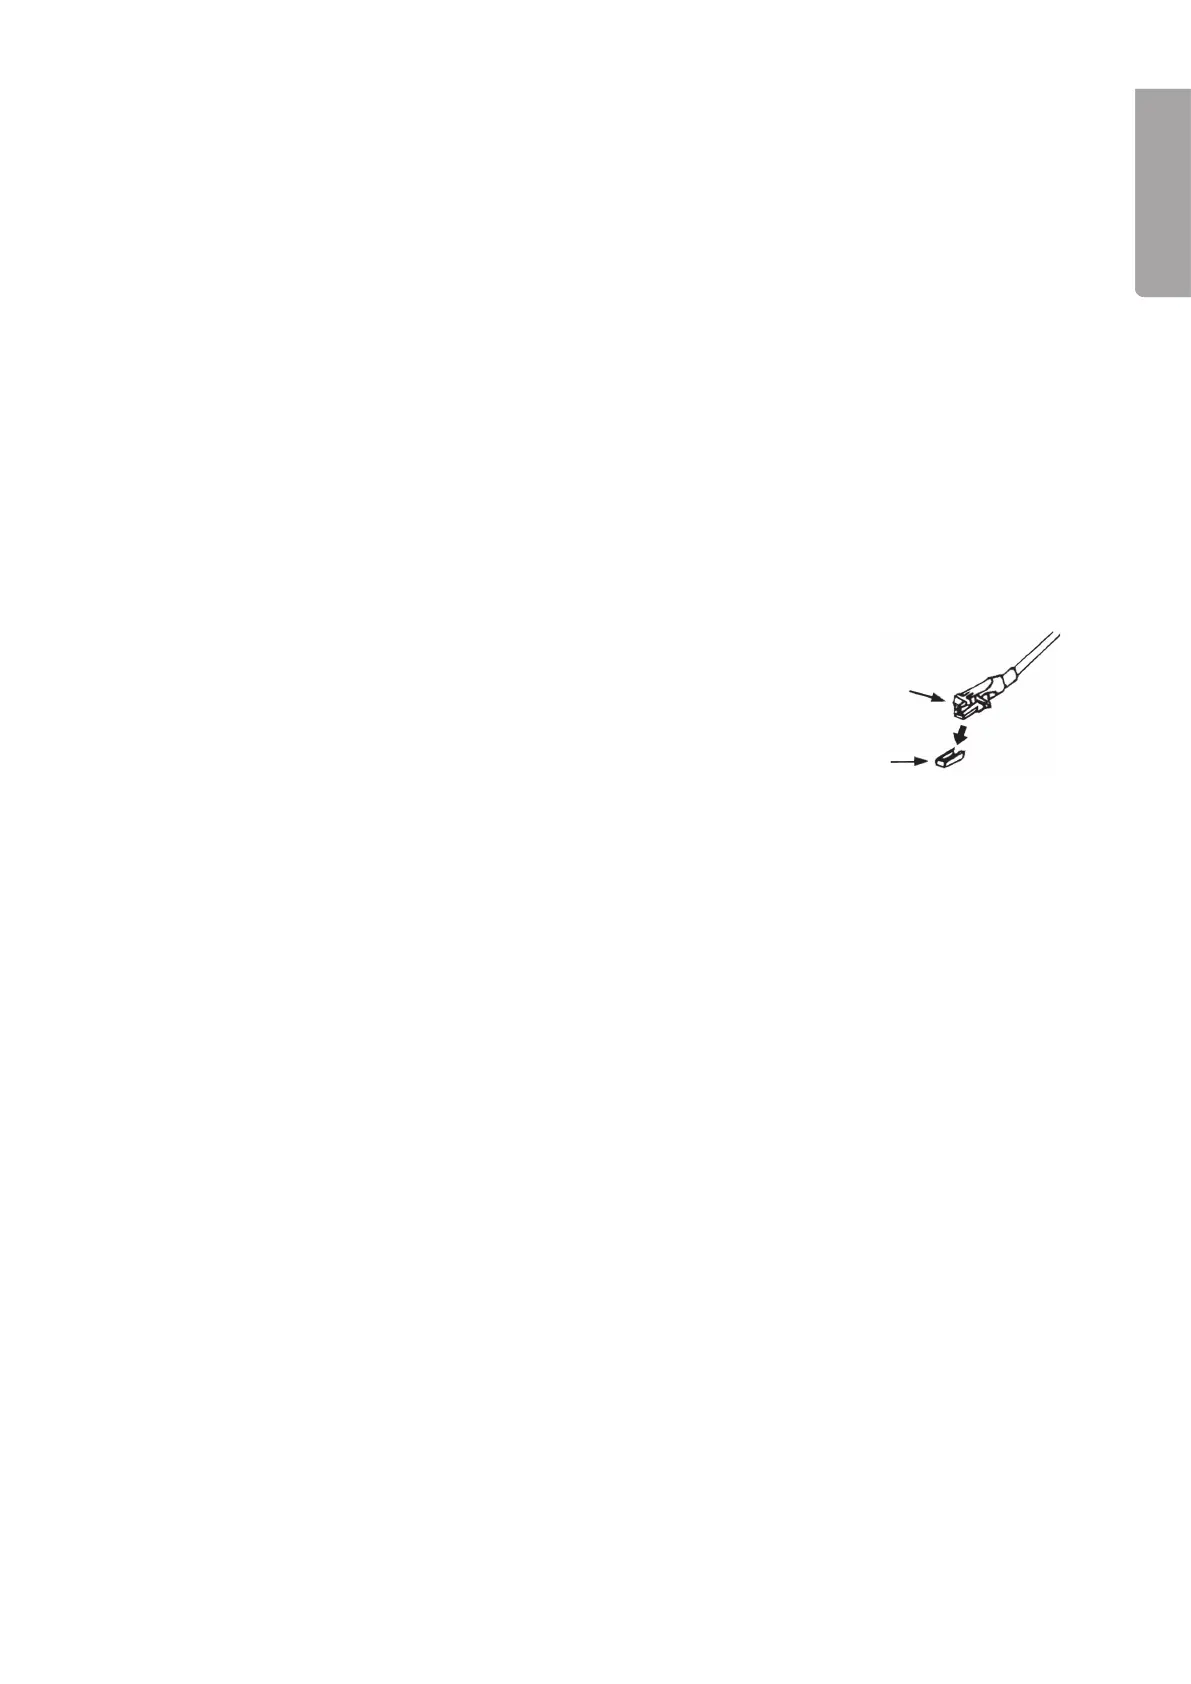
An external sound source can be connected to the AUX-IN input on the front of the record player using a
3.5”mm stereo plug for recording in MP3 format onto a USB memory/memory card.
1. Connect the external sound source via a cable with 3.5 mm stereo plug (included).
. Set the function switch to the
AUX-IN position.
3. To record to a USB memory/memory card, follow the instructions in section
6.2 Recording via the
AUX input.
4. Using the record player
4.1 Playing a record
1. Carefully remove the needle cover from the pickup.
. Move the function switch (13) to the
PHONO position to turn the record player on.
3. Place a record on the turntable. Some 45 rpm records have a large hole in the
centre and then the adaptor (18) is needed for the record to be played.
4. Choose the right speed for the record with the speed control (4).
5. Fold back the tonearm lock (3), lift the tonearm lever () and then place the tonearm over the record on
the desired track. The turntable will begin spinning.
6. Carefully place the tonearm lever at the start of the desired track; playback starts.
7. Change track, by lifting the tonearm lever and then placing the tonearm on the desired track. Place the
tonearm lever on the desired track.
8. Push
EJECT (1) when you want to stop playback, the tonearm lifts up automatically and returns to the
stand. Reposition the tonearm lock and then replace the pickup needle protection when you are nished.
N.B.
Since the record’s length varies the tonearm does not always go back automatically when nishing playback.
In such cases push EJECT to automatically lift and replace the tonearm.
4.2 Fine tuning the speed
The pitch control allows you to ne tune the speed.
Fine tune the speed during playback by adjusting the pitch control (5) whilst simultaneously observing the
markings (19) lit up by the strobe lamp on the other side of the turntable.
The markings on the turntable are divided to 3 lines:
- The top row is used for calibrating 33 rpm records.
- The middle row is used for calibrating 45 rpm records.
- Carefully adjust the pitch control while simultaneously observing the markings` movements:
o If the markings move to the right the turntable is spinning slower than the set rpm. Increase the speed
with the pitch control (+).
o If the markings are moving to the left the turntable is spinning faster than the set rpm. Decrease the
speed with the pitch control (-).
o When the markings appear to be motionless the rpms are correctly set.