6
PREPARATION
Before beginning installation of product, make sure all parts are present. Compare parts with
package contents list and diagram above. If any part is missing or damaged, do not attempt to
assemble, install or operate the product. Contact customer service for replacement parts.
Estimated Assembly Time: 15 minutes
Tools Required for Assembly (not included): Phillips screwdriver, Drill, Hammer, Level
WARNING! Do not use this electric replace if any part has
been under water. Immediately call a qualied service
technician to inspect and to replace any part of the electrical
system if necessary. Keep plastic wrapping away from children.
• Open the packaging carefully and remove the foam.
• Remove and discard the plastic bag.
• Be responsible when handling the packing materials.
• Keep the original packaging for future transport and/or storage.
• Check that all accessories are removed before you discard the packing.
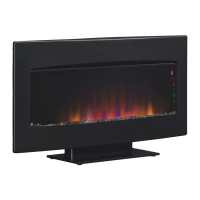
LOCATING YOUR ELECTRIC FIREPLACE
Your new electric replace may be installed virtually anywhere in your home. However, when
choosing a location ensure that the general instructions are followed. For best results, install out of direct
sunlight. Power supply service must be either completed or placed within the electric replace prior to
nishing to avoid reconstruction.
WARNING: Keep drapery and other furnishings
at least 3 ft. from the front and sides of the
electric replace.
Clearance to combustibles
Sides ….......................................................2 in.
Floor ........................................................... 2 in.
Top ..............................................................2 in.
Back ............................................................0 in.
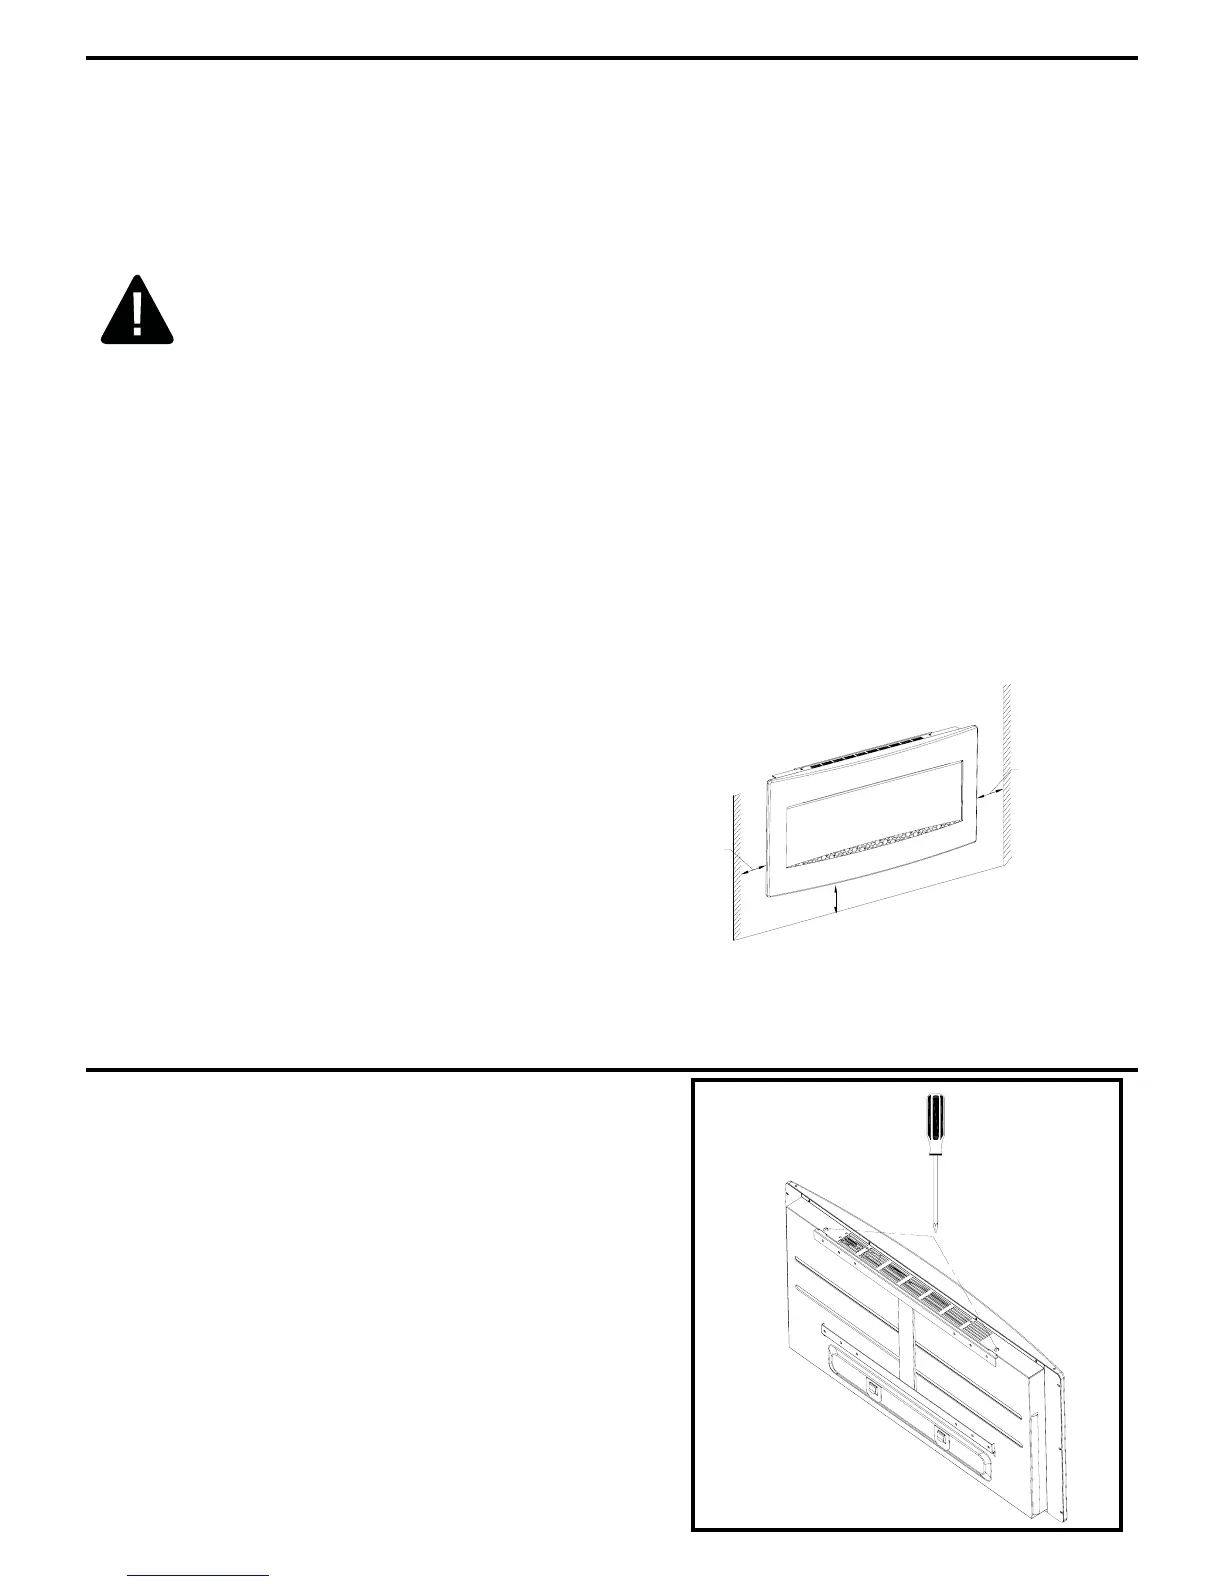
INSTALLATION INSTRUCTIONS
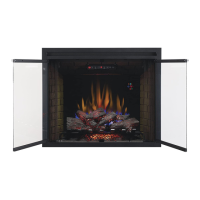
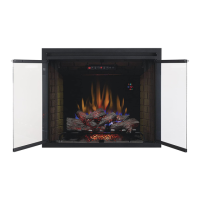
1. Remove mounting bracket (A) from back of
Fireplace (B) by removing the two screws at the
top back of the unit (Fig.1).
Fig. 1
FLOOR
min.
50 mm
2 in.
WALL
min.
50 mm
2 in.
min.
50 mm
2 in.