Do you have a question about the Clavia nord stage 2 and is the answer not in the manual?
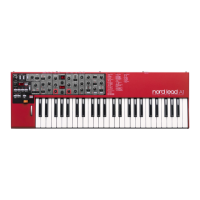
Details the three keyboard versions (SW73, HA76, HA88) and two revisions (REV A, REV B) of the NS2.
Highlights new features like the C2 organ, NordPiano, synth section, Arpeggiator, MIDI clock sync, and CV pedal support.
Explains how to identify REV A and REV B units by text printed below the logo on the unit.
Lists functional additions in REV B (Latch Pedal, Arpeggiator Hold) and visual changes (color scheme).
Details how to identify REV A/B by PCB print (v0.8 vs v1.0) and barcode sticker print (v0.84 vs v1.04).
Step-by-step guide on opening the NS2, including a warning about ribbon cables.
Compares the NS2 keybed mounting method to previous NS models, noting easier removal.
Information on Fatar keybeds, factory calibration, and limited spare parts availability.
Crucial advice for replacing keybeds on a stable, flat surface, starting with rear screws.
Details mainboard flashes, DSPs, SRAMs, FX section, and REV A/B MUX logic differences.
Guidance for 'boot up problems', suggesting test mode, flash erase, and OS/sample reinstallation.
Instructions on accessing the NS2 test mode using specific button combinations during power-on.
Details on navigating menus, running individual tests, and confirmation commands for actions like erasing flashes.
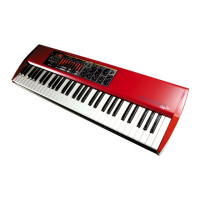
The Nord Stage 2 is a versatile performance keyboard designed for professional musicians, offering a comprehensive suite of sound engines and performance features. This service guide provides essential information for authorized Nord Service Centers, covering common issues, identification of revisions, and details on main parts, electronics, and mechanics. It is not intended for end-users or dealers and should not be copied, modified, or distributed.
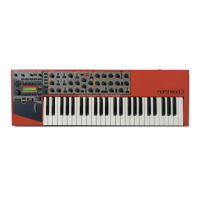
The Nord Stage 2 integrates three distinct sound sections: Organ, Piano, and Synth, making it a powerful all-in-one instrument for live performance and studio work. It builds upon its predecessors, the Nord Stage and Nord Stage EX, by incorporating advanced features from other Nord instruments. The Organ section is derived from the Nord C2, while the Piano section benefits from the technology found in the Nord Piano. The Synth section is enhanced with an Arpeggiator and MIDI master clock sync functionalities. The instrument also offers improved support for various CV pedal models, including Yamaha FC7, Roland EV-7, Roland EV-5, Korg EXP2, and Korg XVP10, providing greater expressive control.
The Nord Stage 2 is available in three keybed versions:
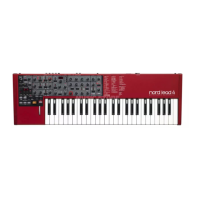
The instrument comes in two hardware revisions, REV A and REV B. All SW73 models are REV B. HA76 units manufactured before May 2011 and HA88 units before June 2011 are REV A.
Identifying Revisions:
Main Parts and Electronics:
The mainboard features seven 1Gb flashes for OS and samples, controlled by two DSPs (U16+U18). U27-30 store piano samples, while U54-56 store synth samples. Another DSP (U13) manages the SRAMs (U14+U15) for the FX section; issues like "noisy reverbs" may stem from this area. REV B mainboards include MUX logic for enhanced CV pedal support.
The Nord Stage 2 offers advanced performance capabilities, including the ability to use the middle pedal of the Nord Triple Pedal for advanced latch and sustain techniques, particularly useful when layering multiple sounds. The Arpeggiator's "Hold" button in REV B provides sustained arpeggiated patterns.
Opening the NS2: To open the NS2, loosen four out of five screws on each wooden side panel. Keep the screw in each rear down-left/right corner mounted to facilitate tilting the upper lid. Then, loosen the seven screws on the rear side and the three screws under the lower lid. It is crucial to be mindful of the ribbon cable connecting the panelboard in the upper lid to the mainboard in the lower lid.
Keybed Replacement: The keybeds are supplied by Fatar. Clavia only provides single keys and complete keybeds, not individual components like rubber/contact strips or PCBs. Each keybed is factory-calibrated, with calibration data stored on an IC attached to the keybed. When replacing a keybed, it is essential to work on a stable, flat surface. Always start by mounting the screws on the rear side, then the screws inside the NS2.
Troubleshooting Boot-up Problems: For "boot up problems," "error codes at start up," or panel board issues, it is recommended to enter TEST MODE.
Recommended First Steps for Boot-up Issues:
Test Mode Menu Overview:
Clavia also offers a Service Kit (Part#13000), which contains common parts like connectors, push buttons, jacks, and pitch sticks for the entire Nord range.
| Brand | Clavia |
|---|---|
| Model | nord stage 2 |
| Category | Synthesizer |
| Language | English |