17
SHARPY
DMX ADDRESS
NOTE: without the DMX signal the Address (XXX) flashing
Allows you to select the DMX ADDRESS.
1) Press
F
- the current DMX Adress appear on the display.
2) Use the UP
B
and DOWN
C
, RIGHT
E
keys to plan the DMX
Address.
3) Press
F
to confirm the selection or LEFT
D
to keep current
settings.
CHANNEL MODE
Allows you to select a channel arrangement from the two available.
1) Press
F
- the current settings appear on the display (Standard or
Vector).
2) Use the UP
B
and DOWN
C
keys to select one of the following
settings:
- Standard
- Vector
3) Press
F
to confirm the selection or LEFT
D
to keep current
settings.
FIXTURE ID
Allows you to select the FIXTURE ID.
1) Press
F
- the current Fixture ID appear on the display.
2) Use the UP
B
, DOWN
C
, RIGHT
E
keys to plan the Fixture ID.
3) Press
F
to confirm the selection or LEFT
D
to keep current settings.
ETHERNET INTERFACE
It lets you set the Ethernet settings to be attributed to the projector.
1) Premere
F
.
2) Use the UP
B
and DOWN
C
keys to select the “Ethernet Interface”
options to set:
Control Protocol
It lets you select the “Control Protocol” Art-net to assign according to the
control unit used:
1) Press
F
the current setting appears on the display.
2) Use the UP
B
and DOWN
C
keys to select one of the following settings:
- Disabled
- Art-net on IP 2
- Art-net on IP 10
3) Press
F
to confirm the selection or LEFT
D
to keep the current setting.
Repeat on DMX
It lets you enable the transmission of the Ethernet protocol by DMX signal
to all the connected projectors.
1) Press
F
the current setting appears on the display.
2) Use the UP
B
and DOWN
C
keys to select one of the following settings:
- Disabled: DMX transmission disabled.
- Enabled on primary: DMX transmission enabled.
3) Press
F
to confirm the selection or LEFT
D
to keep the current setting.
Universe
It lets you assign the “Universe” number to be assigned to a series of
projectors.
1) Press
F
– the current Universe address appears on the display.
2) Use the UP
B
, DOWN
C
, RIGHT
E
keys to set the Universe address.
3) Press
F
to confirm the selection or LEFT
D
to keep the current setting.
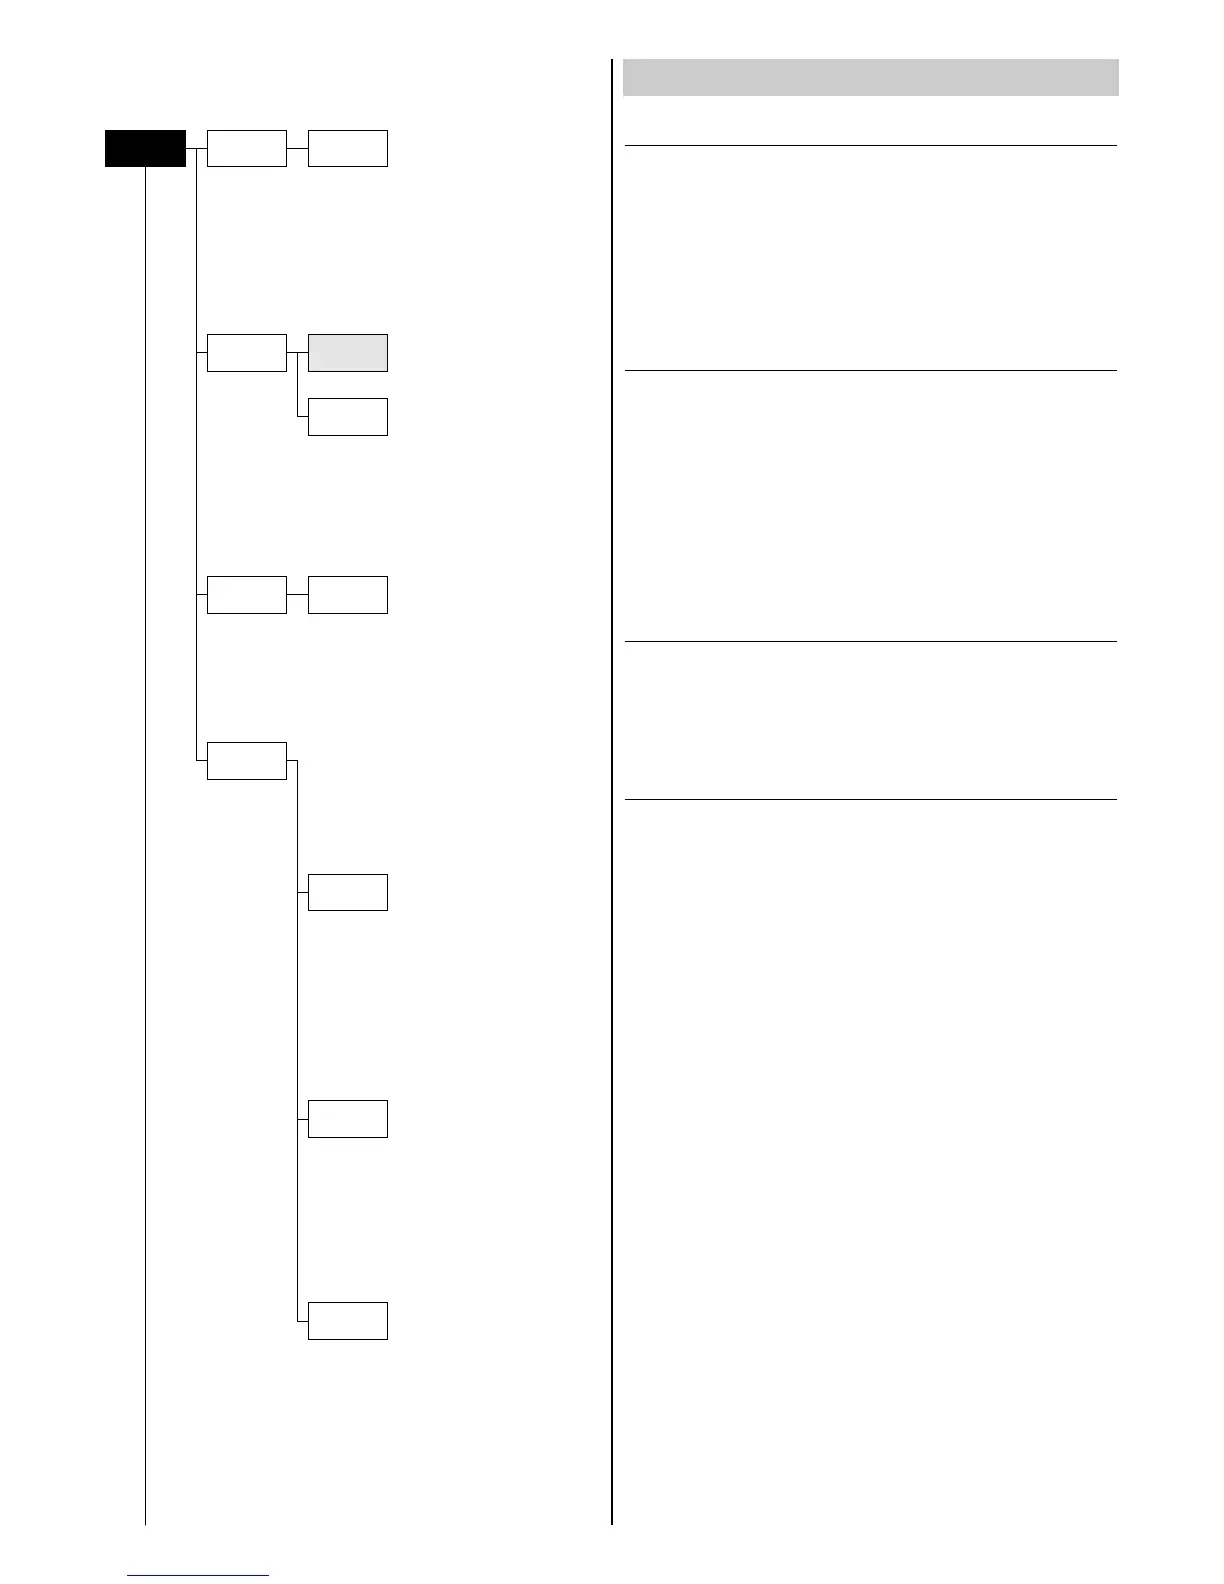
SET UP MENU
Set Up
Dmx
Address
Channel
Mode
Fixture ID
Address xxx
Standard
Vector
Value xxx
Ethernet
Interface
Control
Protocol
Repeat on
DMX
Universe
NOTE: On grey the default options
Continue
➔