19 EN
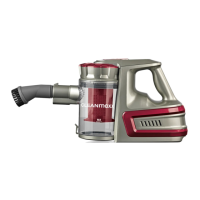
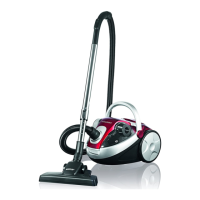
Accessories
• The wall bracket (I) is intended to save space when storing the device (Fig. F). The
crevice (B) and brush (C) nozzles, as well as the nozzle adapter (A), can be clipped
into the semi-circular notches on the wall bracket (Fig. H).
• The brush nozzle (D) is for vacuuming cushions and textiles, and for dusting fragile
objects such as picture frames, lampshades, keyboards, books, etc.
• The crevice nozzle (B) is for hard-to-reach places like corners, crevices and re-
cesses.
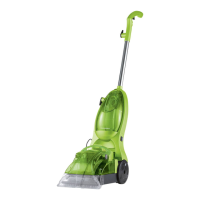
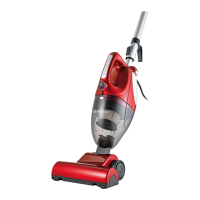
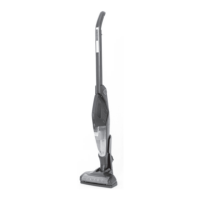
• The electric fl oor nozzle (H) is suitable for both carpets and hard fl oors. It has a
rotating cleaning brush to make it easier to pick up hair and fl uff .
• The nozzle adapter (A) is needed to attach the crevice (B) and brush (D) nozzle.
• The extension tube (F) makes it easier to reach the tops of cupboards, ceilings
and corners and, along with the electric fl oor nozzle (H), allows fl oors to be cleaned.
• The holder for the brush and crevice nozzle (G) is suitable for securing the two
nozzles to the extension tube (F) easily to save space.
Assembly
Attach / remove extension tube and electric fl oor nozzle
• Attaching: The extension tube (F) is plugged onto the suction opening (12). It must
engage audibly. Attach the electric fl oor nozzle (H) to the extension tube in the same
way.
• Removing: Press the corresponding release button (Fig. A) and pull the electric
fl oor nozzle (H) or the motor unit (E) out at the same time.
Attach / remove crevice and brush nozzle
The crevice (B) and brush (D) nozzles can be attached to either the suction opening (12)
or the extension tube (F). This requires the nozzle adapter (A).
• Attaching: First plug the the nozzle adapter into the suction opening or the exten-
sion tube. Then plug the desired nozzle into the nozzle adapter.
• Removing: Unplug the used nozzle from the nozzle adapter and pull the nozzle
adapter out of the suction opening or the extension tube.
Remove / insert dust collector
• Removing: Press the unlock button (2) at the top of the dust collector (9) and pull
the dust container upwards to remove it from the motor unit (E).
• Inserting: Insert the dust collector (9) diagonally into the motor unit (E). Make sure
that it sits correctly in the latch on the motor unit (Fig. B). The dust collector should
click audibly as it closes.
Remove / insert battery
• Removing: Press the unlock button on the battery and simultaneously pull it out
(Fig. C).
• Inserting: Before inserting the battery, check whether the contacts are clean, and
clean them if needed. Insert the battery into the compartment on the underside of
the motor unit (E). It should click audibly.