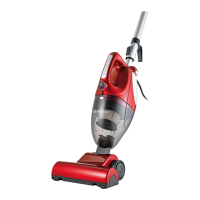
21 EN
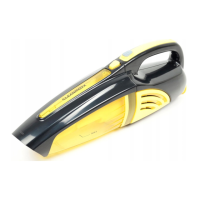
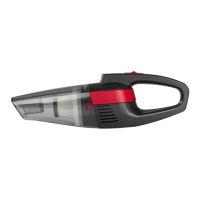
Cleaning dust collector, HEPA fi lter, dust fi lter and fi lter holder
1. Turn the cover on the dust collector (1) counter-clockwise until it loosens and remove
it.
2. Pull the fi lter holder (13) out by the handle. The dust fi lter (10) and HEPA fi lter (11)
will come out with it.
3. Turn the fi lter holder and remove it out from the dust fi lter (Fig. D).
4. Pull the HEPA fi lter out of the dust fi lter.
5. Tap the contents out of all parts and clean with a soft brush if necessary. Rinse out
with clean water if needed.
6. Wipe the dust collector with a damp cloth if needed.
Let all parts air dry fully before assembling. NOTICE: Never assemble wet or
damp components or attach them to the motor unit (E)!
Assembly
1. Set the HEPA fi lter (11) in the dust fi lter (10).
2. Set the dust fi lter in the fi lter holder (13) so that the latches are placed in the notches
provided for them, and turn the fi lter holder until it fi ts tightly (Fig. E).
3. Insert the fi lter holder with dust fi lter into the dust collector (9) so that the latches fi t
in the notches on the dust collector (Fig. G). The fi lter holder must fi t properly in the
dust collector without protruding at the top.
4. Set the lid (1) for the dust collector on the dust collector – the latches must lay in the
fi tting notches – and turn clockwise tightly.
5. Insert the dust collector back into the motor unit (E) (see the “Assembly” chapter –
“Remove / insert dust collector”).
Cleaning motor unit, extension tube and nozzles
• Wipe off the motor unit (E), the extension tube (F) and nozzles as needed with a
damp, soft cloth. Dry with a soft cloth.
• Regularly remove hair and lint from the nozzles and brushes.
Storage
• Store the device in a cool, dry, safe area out of direct sunlight and keep out of reach
of children and animals.
• Hang up the motor unit (E) in the wall bracket (I) provided with the suction open-
ing (12) facing down (Fig. F).
• The brush nozzle (D), crevice nozzle (B) and nozzle adapter (A) can be plugged into
the wall bracket (Fig. H) or into the holder for the brush and crevice nozzle (G) on
the extension tube (F) (Fig. F).
If the device is not going to be used for a long time, take out the battery as a
precaution (see the “Assembly” chapter – “Remove / insert battery”). To prevent
the battery from draining completely, charge it occasionally during long periods
of non-use.