Quick Start Guide | FreeSpeak II™ IP transceiver
Page 4 399G250 Rev B July 27
th
2018
Wait (~1 min) until the IPT is shown as discovered (blue) in the AoIP Devices window.
Blue indicates that the IPT has been discovered on the network but not yet added to the matrix
configuration. Device discovery is subnet agnostic, but for audio connection, the card and
transceiver must be on the same subnet.
Click the checkbox on the discovered IPT and then the down arrow to begin the process of adding
the device to the matrix configuration. Close the Detect IP TCVR window.
6) Click Apply Map to Matrix to add the device(s) to the matrix configuration.
Once the configuration has been downloaded, the devices will work through their connection
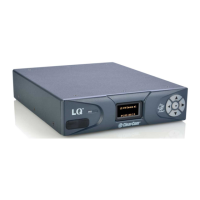
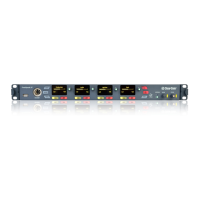
sequence (up to 5 mins). While this is happening you can observe the status LEDs on the IPT.
Status indicator 1
White 2 Hz: No IP connection to the IPT (30 secs)
Purple 2 Hz: IPT connected, no PTP lock (up to 3 min)
Amber 2 Hz: PTP locked, no DECT Sync (10 secs)
Amber, solid: transceiver ready
You can also navigate to the Monitoring screen in the EHX software (System>Monitoring) in order
to track progress and see troubleshooting information.
 Loading...
