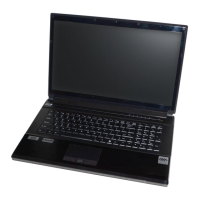
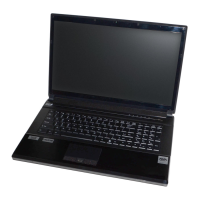
Disassembly
2 - 8 Removing the Hard Disk Drive
2.Disassembly
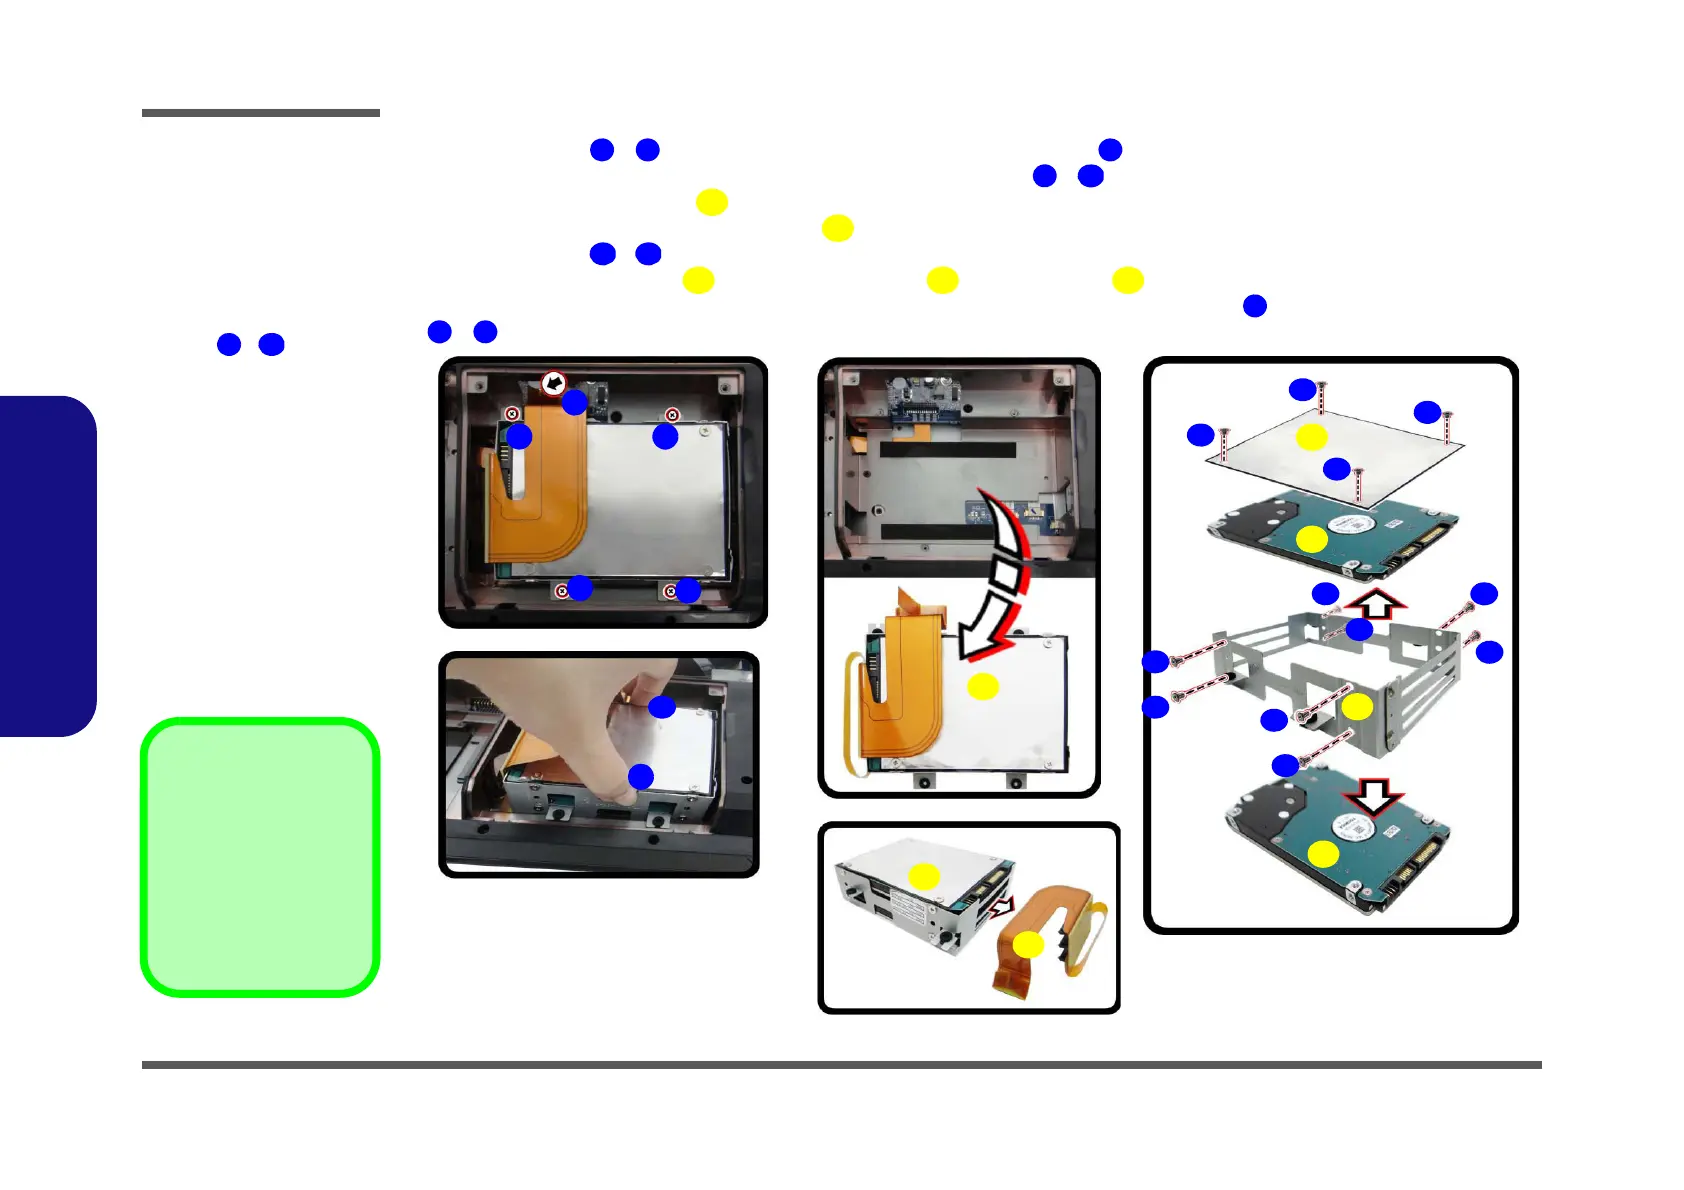
4. Remove screws - and pull the tab to disconnect the connector from hard disk assembly.
5. Carefully lift the hard disk assembly using two hands at points - .
6. Lift the hard disk assembly out of the computer.
7. Separate the hard disk board connector from the hard disk assembly.
8. Remove screws - (depending on how many hard disks you have installed in the assembly).
9. Separate the hard disk(s) and hard disk mylar from the case .
10. Reverse the process to install a new hard disk(s) and make sure to connect cable before screwing in screws
- (
Figure c).
Figure 4
HDD Assembly
Removal (cont’d.)
c. Remove the screws.
d. Lift the hard disk assem-
bly using two hands at
points - .
e. Lift the hard disk assem-
bly up out off the compu-
ter.
f. Remove the HDD(s) from
the connector
g. Remove the screws and
separate the HDD(s)
from case.
11 Hard Disk Assembly
12 Hard Disk Board
Connector
25. Hard Disks
26. Hard Disk Mylar
27. Hard Disk Case
• 16 Screws
4 5
6
7
d.
c.
8
e.
11
10
9
f.
15
13
21
16
22
17
14
12
18
19
23
24
20
25
26
25
27
g.
11
 Loading...