15
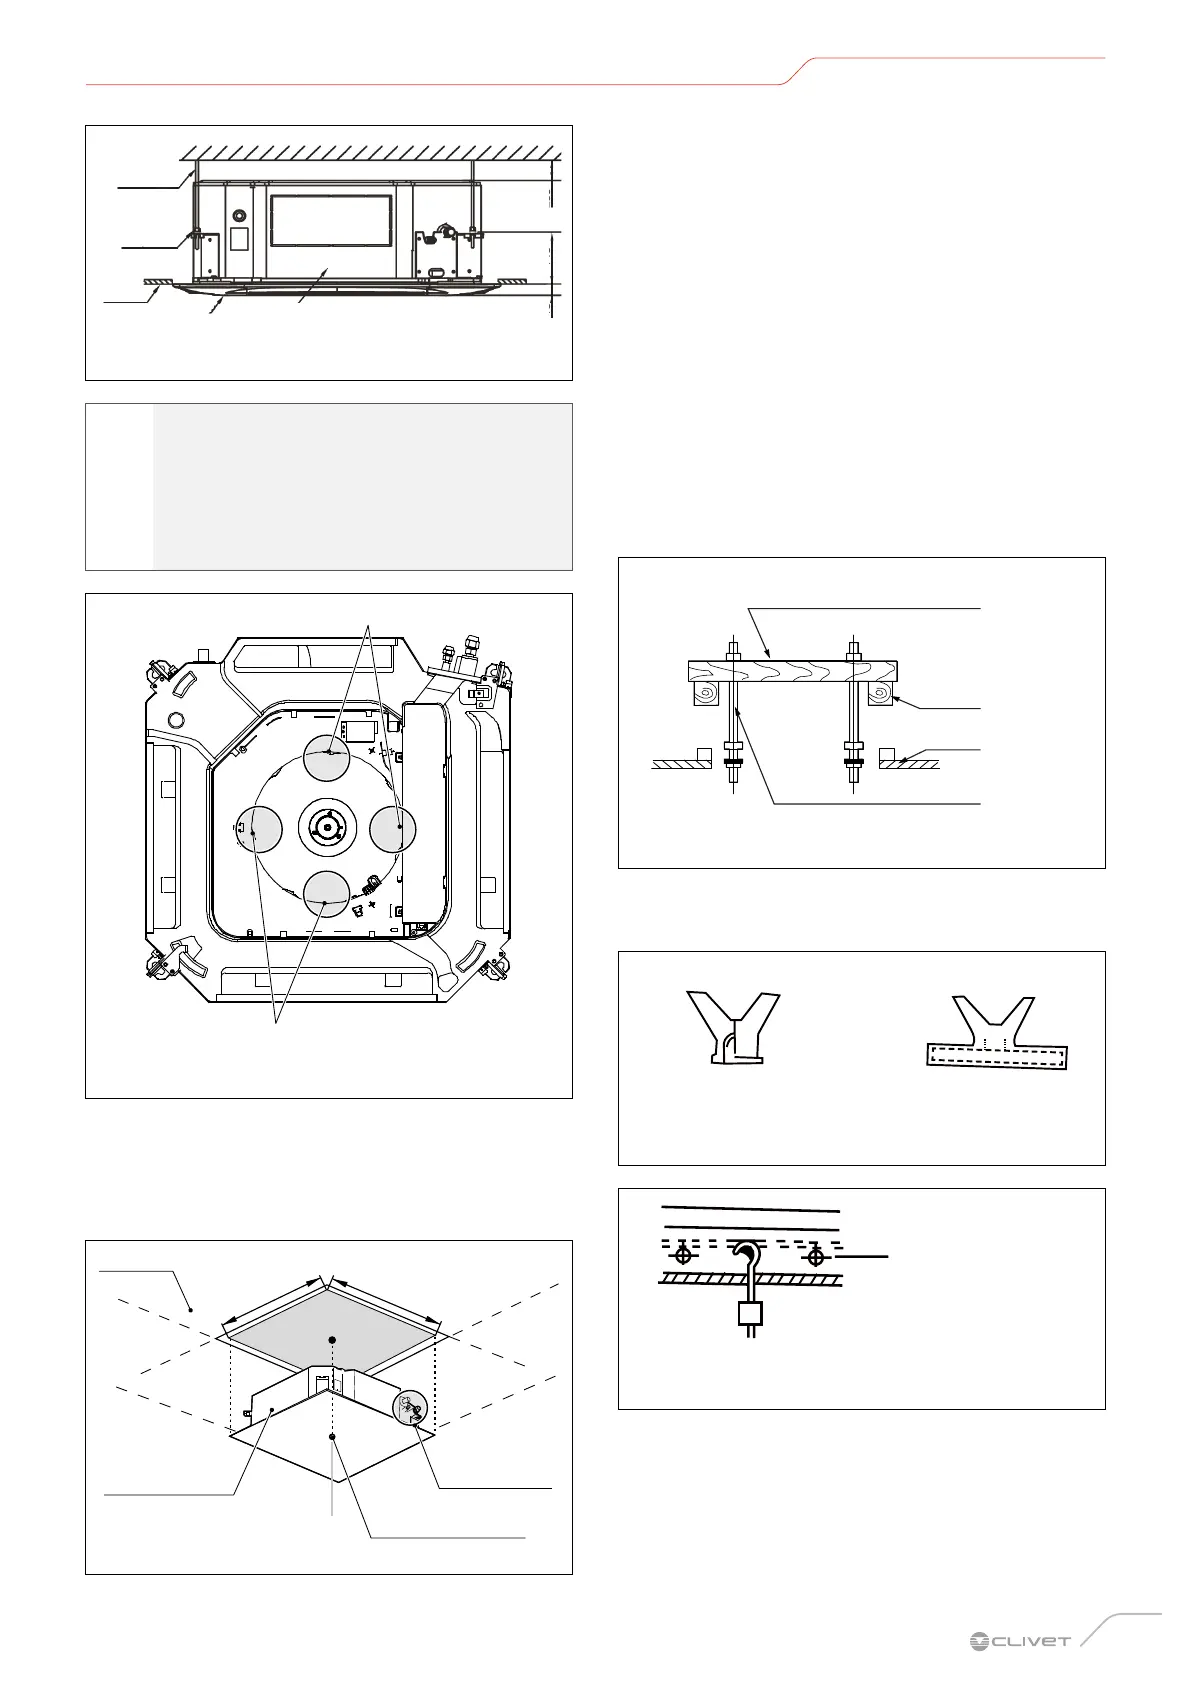
Installation
rod
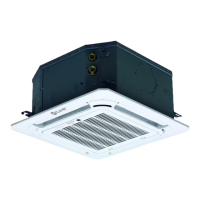
Panel
Main unit
46 146 ≥30
Fig. 7
a
CAUTION DANGER
Before installing the indoor unit, remove
the packing elements (A) used for transport
purposes between the fan and the pipe fitting.
Do not start the unit without removing the
elements (A) so as not to damage the fan motor.
Fig. 8
1 Using the paper template provided, make a 910mm x
910mm hole in the ceiling.
2 The midpoint of the ceiling opening must correspond
to the centre of the indoor unit’s casing.
910mm
Pipes
Unit body
Hole in the centre of
the ceiling opening
Fig. 9
3 Reinforce the ceiling where necessary to stop it from
sagging.
4 Determine the length and direction of the pipes to be
installed and the wiring.
5 After choosing the installation position, put the
refrigerant piping, the drainage pipes and the internal
and external electrical lines in their respective
connection points before installing the appliance.
6 Locate and mark the position of the anchor rods in the
4 corners using the paper template provided.
7 Based on the type of ceiling and depending on the
weight of the indoor unit, provide a suitable rod
support system:
– Roof with wooden structure
Place the wooden assembly panel crosswise over
the roof beam, then install the anchor rods
Wooden assembly panel
Roof
beam
Ceiling
Anchor rod
Fig. 10
– New concrete slab
Embed the anchor rods.
(Insert with wings) (Sliding insert)
Fig. 11
Steel bar
Embedded anchor rod
Fig. 12
 Loading...