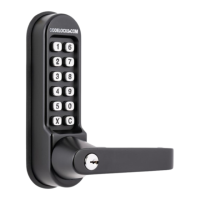
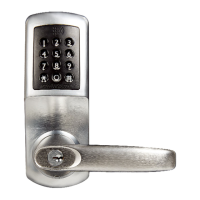
Section 2 - CL510/CL515
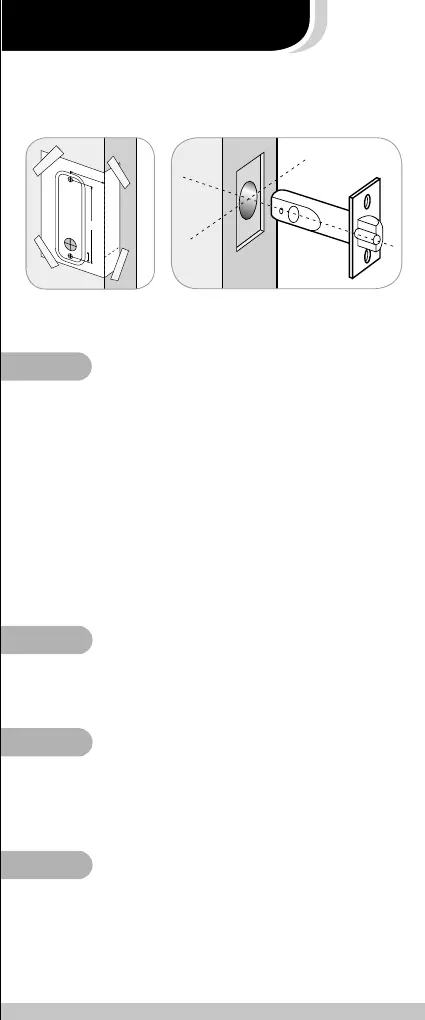
Keeping the drill level and square to the door, drill a
25mm (1”) hole in the edge of the door to accept the
latch.
Keeping the drill level and square to the door, drill the
10mm (
3
/
8
") and 25mm (1") holes from both sides of the
door to increase accuracy and to avoid splintering out the
door face.
Put the latch into the hole and, holding it square to the
door edge, draw around the faceplate. Remove the
latch and score the outline with a Stanley knife to avoid
splitting when chiselling. Chisel a rebate to allow the latch
to fit flush to the surface.
Lightly mark a height line on the edge and both faces
of the door, to indicate the top of the lock when fitted.
Crease the template along the ‘fold along the door edge’
dotted line that suits your latch backset, and tape it to
the door.
Mark the 2 x 10mm (
3
/
8
”) and the 1x 25mm (1") holes.
Mark the centre of the door edge on the centre line of
latch. Remove the template and apply it to the other side
of the door, aligning it accurately with the first centre line
of latch mark. Mark the 4 holes again.
STEP 2
STEP 3
STEP 4
STEP 1
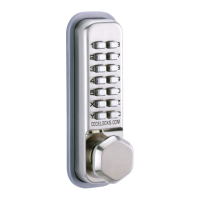
Model CL510/CL515 has a tubular, deadlocking, mortice
latch and may be used as a new installation on a door,
or where an existing latch is to be replaced.
Step 1 Step 2