Do you have a question about the Coleman SUNDOME CX3 7'x7' and is the answer not in the manual?
Main tent poles for assembly, Part No. 9230-3221.
Rainfly pole for assembly, Part No. 9230-3261 and 9230-3281.
Layout tent with door facing desired direction and unzip the door.
Stake down tent using corner rings, keeping the floor taut.
Assemble shock-corded poles to create two long poles.
Insert poles diagonally into sleeves, crossing in the center to form an X.
Insert one end of a main tent pole onto the pin at a tent corner.
Apply gradual pressure to the opposite end of the pole to form an arch and insert the pin.
Repeat the process to connect the second main tent pole.
Attach frame clips along tent edges to the frame poles.
Make any necessary adjustments to the tent corner stakes.
Assemble rainfly pole and insert into reinforced pockets on rainfly underside.
Connect elastic loops with S hooks to fabric loops near frame clips.
Secure rainfly with attachments and stake out tent with side guylines.
Information on condensation, drying, and proper storage of tent components.
Warning to keep flame and heat sources away from tent fabric.
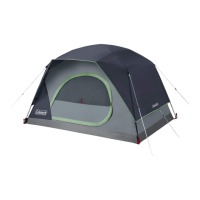
This document provides instructions for setting up the Coleman Sundome CX3 7'x7' tent, identified by Part Number 9230-707.
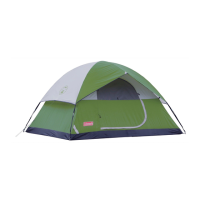
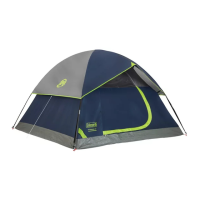
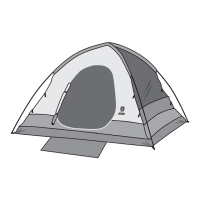
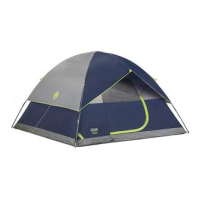
The Coleman Sundome CX3 7'x7' is a portable outdoor shelter designed for camping. It features a main tent body, a frame system composed of two main tent poles, and a rainfly with its own rainfly pole. The tent is designed for relatively easy assembly and provides protection from the elements.