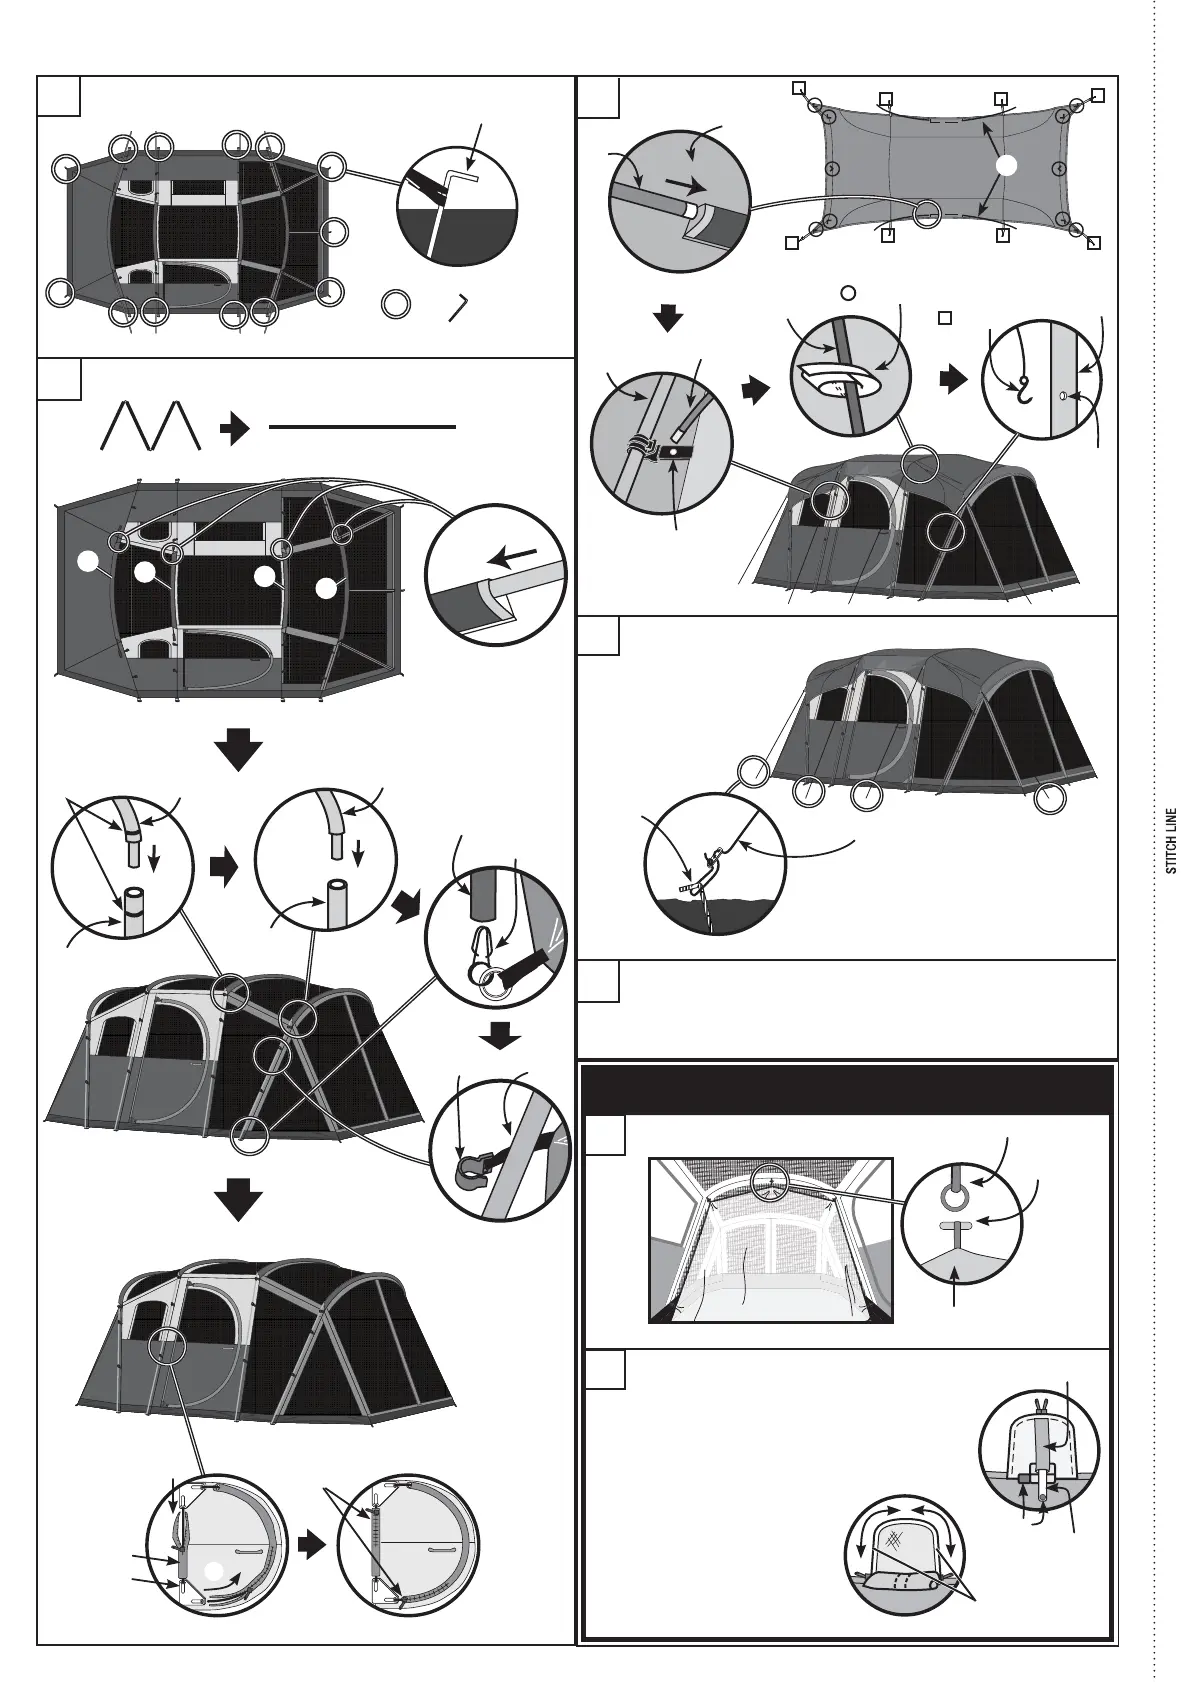
POSITIONING OF POꢀES AND CONNECT ꢀEG POꢀES
CAUTION:
Metal springs may contain sharp edges.
Keep out of reach of children.
1. Match metal spring to the colored tab on
eachꢀsleeve.ꢀ
2. Keeping the color mark towards you,
insert.ꢀSomeꢀwindowsꢀhaveꢀtwo.
3. Press at top of the spring to
activateꢀself-rolling.
NOTE:
removeꢀforꢀstorageꢀtoꢀ
preventꢀdamage.
How to Set ꢁp and ꢀisassemble
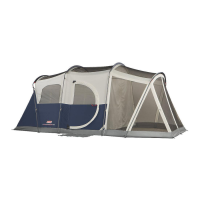
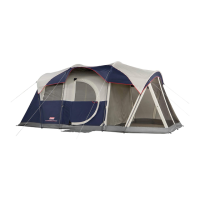
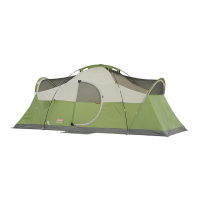
ꢀAꢁOUT & POSITIONING OF TENT
DISASSEMBꢀꢁ
1
2
5
4
ATTACH DIVIDER
i
ii
ATTACH RAINFꢀꢁ
3
ꢁnderside of Rainfly
Leg Pole
Hole
S Hook
Toꢀtakeꢀdownꢀtheꢀtent,ꢀfollowꢀtheꢀpreviousꢀstepsꢀandꢀillustrationsꢀ
inꢀtheꢀreverseꢀorder.
C
C
A
A
Red Mark
A
B
C
D
Pin
Leg Pole
Pole
Stake
=
G
Grommet
Leg Pole
G
ꢁnderside
of Rainfly
Clip
Pole
OPTIONAL ACCESSORIES THAT MAY NOT BE
INCLꢁꢀEꢀ WITH YOꢁR PROꢀꢁCT MOꢀEL.
ꢀivider
G
AUTO ROꢀꢀ
TM
SPRING FOR WINDOWS
Match
color
Spring
Sleeve
Zippers
Ring
ꢀivider
Toggle
E
Hinge
Sleeve
Zip up
F
Stake
Guyline
Fly Attachment
STAꢂE DOWN AND GUꢁ OUT THE TENT