9
① Activated call indication
② Requesting a call
③ Call
④ End call
⑤ Cancel
⑥ Capture an image
⑦ Capture a video
⑧ Display setting
⑨ Call display
⑩ Volume
⑪ Recording in progress
⑫ Door Open
5.1.2. Door
Individual entrance monitoring
※ Different ‘Call display’ is displayed for each type of call.
※ Up to 500 images including videos can be stored and automatic overwriting is done from the
oldest image or video.
Individual monitoring and talking with a visitor
1) Touch ‘Individual entrance’ icon.
2) Touch ‘Individual entrance’ or ‘Individual entrance 2’ button for monitoring.
3) Touch ‘Cancel’ button to stop monitoring.
4) Touch ‘Call’ button while monitoring to start talking with a visitor.
5) Touch ‘End call’ button to end a call.
Recording visitor's image from individual entrance
1) Touch ‘Capture an image’ button while paging or calling.
2) If successfully recorded, (visitor image recorded) icon is indicated at the top of the display.
Adjusting an image size
1) While talking touch (expand) button to enlarge the image.
2) If the expanded image is touched, it goes back to the original size.
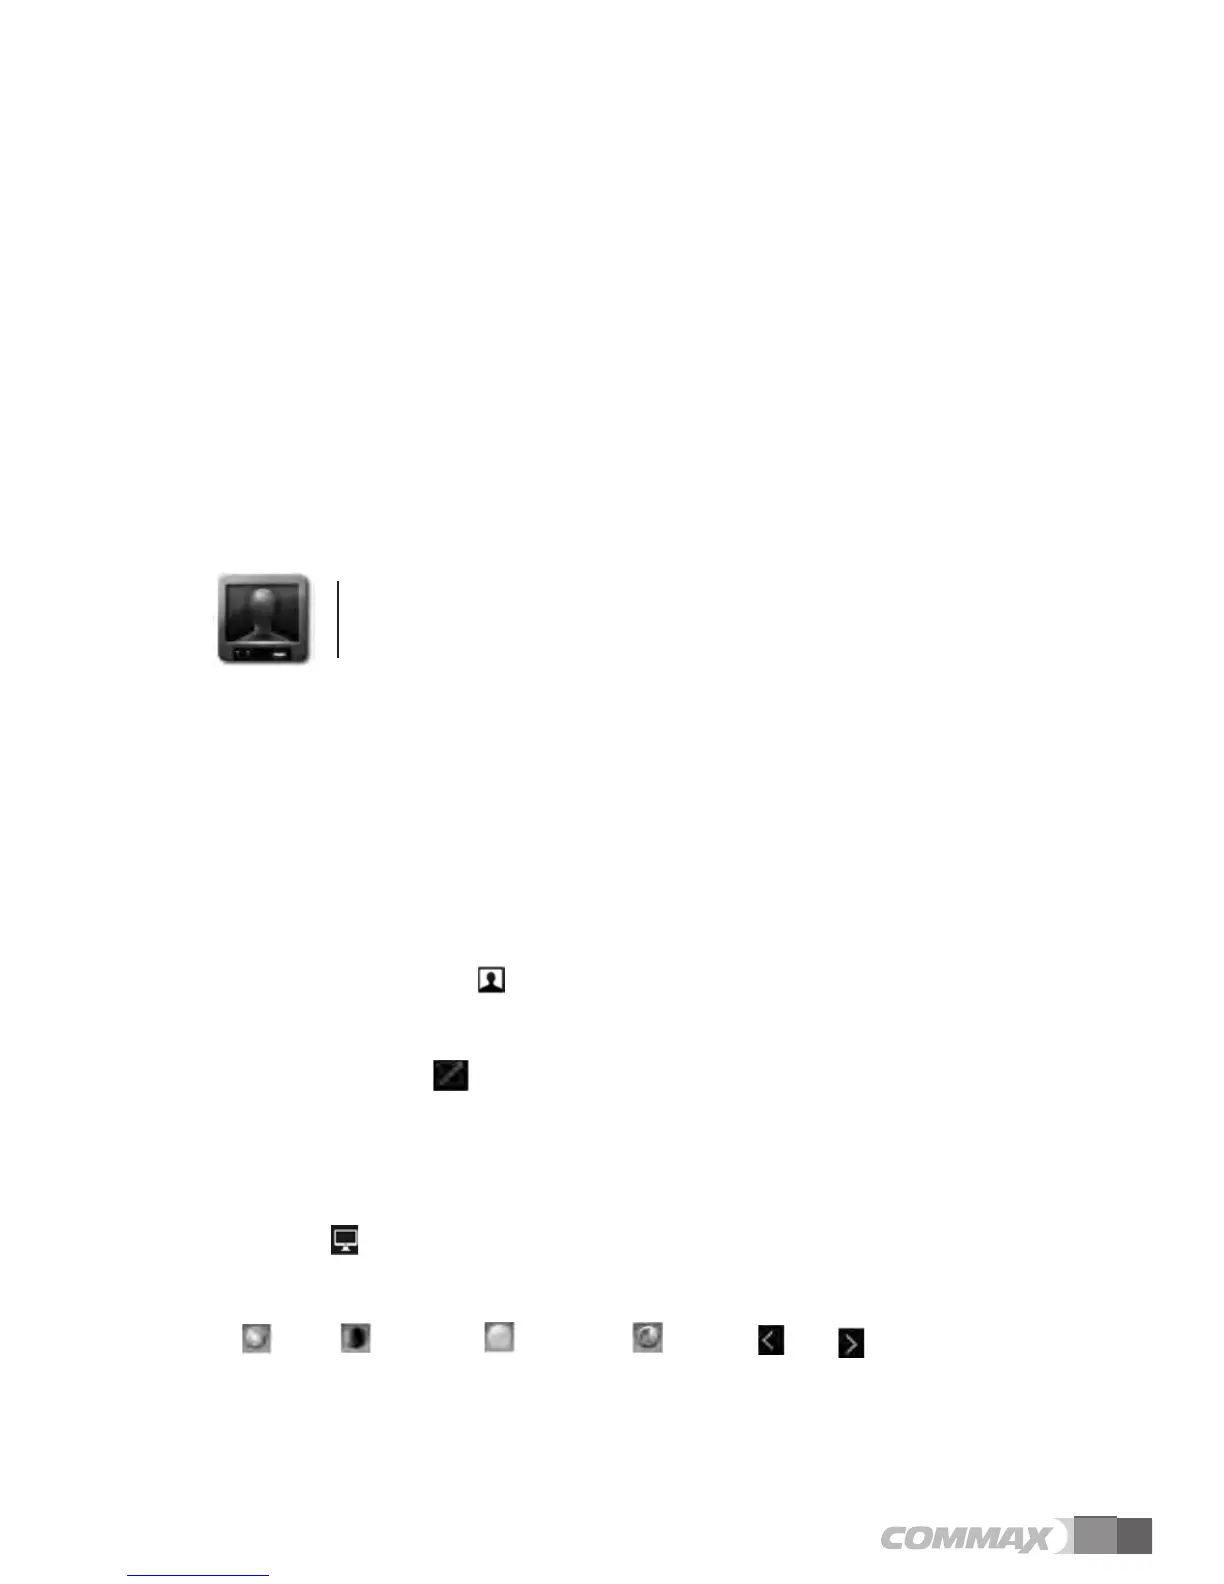
Display settings for images from an individual entrance
1) Touch 'Individual entrance’ button.
2) Touch (Display setting) button.
3) Touch the following buttons that you wish to set up in the Display settings tab and use the right
and left buttons to change the value.
(Hue), (Saturation), (Brightness), (Contrast) (Lt.), (Rt.)
4) If you wish to return to default setting, touch 'Default setting’ button.
※ Display settings for the images from an individual entrance is enabled in monitoring mode of
the individual entrance