7
6
6
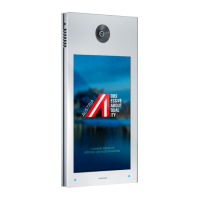
Axis electronic module: camera angle/web interface login Axis electronic module: control button
2
5
3
1
NET
STAT
PWR
4
2
11
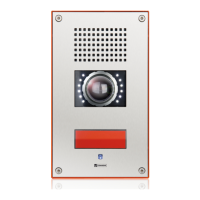
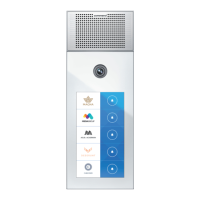
Type: D-BZ-SIP201VCA, Version: 2.6/0818 Commend International GmbH, Saalachstraße 51, A-5020 Salzburg – www.commend.com
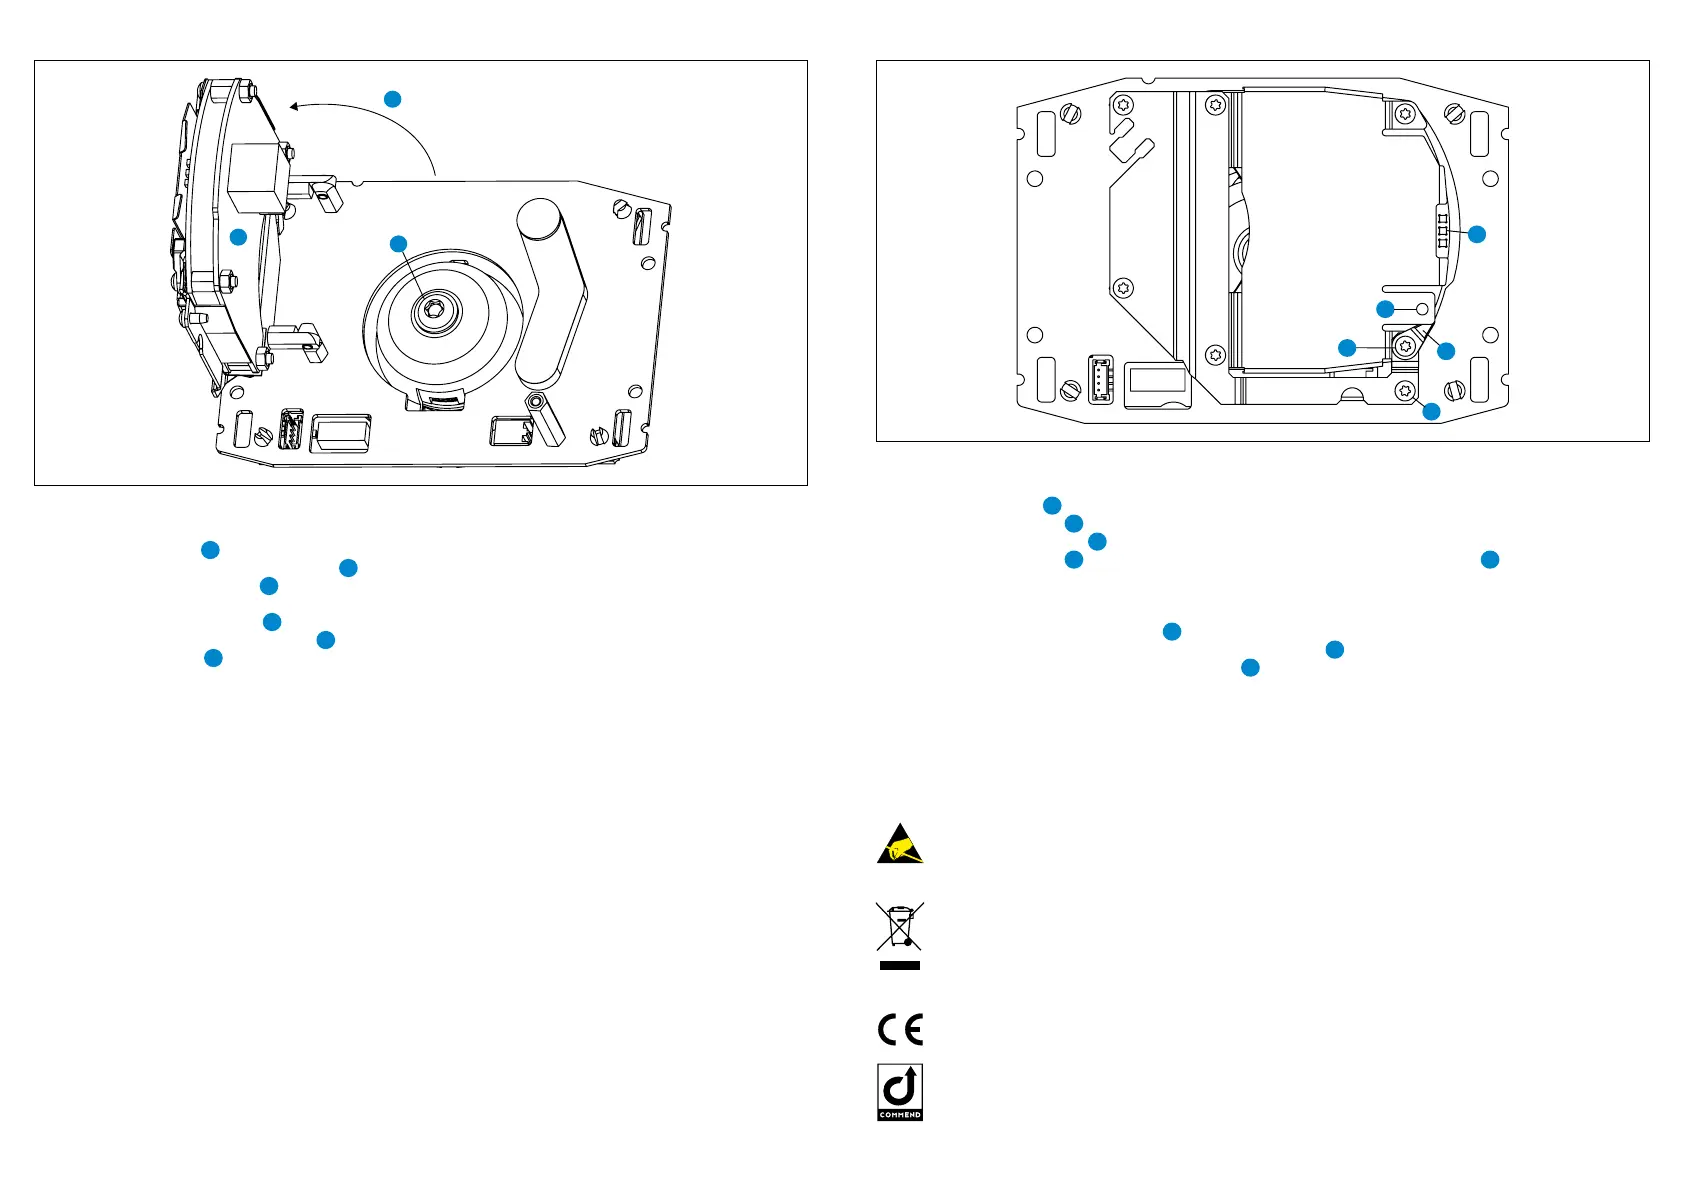
Adjusting the camera
Follow the steps below to adjust the angle of the camera:
1. Loosen the screw
5
(Torx T8).
2. Open up the Axis electronic module
6
.
3. Loosen the locking screw
7
(Torx T25) on the rear of the camera.
4. Adjust the camera in the desired angle (max. 25° in every direction).
5. Tighten the locking screw
7
.
6. Move the Axis electronic module
6
back into its original position.
7. Tighten the screw
5
.
First connection
The IP address is assigned directly via a DHCP server. If the network does not have a DHCP server, the
default address “192.168.0.90/24” is used.
The web interface can be accessed via a web browser using the URL “http://<IP address>”. Additionally,
the URL “http://<user name>:<password>@<IP address>/axis-cgi/mjpg/video.cgi” can be entered in a
web browser to directly access the MJPEG stream.
Login for Axis web interface
User name: root
Password: root
Attention:
After a reset, the password has to be congured manually.
Note:
For further information on installation and conguration, see Axis manual “P3904-R Mk II”.
Control button
Follow the steps below to operate the control button:
1. Loosen the screw
1
(Torx T8).
2. Turn the safety lever
2
outwards.
3. Push the control button
3
.
4. Turn the safety lever
2
back into its original position and tighten the screw
1
.
Follow the steps below to reset the camera to the factory default settings using the control button:
1. Disconnect the power supply from the camera.
2. Press and hold the control button
3
and reconnect the power supply.
3. Keep the control button pressed until the LED indicator
4
ashes amber.
4. Release the control button. If the status LED
4
turns green, the process is complete.
Attention:
After a reset, the camera must be recongured, otherwise the camera image would appear 180°
upside down.
Disposal and recycling
Equipment with this symbol shall not be disposed of together with household or
commercial waste.
The directive 2012/19/EU on waste electrical and electronical equipment (WEEE) is
applicable in the European Union member states.
Manufacturer’s reference
This device complies with the European directives listed below by fullling corresponding
standards:
• Electromagnetic compatibility (directive 2014/30/EU)
• Therestriction of theuse of certainhazardoussubstances in electrical and electronic
equipment (directive 2011/65/EU)
For technical specications, see the respective data sheet.
Keep this description in safe custody.
Observe the precautions for handling of electrostatic sensitive devices.
Handling
Use the original packaging when transporting the device to prevent damage.
• This is a Class A product (standard EN 55032). In a domestic environment, this product may cause
radio interference in which case the user may be required to take adequate measures.
• Cables must never be placed in the space between the black protective plate of the Axis camera
module and the wall mount box. Doing so may cause damage to the Axis camera or compromise
the tightness of the Intercom station’s housing.
Warning:
 Loading...