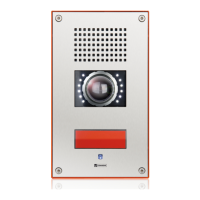
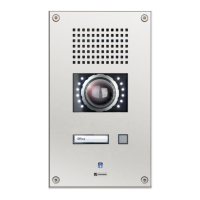
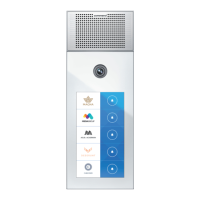
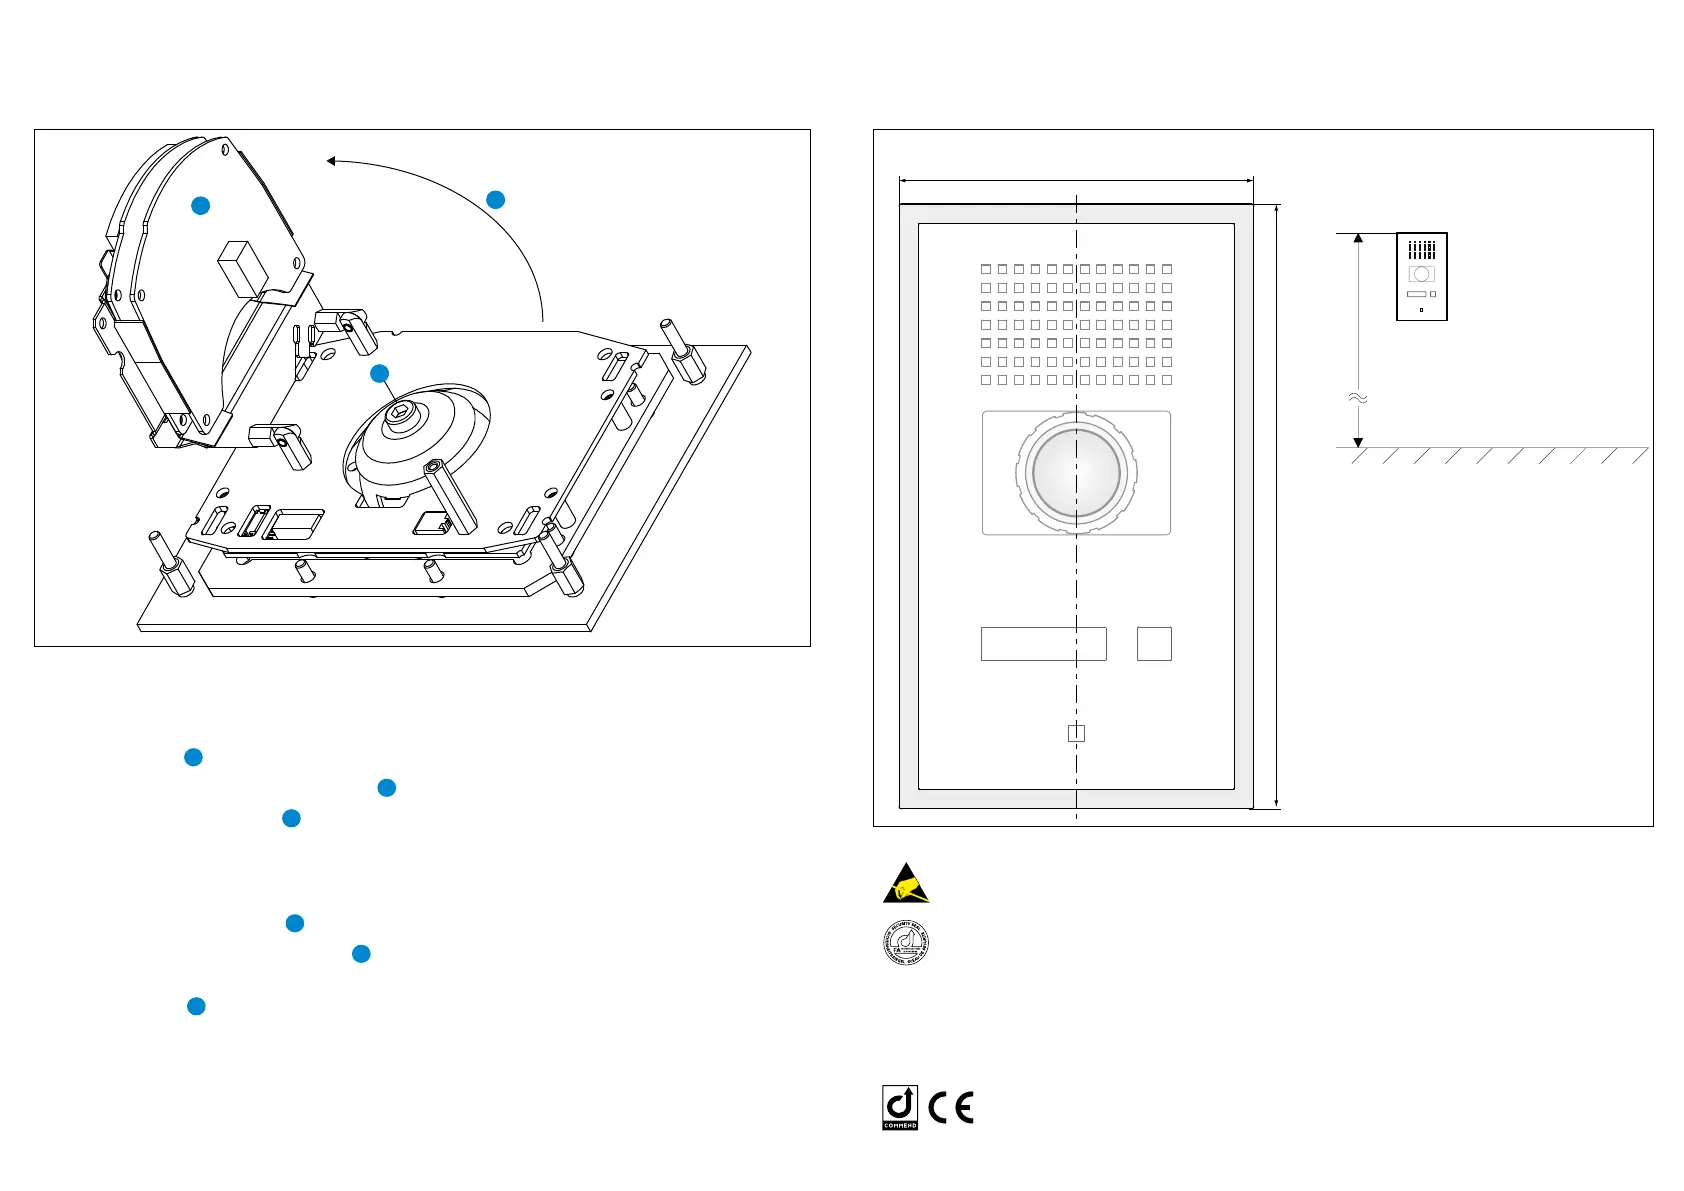
Measurements / Button Conguration
Measurements in mm (inch), not scale!
Type: D-BZ-WS201PICA, Version: 2.0/0615
Attention
Observe the precautions for handling of electrostatic sensitive devices!
The device may be only installed by authorised engineers.
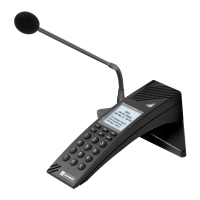
FA: Microphone adjusted ex works. If necessary the microphone sensitivity
should be set via CCT/ CCT 800 by an experienced technician.
An installation guide for the AXIS camera P3904-R can be found on the enclosed product
CD. For technical data and conguration see the respective datasheet.
For the current software please visit: www.software-manuals.com
Manufacturer‘s reference
This equipment fulls the requirements of the EU standard EMV-RL
2004/108/EG in the current version. Therefore this equipment is CE labelled.
Please keep this description in safe custody!
165 (6.5)
280 (11)
Depth: 13 (0.51)
cavity wall mounting: 15 (0.59) ( shadow gap between front panel & wall)
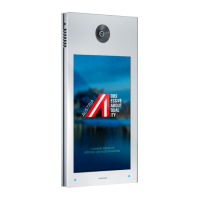
Adjusting the camera
In order to adjust the angle of the camera,
the following steps must be performed:
• Loosen screw
5
• Open up the AXIS electronic module
6
• Loosen the locking screw
7
(Torx T25)
on the back side of the camera
• Adjust the camera in the desired angle
(max. 25° in every direction)
• Tighten the locking screw
7
• Move the AXIS electronic module
6
back into its original position
• Tighten screw
5
First connection
The IP address is assigned directly via the
DHCP server.
If the network does not have a DHCP server
the default address 192.168.0.90 will be
used.
The web interface can be accessed via
a web browser using the URL http://<IP
address>. Additionally the URL http://<user-
name>:<password>@<IP address> axis-cgi/
mjpg/video.cgi can be used to directly
access the MJPG stream.
Login for AXIS web interface
User name: root
Password: root
Attention: After a reset the password has to
be congured manually.
Note: For further information on installation and settings see AXIS manual “P3904-R”.
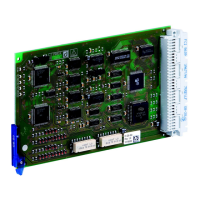
AXIS electronic module – Camera angle / web interface login
approx. 1. 65 m (5.4 ft)
Finished floor