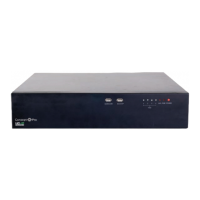
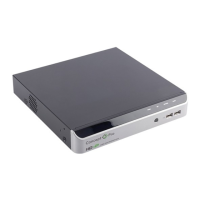
Network Video Recorder(NVR)
In the preceding table, interfaces 4, 5 and 9 are reserved in design and the NVR does not
support these interfaces currently.
4.3 Startup
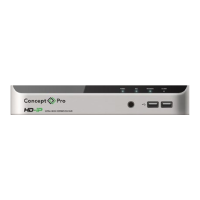
Please connect a power supply securely and turn the power switch to the on position,
the VHDIPL will then power-on. When the NVR is connected to a power supply, press
the Power key on the front panel, to turn on the NVR.
Before starting the NVR, ensure that the NVR is connected to a power supply properly
and a monitor is connected to the HDMI or VGA slot of the NVR correctly.
When the NVR is started, the power indicator becomes steady on and the NVR starts a
self-test and displays the test result on the screen. The startup process takes about 2
minutes.
When a hardware abnormality is detected, the self-test screen will stay on, select
continue or shutdown in the lower right corner of the screen. Click continue, then the
VHDIPL will display the login screen.
Hard disk detection is performed during startup. If the detection fails, possible causes
include
!
The hard disk is new and unformatted. In this case, format the hard disk based on chapter
5 “Quick Setup”
!
The hard disk is damaged.
4.4 Shutdown
If you have not logged in to the NVR, press the POWER button in the front panel for
more than 3seconds. The NVR will shut down. When the power indicator on the front
panel is off, the NVR will have shut down successfully.
If you have logged in to the NVR, click
in the upper right part or press the
POWER button for more than 3s. The shutdown page is displayed, as shown in Figure
4-3.