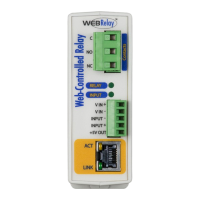
Installation and Connections WebRelay Users Manual
2.6 Establishing Communications for Setup
WebRelay is set up using a web browser. The first task is to establish communications between a
computer and the WebRelay device so that the browser-based configuration can begin. To do this, the
computer and WebRelay must be physically connected to the same network and both must have IP
addresses on the same network. There are two ways to set up the computer and WebRelay so that they
are on the same network.
Method 1: Temporarily change the IP address of a connected computer to the match the default IP
address used by the WebRelay.
-or-
Method 2: Assign a temporary IP address to the WebRelay to work on an existing network.
Note: If multiple ControlByWeb™ products are used on the same network, install one at a time and set
the IP address of each unit before connecting the next unit to the network. This avoids having multiple
devices being installed on the network with the same factory default IP address at the same time. If this
approach is used, be sure to clear the arp cache after disconnecting each unit (arp -d).
2.6.1 Method 1: Assign a Temporary IP Address to Configuration Computer
By default, the WebRelay comes from the factory with an IP address of 192.168.1.2. Communication
with the WebRelay may be established by assigning an IP address to the configuration computer so that
it is on the same network as the WebRelay (for example, the configuration computer could be assigned
to 192.168.1.50)
The following example is for those running the Windows-8 operating system, but may be similar to other
operating systems:
1. Apply Power, wait 15 seconds for the WebRelay to become operational, and then connect the
Ethernet cable.
2. Open the Windows 8 start screen.
3. Type “Control Panel” and press enter (the search box opens automatically when you begin typing).
Page 28 Xytronix Research & Design, Inc.
 Loading...