5
Warning: As soon as a liquid starts boiling, turn down the flame so that it will barely keep the liquid simmering. If the control knobs
become difficult to turn, please contact your local service centre. (See figure 3*)
Maintenance and Cleaning
Before any maintenance or cleaning can be carried out, you must DISCONNECT the hob from the electricity supply.
The hob is best cleaned whilst it is still warm; as spillage can be removed more easily than if it is left to cool.
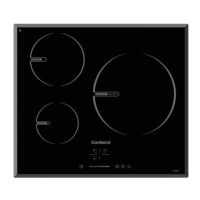
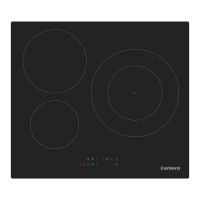
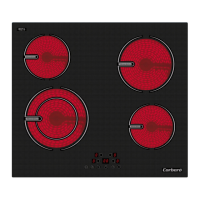
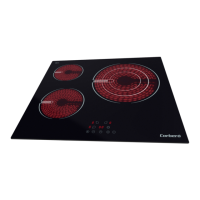
The Hob Panel
Regularly wipe over the hob top using a soft cloth well wrung out in warm water to which a little washing up liquid has been added.
Avoid the use of the following:1) household detergent and bleaches;2) impregnated pads unsuitable for non-stick saucepans;3) steel wool
pads;4) bath/sink stain removers.
Pan Supports
If washing them by hand, take care when drying them as the enameling and dieing process occasionally leaves rough edges. If necessary,
remove stubborn stains using a paste cleaner.
The Burners
The burner caps and crowns can be removed for cleaning. Wash the burner caps and crowns using hot soapy water, and remove marks
with a mild paste cleaner. A well moistened soap impregnated steel wool pad can be used with caution, if the marks are particularly
difficult to remove.
After cleaning, be sure to wipe dry with a soft cloth.
Thermocouple
The thermocouple is very crucial for cutting gas supply in case of flame out during cooking, be sure to keep them in very clean condition.
Troubleshooting
Problem
• There is no spark when lighting the gas
Corrective action
• Check that the unit is plugged in and the electrical supply
is
switched on
• Check the mains fuse has not blown
• Check the burner cap and crown have been replaced correctly, e.g.
after cleaning.
fo raelc si nworc renrub eht dna dekcolb ton si tej niam eht kcehC • ylnevenu snrub gnir sag ehT •
food particles.
• Check the burner cap and crown have been replaced correctly, e.g.
after cleaning.
Instructions for the Installer
Overall dimensions
Width: 590mm Depth: 510mm
Cut out dimensions
Width: 553mm Depth: 473mm
Technical Data
Burner configuration