STANDARD RECOMMENDED PROCEDURE 003-722 | ISSUE 4 | OCTOBER 2015 | PAGE 4 OF 10
4. Installation
4.1 Opening the Housing
Removing the cover is optional but is recommended to ease installation.
Step 1: Open front and rear doors.
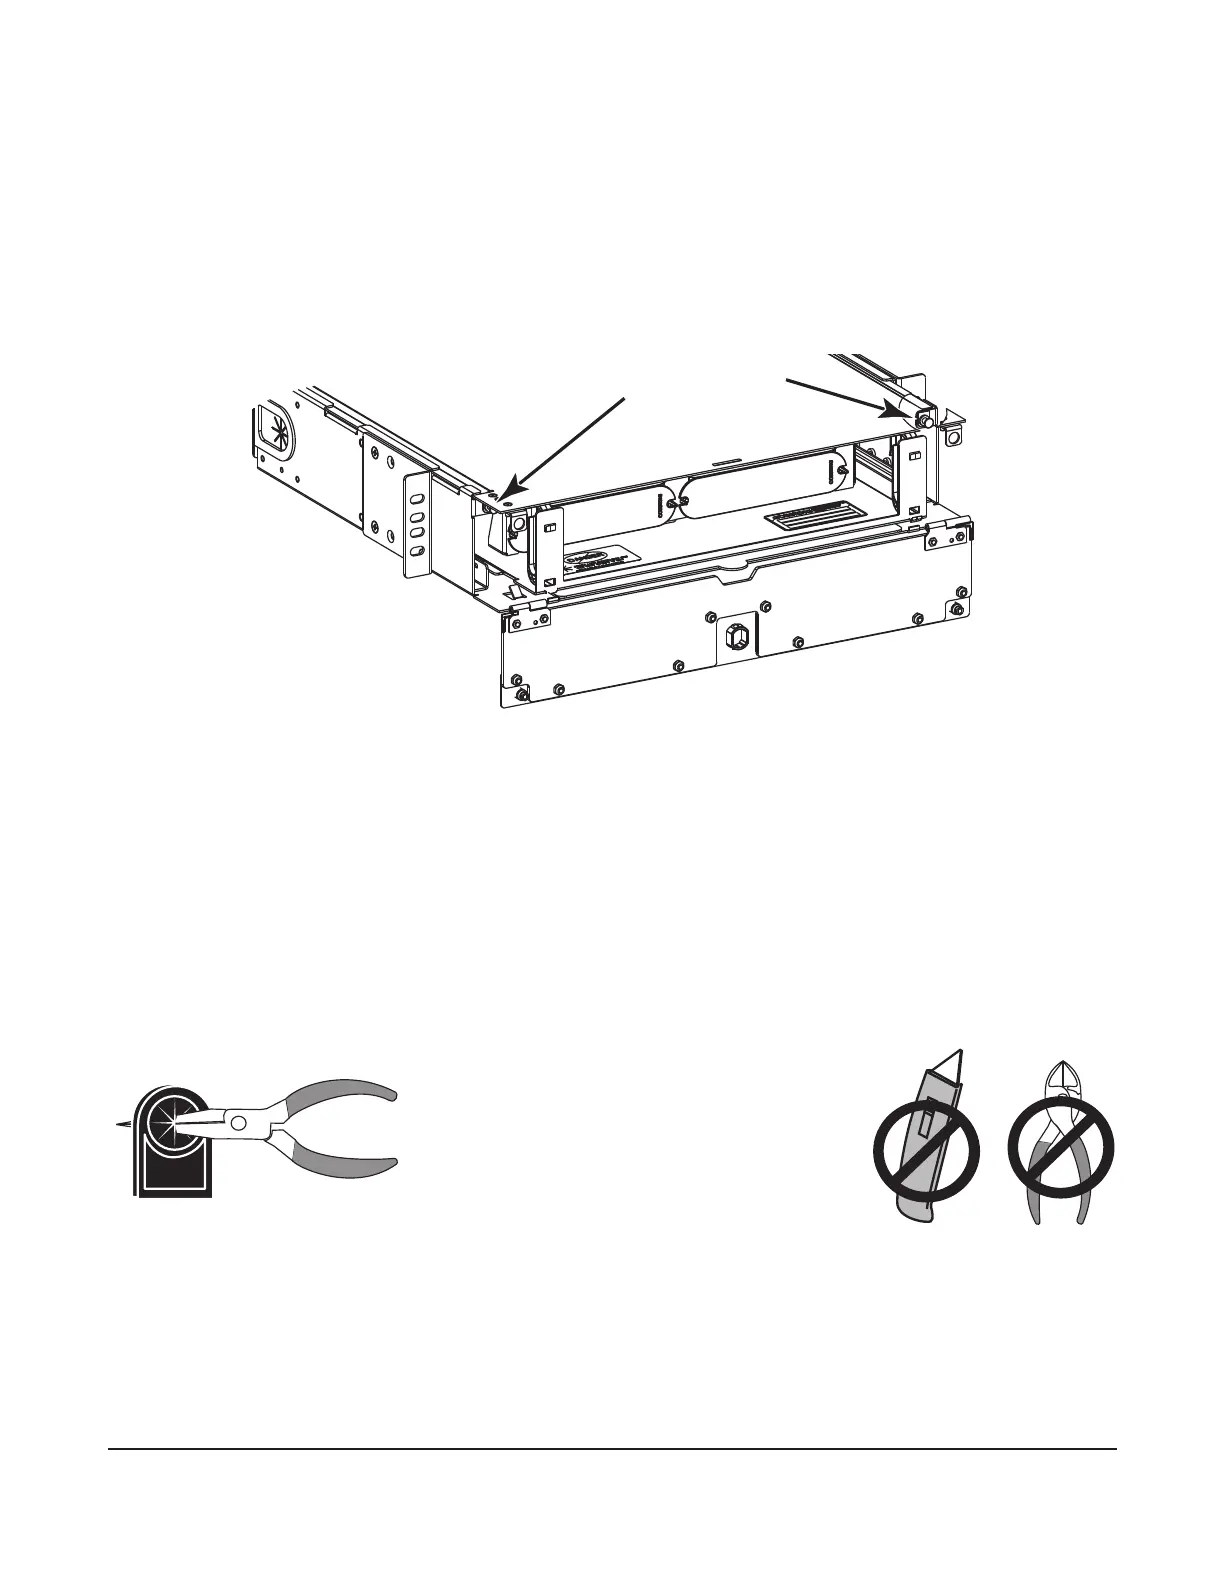
Step 2: Locate the plunger fasteners at the front of the unit under the housing cover and pull
out to release the plungers (Figure 3).
Step 3: Lift stop latches and slide the cover of the unit toward the front until it is clear of the
base. Set the cover aside.
Figure 3
4.2 Mounting the Housing into a Rack
Attach the unit to the equipment rack using the four screws provided. Two screws are required
per side.
4.3 Installing Cable Entry Plate
Step 1: Determine location for cable entry into housing.
Step 2: Slide drawer back completely. The drawer must be in this position to prevent ber
damage during drawer actuation.
Step 3: Prepare the appropriate cable entry grommet (Figure 4).
Figure 4
Step 4: Install cable entry plate using the provided screw (Figure 5) at the location where the
cable will enter the housing.
Step 5: Install the strain-relief bracket to the side of the housing (Figure 5) at the location
where the cable will enter the housing.
KPA-0149
Plunger fasteners
KPA-0783
Use a pair of needle-nose pliers or sharp
pencil to pierce the grommet. Do not use a
knife or cutters. The grommets must fit
tightly to prevent the intrusion of
foreign particles.