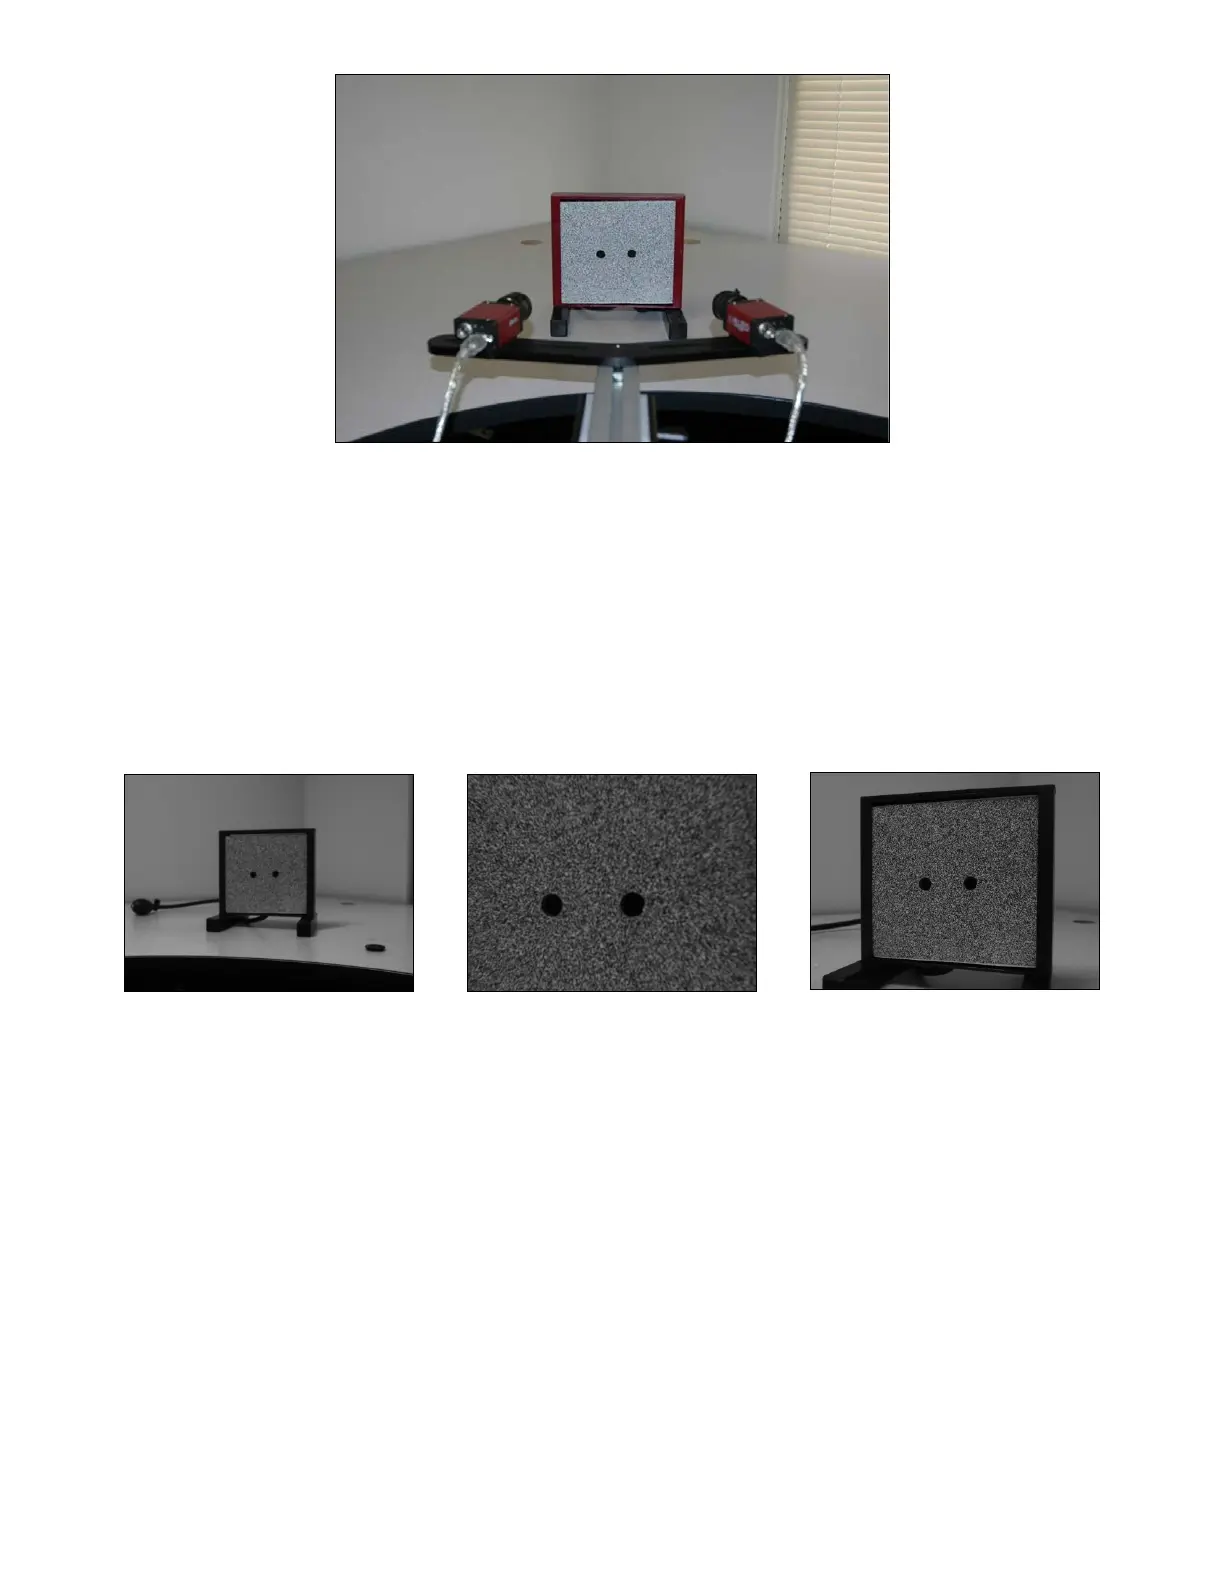
The distance is set so that the specimen roughly fills the field of view. If the specimen is larger than the field of view, we
lose data at the edges; if the specimen is much smaller, our spatial resolution suffers. Note that the entire area of interest
must be visible in both cameras – generally, the specimen should be made just a bit smaller than the field of view, so that
pixel-perfect alignment isn’t necessary.
Also note that the object must remain in the field of view for the entire test in order to collect data, so if large motions of
the sample are predicted, the field of view should be adjusted accordingly. For instance, if a rubber specimen will be
straining downwards 100%, it should only be filling the top half of the field of view.
Too small – loss of spatial resolution Too large – lost information at edges A good size
Keep in mind that the entire specimen might not always be of interest – for example, if we were very interested in details
near the two holes, we could zoom in on that area for better spatial resolution.
 Loading...