10
INSTALLING / REMOVING
FACEPLATE
Make sure the switch is in OFF position
and the cord is disconnected from the
power source.
Attach the faceplate to the headstock by
threading it on the spindle.
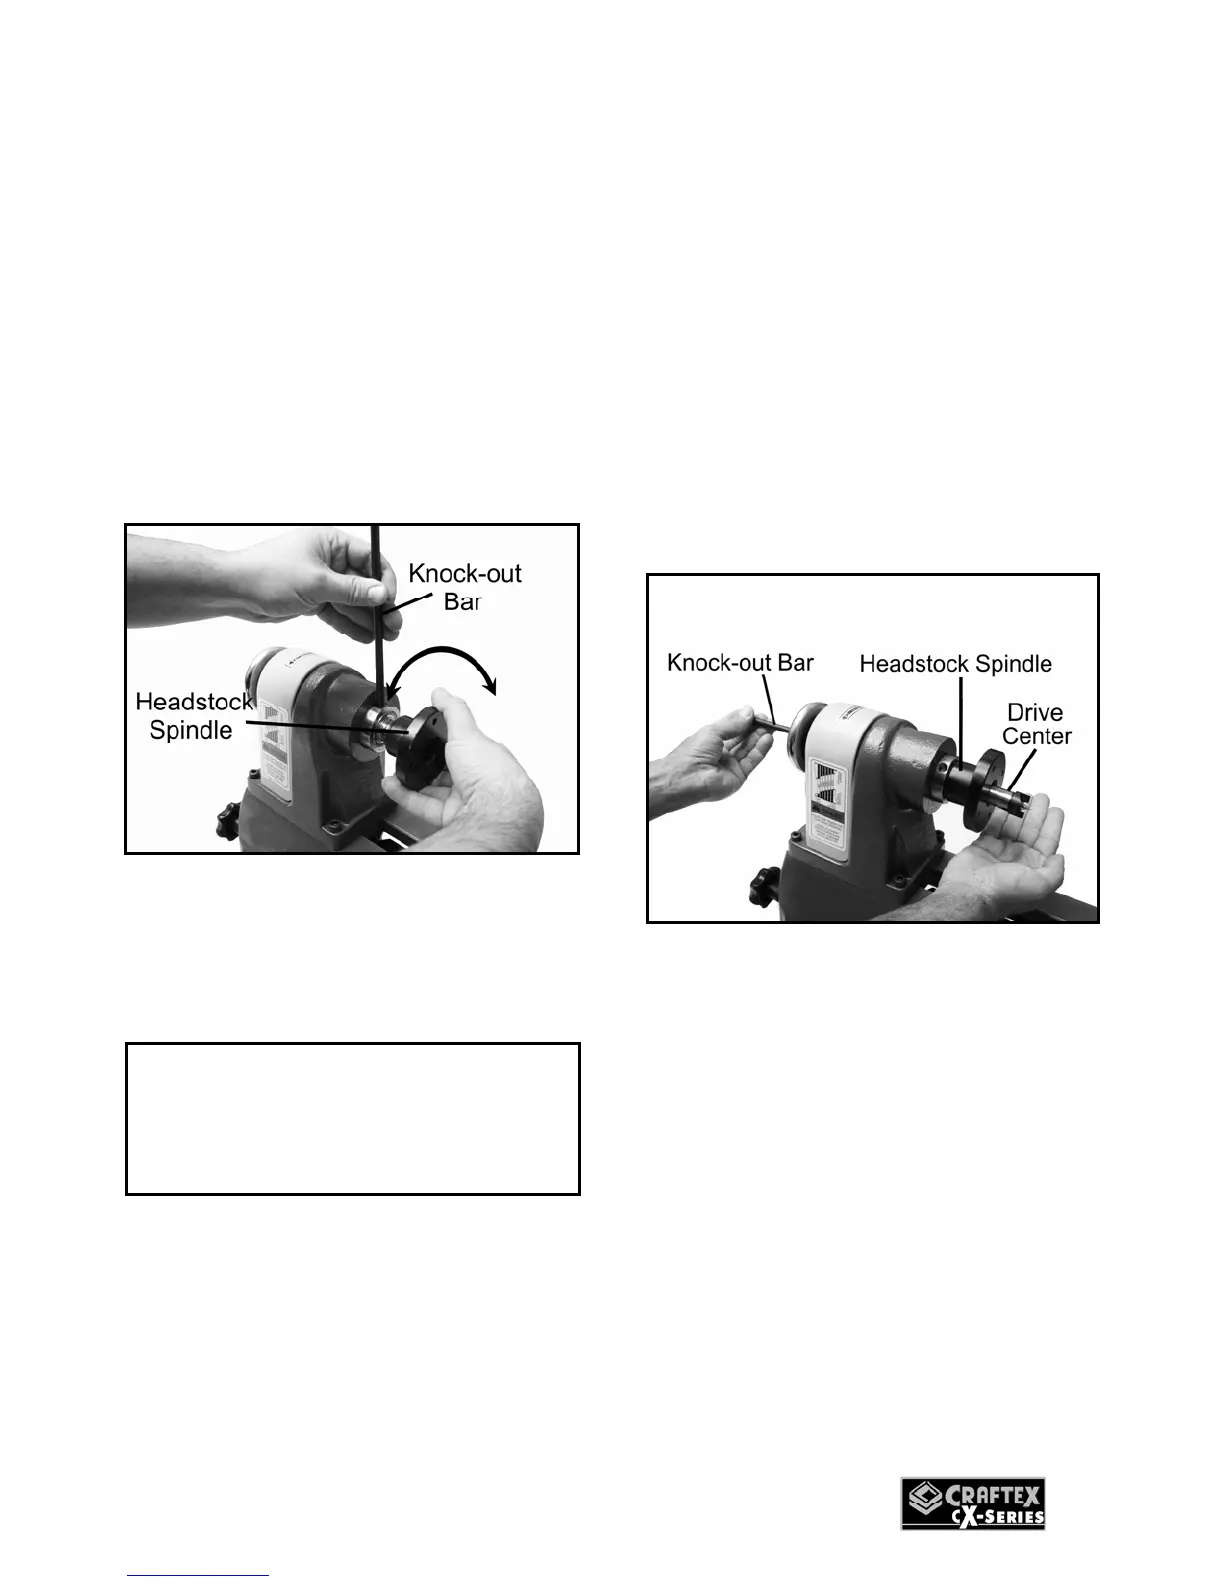
Now, use knock-out bar and tighten the
faceplate as shown in the in Figure-7.
Figure-7 Installing the faceplate
When you want to remove the faceplate,
simply do the above procedure in reverse.
INSTALLING / REMOVING
HEADSTOCK CENTER
The headstock spindle is designed with
an MT2 taper.
Clean the spindle bore and center's taper
and insert the center into the spindle bore
firmly by hand.
Removing the drive center is done by
simply knocking it out, using the supplied
knock-out bar. When knocking out the
center, hold it by hand to prevent it
dropping down. See Figure-8.
Figure-8 Knocking out the drive center
with the help of knock-out bar
WARNING
Disconnect the machine from the
power source before mounting and
removing parts.
 Loading...