Do you have a question about the Craftsman 137.218030 and is the answer not in the manual?
Provides a path of least resistance for electric currents to reduce shock risk.
Details on selecting and using appropriate extension cords for safety and performance.
Instructions for unpacking and verifying all parts against the packing list.
List of tools required for assembling the table saw.
Step-by-step instructions for assembling the saw's stand.
Instructions for mounting the table saw unit onto its assembled stand.
Details on storage locations for the rip fence and miter gauge.
Instructions for securing the saw to a workbench instead of its stand.
Procedure for attaching and using handwheels to adjust blade height and tilt.
Detailed steps for safely installing and replacing the saw blade.
Instructions for assembling and installing the blade guard and splitter.
Guidance on installing the table extension fence for wider workpieces.
How to adjust the position and height of the table extension fence.
Steps to check and adjust the miter gauge for accurate cuts.
Procedure for aligning the rip fence parallel to the blade and miter slots.
How to calibrate the rip fence indicator to the measurement scale.
Setting positive stops for quick and accurate 90° and 45° blade angle positioning.
Adjusting the pointer for accurate reading of the blade tilt angle.
Procedure to ensure the saw blade is perfectly parallel to the miter gauge slots.
Detailed steps for fine-tuning blade alignment using adjustment rods.
Fundamental operations including raising and lowering the blade.
How to adjust the blade tilt for bevel cuts.
Locating and operating the power switch for the saw.
Securing the saw by removing the safety key when not in use.
Understanding and resetting the motor overload protection feature.
How to adjust and use the table extension fence for various cuts.
Step-by-step guide for making rip cuts along the length of the workpiece.
Performing rip cuts with the blade set at a bevel angle.
Safety precautions and techniques for ripping narrow workpieces.
Instructions for making crosscuts perpendicular to the workpiece length.
Crosscuts performed with the blade set at a bevel angle.
Making cuts that combine both miter and bevel angles.
Crosscuts made with the miter gauge set at an angle other than 90°.
Adding a wood facing to the rip fence for special cutting operations.
Routine cleaning, polishing, and safety checks for the table saw.
Checking and adjusting the blade lift and tilt mechanisms for proper function.
Information on lubricating mechanical parts with dry lubricants.
Detailed list of all parts for the table saw, referencing the schematic.
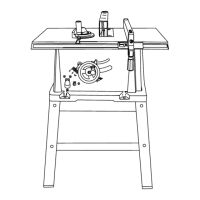
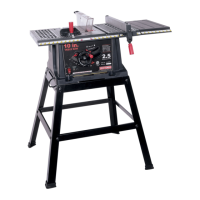
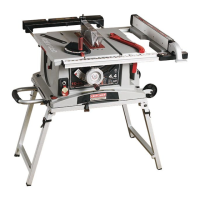
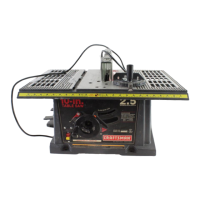
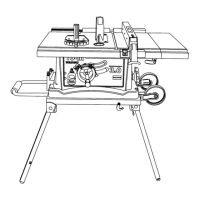
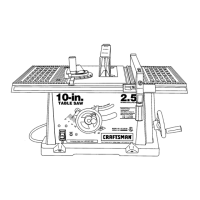
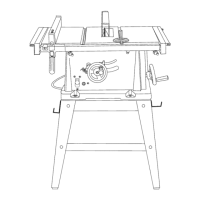
This document is the Operator's Manual for a Craftsman 10-inch Table Saw with Stand, Model No. 137.218030. It provides comprehensive information on the saw's function, technical specifications, usage, and maintenance.
The Craftsman 10-inch Table Saw is a power tool designed for cutting wood and similar materials. It is primarily used for ripping (cutting with the grain) and crosscutting (cutting across the grain) workpieces. The saw features a circular blade that protrudes through a flat table, allowing the user to guide material against a fence or miter gauge for precise cuts. Key components include a blade guard and splitter assembly for safety, a rip fence for straight cuts, and a miter gauge for angled crosscuts. The saw can perform various types of cuts, including 90° crosscuts, bevel crosscuts (0°-45° blade bevel), mitering (0°-45° miter angle), compound miter crosscuts (combining miter and bevel angles), and dado cuts for creating grooves.
The table saw is designed for versatility and precision in woodworking.
Regular maintenance is crucial for safe and efficient operation.
The manual emphasizes the importance of reading and understanding all safety rules and operating instructions before using the tool to prevent serious injury or damage. It also provides contact information for customer support and Sears Parts & Repair Center.