TRIMMINGAHEDGE
See Figures 5 & 6,
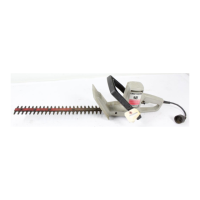
USE TRIMMER PROPERLY. Hold the Hedge Trimmer
with both hands and with the cutter blade away from
you BEFORE turning the switch on.
Always keep cord behind your Hedge Trimmer when
in use. Do not place It over the hedge where it may
be cut by thE! blade.
trimming thorny or prickly growth,
When trimming new growth, use a wide, sweeping
action so that the stems are fed directly into the cut-
ter blade. Older growth will have thicker stems and
will be trimmed easiest by using a sawing move.
ment. Do not try to cut stems that are larger than
3/8" thick or those obviously too large to feed into
the cutter blade. Use a non-powered hand saw or
pruning saw to cut the larger stems.
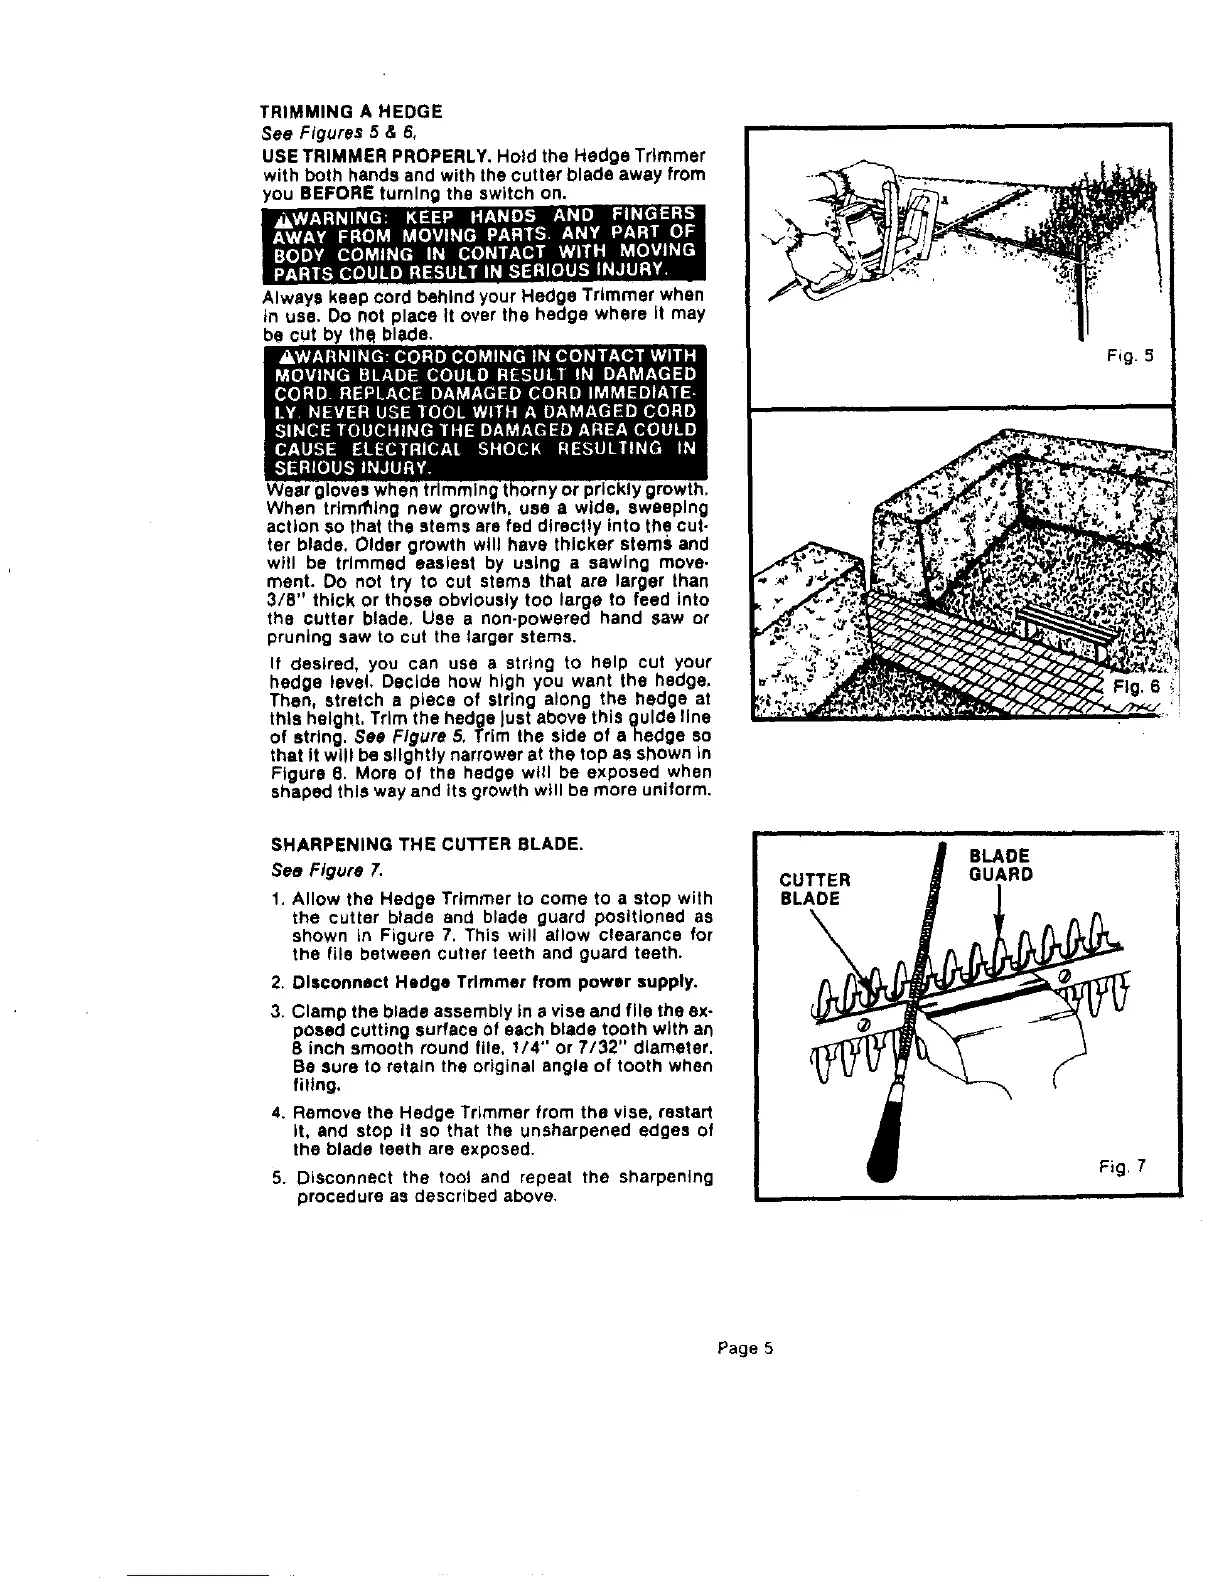
If desired, you can use a string to help cut your
hedge level. Decide how high you want the hedge,
Then stretch a piece of string along the hedge at
this height, Trim the hedge lust above this guide line
of string. Sea Figure 5. Trim the side of ahedge so
that It will be slightly narrower at the top as shown in
Figure 8. More of the hedge will be exposed when
shaped this way and its growth will be more uniform.
SHARPENING THE cUTTER BLADE.
See Figure 7.
1. Allow the Hedge Trimmer to come to a stop with
the cutter blade and blade guard positioned as
shown in Figure 7. This will allow clearance for
the file between cutter teeth and guard teeth.
2. Disconnect Hedge Trimmer from power supply.
3. Clamp the blade assembly in a vise and file the ex-
posed cutting surface of each blade tooth with an
8 inch smooth round file, 1/4" or 7/32" diameter.
Be sure to retain the original angle of tooth when
filing.
4. Remove the Hedge Trimmer from the vise, restart
it, and stop it so that the unsharpened edges of
the blade teeth are exposed.
5. Disconnect the tool and repeat the sharpening
procedure as described above.
CUTTER
BLADE
BLADE
GUARD
Fig. 7
Page 5