11
ENGLISH
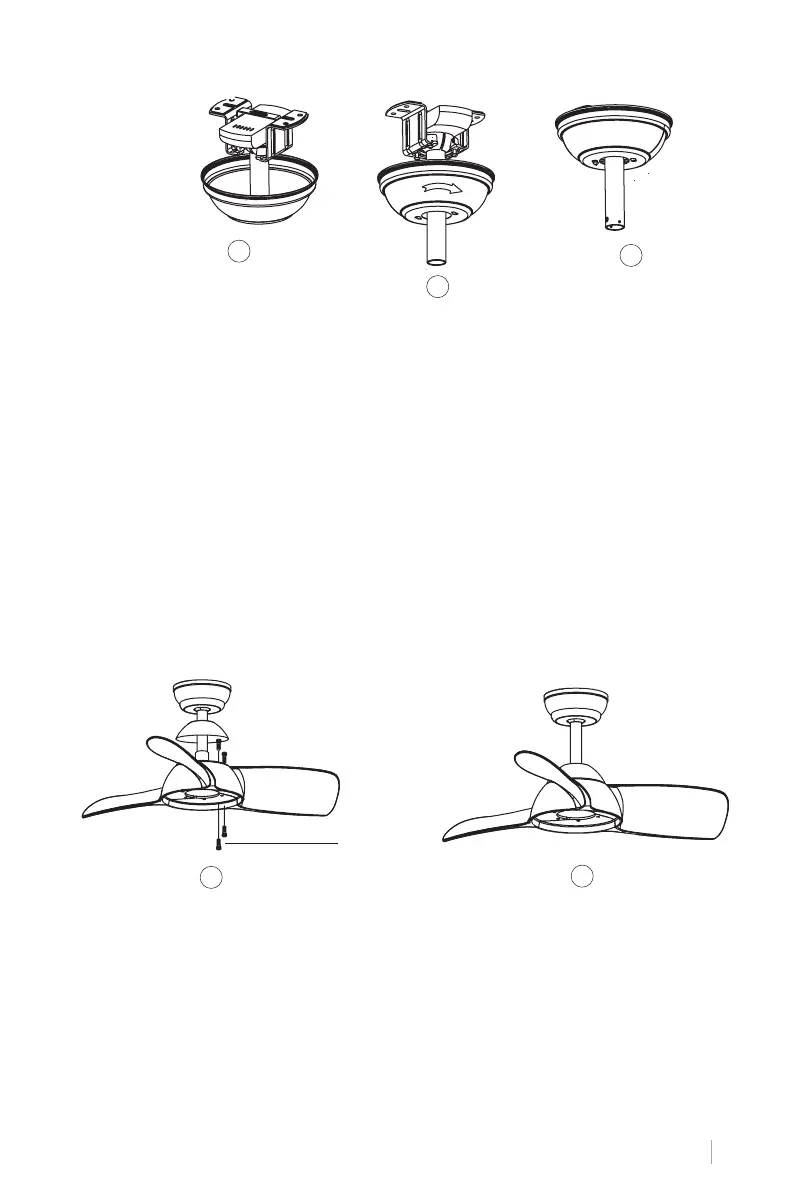
CANOPY ASSEMBLY
1
2
3
• Raise the rosette up to the mounting bracket and align the loosened screws in the mount-
ing bracket with the holes in the rosette.
• Rotate the n to adjust. Reinsert the screws and secure with a screwdriver.
• Once you have the mounting bracket secured to the junction box you can proceed to hang
the fan.
• Hold the fan rmly with both hands. Pass the rod through the mounting bracket opening
and let the ball rest on the mounting bracket.
• Rotate the ball coupling until it lines up with the tab on the mounting bracket.
• Tip: Someone else should help you hold the ladder and hand you the fan after you get on it.
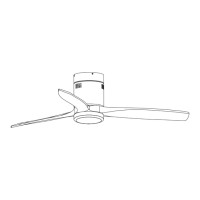
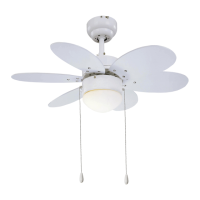
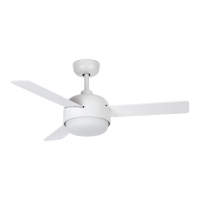
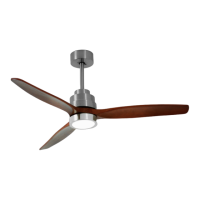
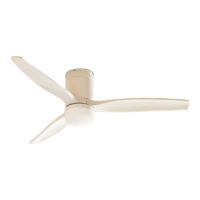
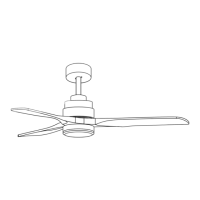
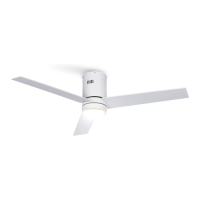
BLADES ASSEMBLY
• Align the holes in the fan blade holder with the holes in the fan blades and motor body
and screw them into place, but do not tighten until they are all in place and screwed down.
Tip: To save time, you can put the washers on each screw before installing the blades.
1
2
Screws
• Check the correct operation of the ceiling fan, checking that no strange movement or
misalignment is observed in any part of the fan.
• In the event that some kind of hum / vibration can be seen, you can proceed to adjust the
blades with the shooting kit.
• This kit has self-adhesive weights and "u" shaped clips.
• Turn off the ceiling fan.
• You can put the clip in the center of any blade and check if the vibration decreases.
• Turn on the fan and check. If no change is seen, turn off the fan and add another clip to a
different blade or use the adhesive weights.