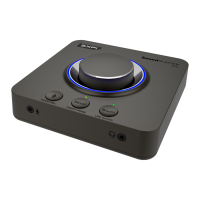
6.
Headphone
volumedial
Controlsthevolumetoyourheadphones.Turnclockwisetoincreasethevolume,and
counterclockwisetodecreasethevolume.
7. Headphonejack
Connectstereoheadphoneswitha6.35mm(1/4-inch)stereoplugtothisjack.Speakeroutputwill
bemutediftheAutomaticallymutespeakerscheckboxisselectedinAudioConsoleor
EntertainmentMode.Formoreinformation,refertotheironlineHelp.
8.
LineIn2/MicIn
2jack
Connectaline-levelsource(forexample,acassetteplayeroranelectricguitarrunningthrougha
Pre-ampFXBox)oramicrophonetothisjack.
9.
LineIn2/MicIn
2dial
SelectsLineIn2orMicIn2.Alsocontrolstheinputgain.Turnthedialclockwisetoincreasethe
inputgain,andcounterclockwisetodecreasetheinputgain.
10.
LineIn2/MicIn
2separatormark
ToselectLineIn2forline-levelsources,turnthedialcounterclockwiseovertheLineIn2/MicIn2
separatormarkuntilyouheara"click".ToselectMicIn2,turnthedialclockwiseoverthe
separatormarkuntilyouheara"click".
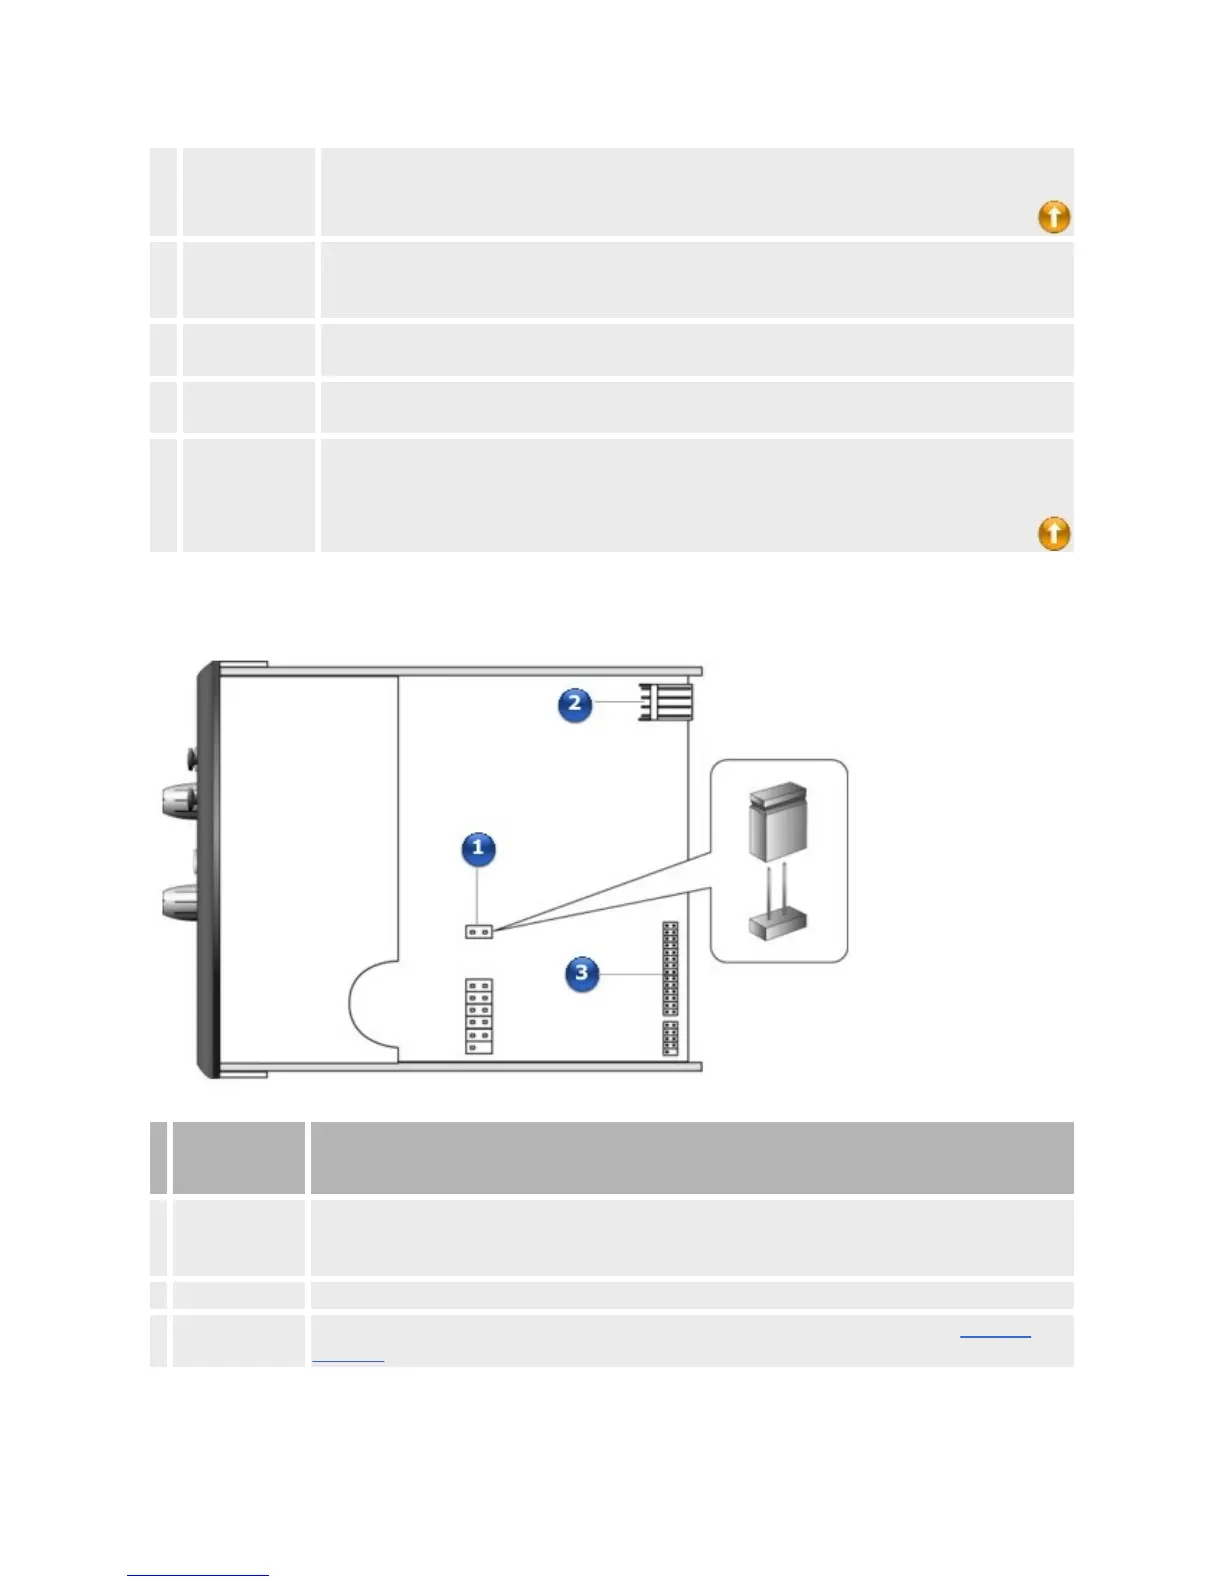
Toppanel
Jackor
Connector
Description
1. JumperJP1
ConnecttheshuntsuppliedwithyourX-FiI/ODrivetothisjumperifyouwanttouseadynamic
microphone.Donotconnecttheshuntifyouwanttouseacondensermicrophoneorcomputer
microphone.
2. Powerconnector ConnectthepowersplittercablesuppliedwithyourX-FiI/ODrivetothisconnector.
3.
AD_EXT
connector
ConnectoneendoftheAD_EXTcabletothisconnector.ConnecttheotherendtotheAD_Link
connectorontheSoundBlasterX-Fiaudiocard.
Notes