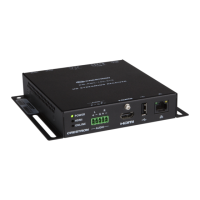
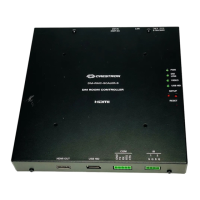
Room Media Controller Crestron QM-RMC
“Port Settings” Window:
Default PC Settings for RS-232 Communication with the QM-RMC
To verify communication, click Diagnostics | Establish Communications
(Find Rack). This should display a window that gives the COM port and baud
rate.
TCP/IP Connection
Before you can communicate with the QM-RMC over TCP/IP, you must use the
RS-232 connection just described to configure the unit’s TCP/IP settings. Obtain
the static address from the network administrator.
1. Open Viewport and click Functions | Set Control System IP
Information.
2. Enter the IP address, IP mask and default router in the text fields. All of
these terms are explained in detail in the Crestron e-Control Reference
Guide, Doc. 6052. The latest version is available as a PDF on the
Crestron website (www.crestron.com).
3. Click OK to set the new IP information.
Once you have assigned the IP settings, you can continue to communicate with
the QM-RMC using the RS-232 connection, or you can establish a TCP/IP
connection.
For TCP/IP, use CAT5 straight through cables with 8-pin RJ-45 connectors to
connect the LAN port on the QM-RMC and the LAN port on the PC to the
Ethernet hub. Alternatively, you can use a CAT5 crossover cable to connect the
two LAN ports directly, without using a hub. The following figure illustrates
pinouts for straight through and crossover RJ-45 cables. Pins 4, 5, 7, and 8 are
not used.
12 • Room Media Processor: QM-RMC Operations Guide - DOC. 6161

 Loading...