Removal and Replacement of ProStock Drawers Installation of Locker Drawer
4. Installation of Locker Drawer
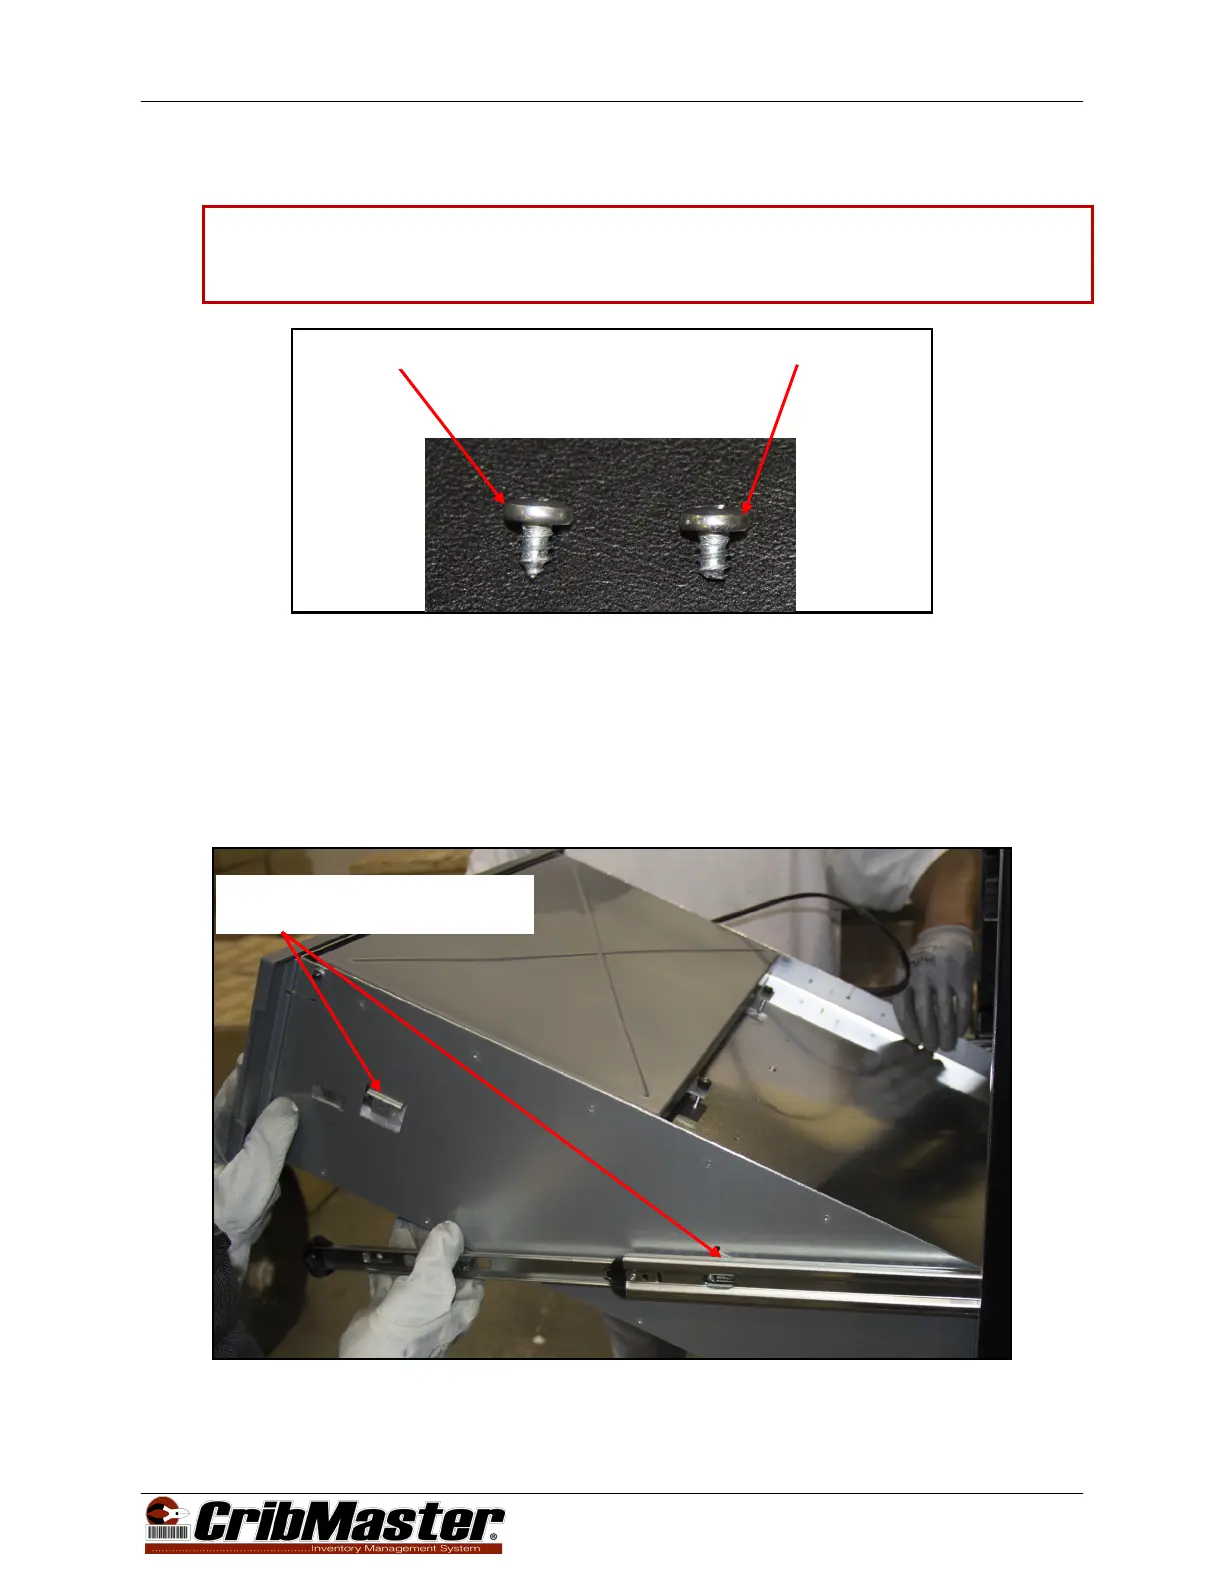
Caution: When installing a locker drawer ensure that the four screws used have been slightly cut
down as shown in Figure 7. Failure to do so can risk injury when reaching inside of an
installed locker.
Figure 7, Drawer Attaching Screws, Carousel and Locker
1. Turn off and disconnect power to the ProStock Machine.
2. Remove Carousel Drawer (or Locker Drawer) from the ProStock machine following the steps in
Section 2 Removal of Carousel Drawer on page 6.
3. With one person on each side of the drawer, line up the rear tabs on the drawer with the rear slots on
the drawer guides. As the rear tabs are slid into place, lower the front of the drawer ensuring that the
front drawer tabs are inserted into the front drawer guide slots (see Figure 8).
Figure 8, Locker Drawer Installation
Drawer Tabs 4PL (2 Right Side
Shown) (2 Left Side Not Shown)
Locker Drawer (Cut) Screw
11 of 13