Installation of Locker Drawer Removal and Replacement of ProStock Drawers
4. Using a Philips head screwdriver, attach the carousel drawer with four (4) 8 x ¼” modified (see
Caution note below) pan head screws (two on the left side and two on the right side) to the drawer
guides (see Figure 3).
Caution: When installing a locker drawer ensure that the four screws being used have been
slightly cut down as shown in Figure 7. Failure to do so can risk injury when reaching
for items inside of an installed locker.
5. Plug in the drawer’s power/data cable to the appropriate plug located inside the cabinet of the
ProStock machine on the left side (see Figure 1).
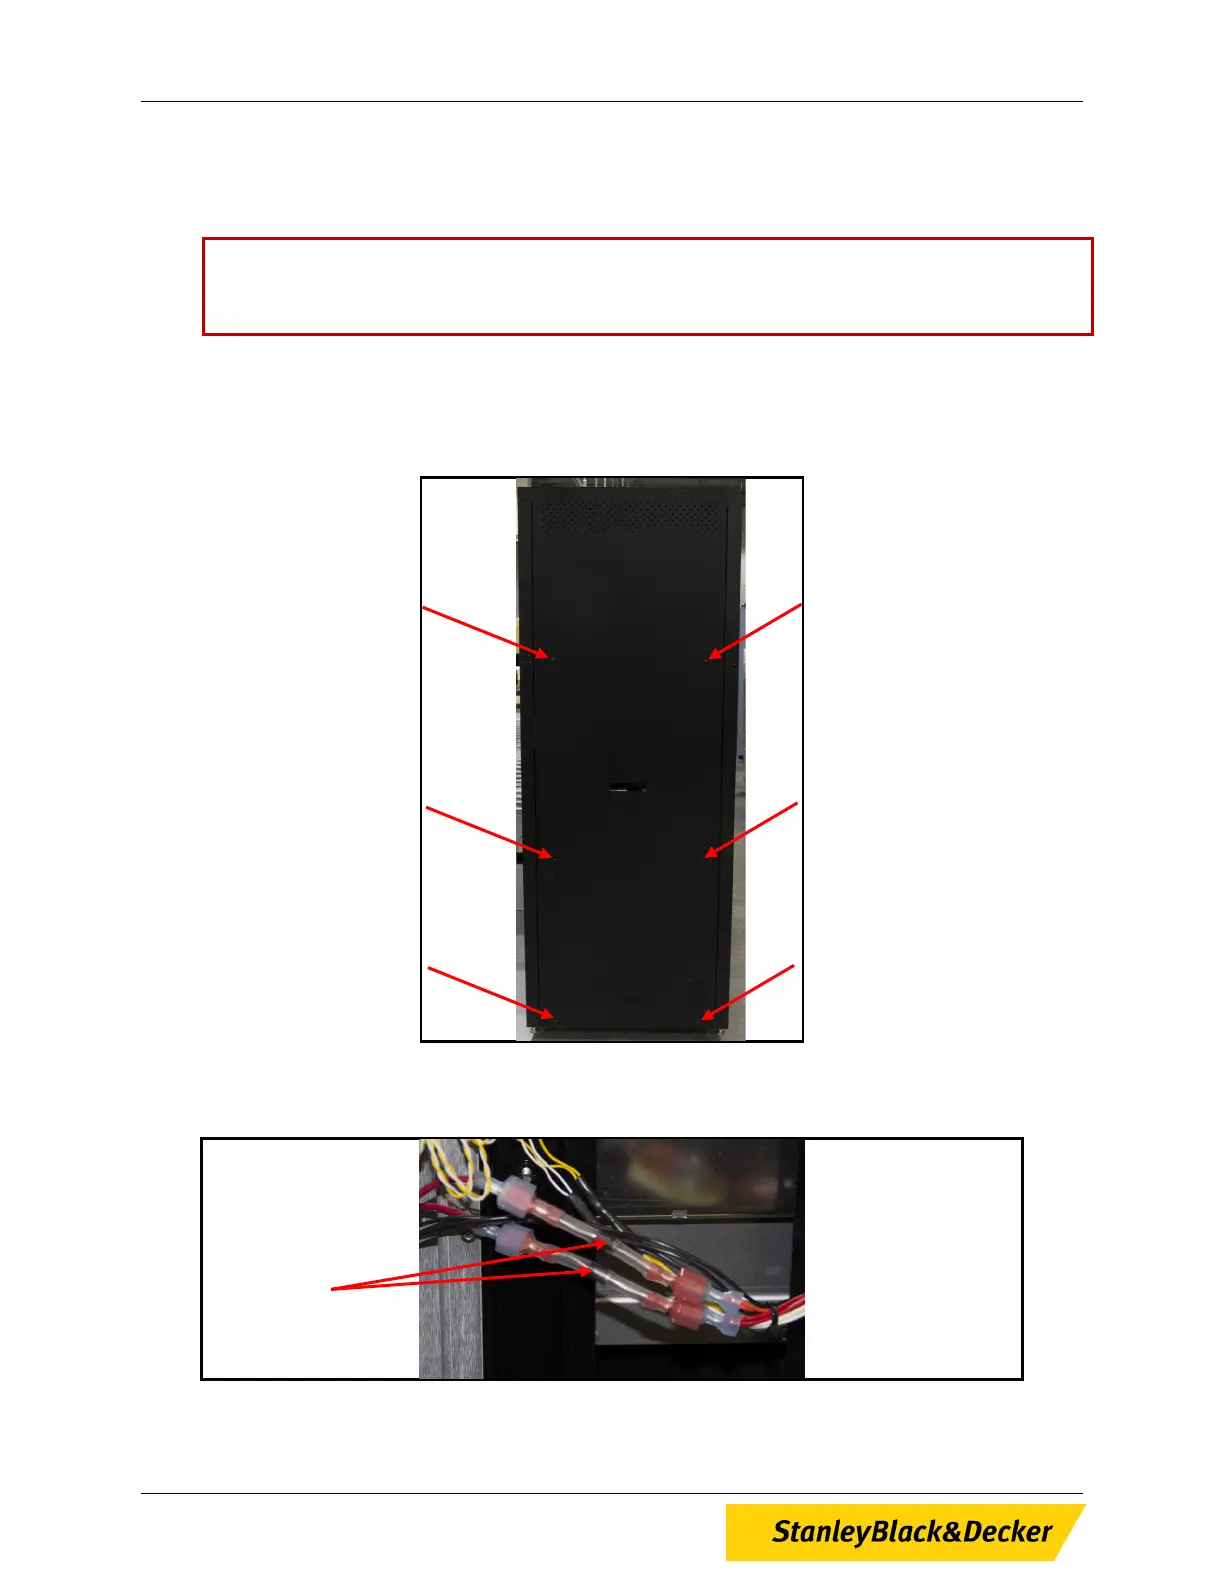
6. Using a Philips head screwdriver, remove the six (6) screws holding the left side panel of the
ProStock Machine and remove the panel (see Figure 9).
Figure 9, Location of Screws, ProStock Left Side Panel
7. Once panel is removed, locate diodes on wiring harness (see Figure 10).
Figure 10, Diodes, ProStock Wiring Harness
Diodes 2PL
12 of 13