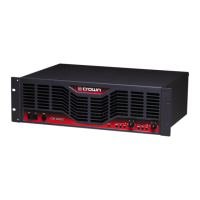
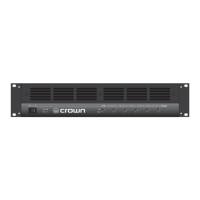
CE Series Service Manual
Rev. D
Type of Test Input Signal and Comments
or Adjustment Load Parameters
WARNING:
Do not connect any load to the CE-Series power amplifier during these tests until
specifically instructed to do so.
Check for a delay of approximately 6 seconds from
the time the power switch is turned on until the fault
indication clears. If the fault fails to clear, check for
presence of rail voltages and for a DC offset. Turn unit
off, disconnect the power cord, discharge power sup-
plies, and check for a failure in the output stage of the
affected channel, or other applicable circuit area. If the
fans lock in high speed after delay times out, check
fan control components.
With the input level controls turned fully clockwise, the
DC offset for both channels should be less than ±10
millivolts. A large DC offset usually indicates a failure
in the output stage, though such an offset should have
shut down the amplifier on a DC/LFI signal.
While there is no published specification on quiescent
power, it should be checked. A power draw with the
fan off or operating slowly will normally be less than
150 W (<1.5 A). If quiescent power greatly exceeds
expectation, then turn the amplifier off immediately and
search for power supply or output failure. If quiescent
draw exceeds expectation by a “small” amount, check
bias immediately.
Bias voltage is set while the amplifier is at room tem-
perature. If the amplifier is hot from prior testing for
repair or other purposes, it should be set aside until it
has cooled before continuing with this check. Bias,
once factory set, normally will not require adjustment.
For channel 1: Measure the voltage at TP38 with re-
spect to channel 1 positive output (DO NOT measure
from ground reference). The bias voltage should equal
0.31V ± 50 millivolts. If the bias voltage needs to be
adjusted, adjust R134 for the correct bias voltage. For
channel 2: Measure the voltage at TP39 with respect to
channel 2 positive output (DO NOT measure from
ground reference). The bias voltage should equal 0.31V
± 50 millivolts. If the bias voltage needs to be ad-
justed, adjust R234 for the correct bias voltage.
Set the sensitivity switch to the 26-dB position, check
that both level controls are full clockwise. Insert a 1.4V
1-kHz sine wave and measure 26.6V–29.4V at the out-
put of each channel. Set the sensitivity switch to the1.4V
position and measure 44.5V-49.2V at the output of each
channel for the CE 1000, and measure 53.7V-59.4V at
the output of each channel for the CE 2000.
1. Turn-on Delay No Signal
No Load
2. DC Output Offset No Signal
No Load
3. Quiescent Power No Signal
No Load
4. Bias No Signal
No Load
5. Sensitivity (Gain) 1-kHz Sine Wave
No Load
Maintenance 2-5