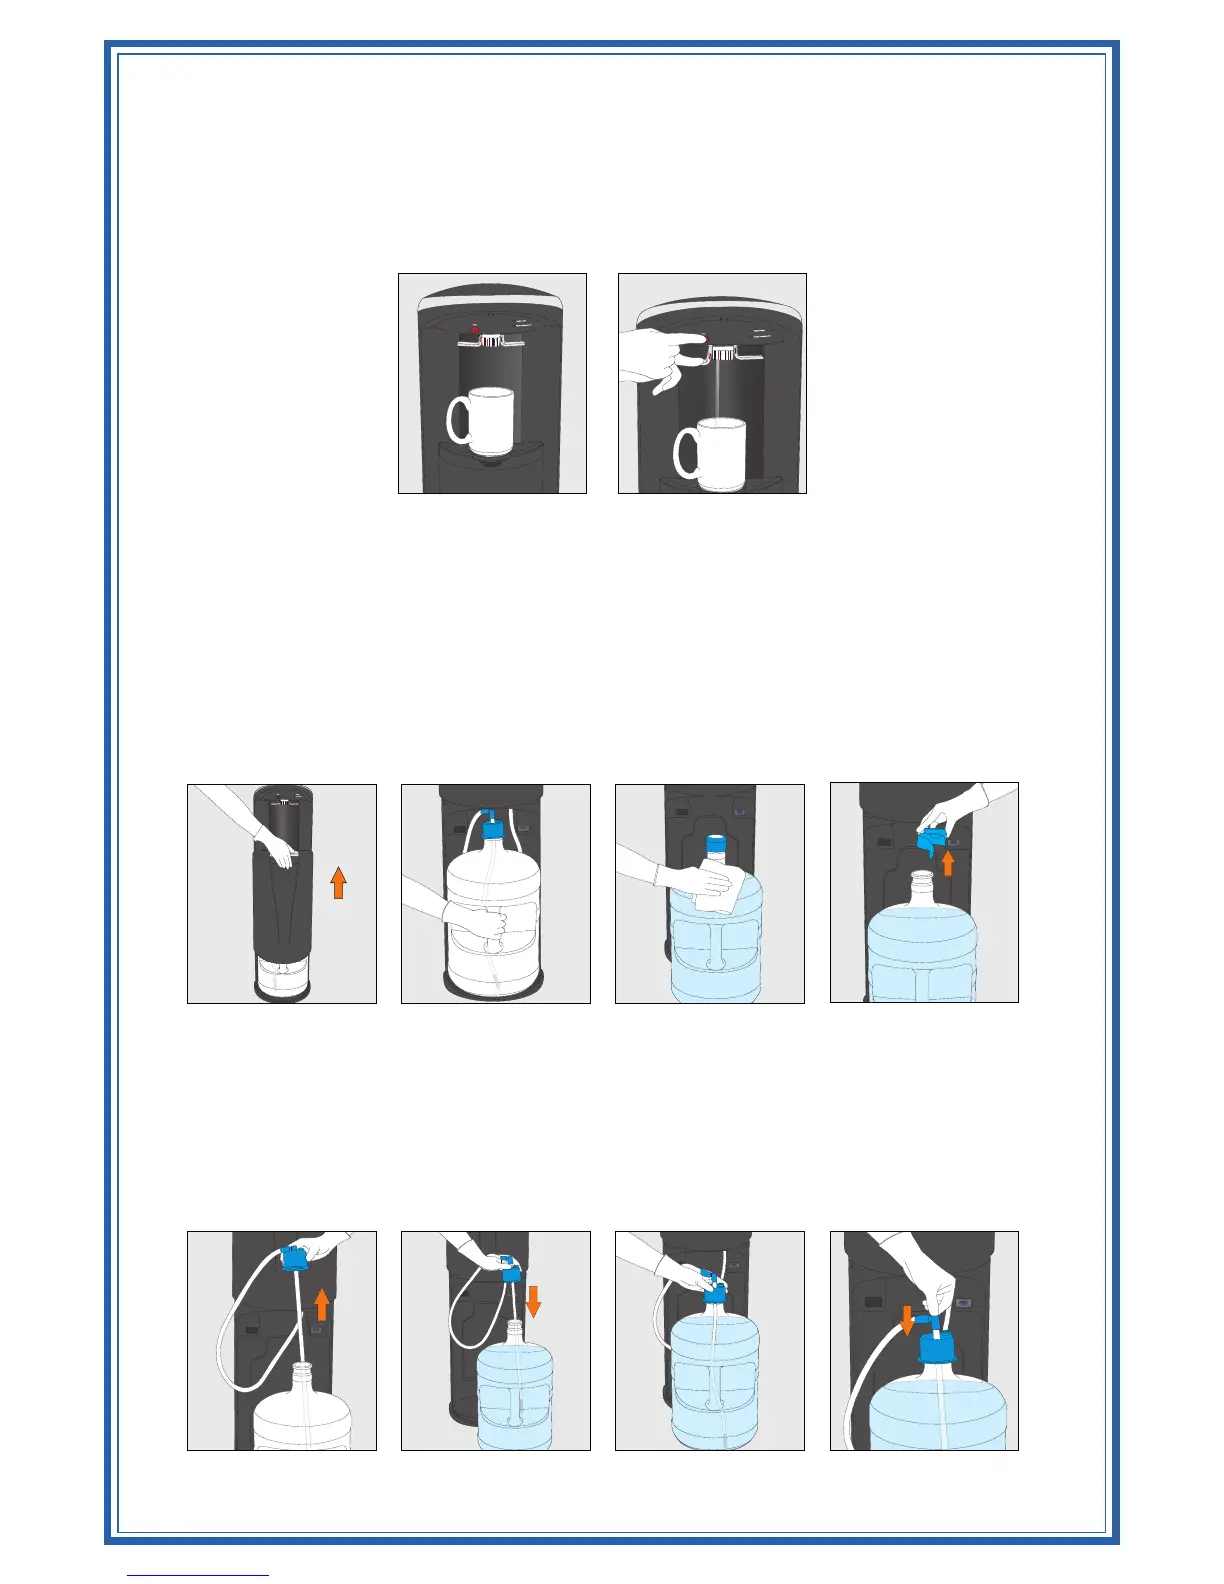
Figure 17 Figure 18 Figure 19 Figure 20
Figure 13 Figure 14 Figure 15 Figure 16
Optimum hot water temperatures will be reached after 15-20 minutes
1. Position bottle, glass or other container below water outlet (Figure 11)
2. Push the safety button in, and depress (push downwards) the hot water lever to start hot water flow RED
(Figure 12)
3. Release hot water lever once desired fill level is achieved
Bottle Change
A flashing light above the cold water lever will alert you when your water bottle is getting low. The Red
bottle will need to be replaced shortly. Water may be dispensed normally until empty (no water flows from
water outlet when levers are depressed)
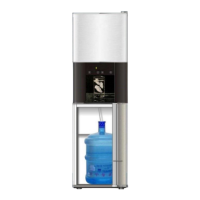
1. Open Dispenser door (Figure 13). (Slide door upwards to allow access to bottle area)
2. Slide empty bottle out of cabinet (Figure 14)
3. Place fresh bottle outside of the cabinet
4. Clean the outside of new bottle with a cloth (Figure 15)
5. Remove bottle cap completely from the top of the bottle (Figure 16)
6. Remove bottle adaptor from the empty bottle (Figure 17) and place directly into the top of the new, full
bottle (Figure 18)
Note: to maintain sanitization of the system, refrain from touching the section of the bottle adaptor tube
that is inserted into the bottle
7. Slide the bottle adaptor over the neck of the bottle and push down to secure (Figure 19)
8. Push probe down until the tube hits the bottom of bottle (Figure 20)
Figure 11 Figure 12