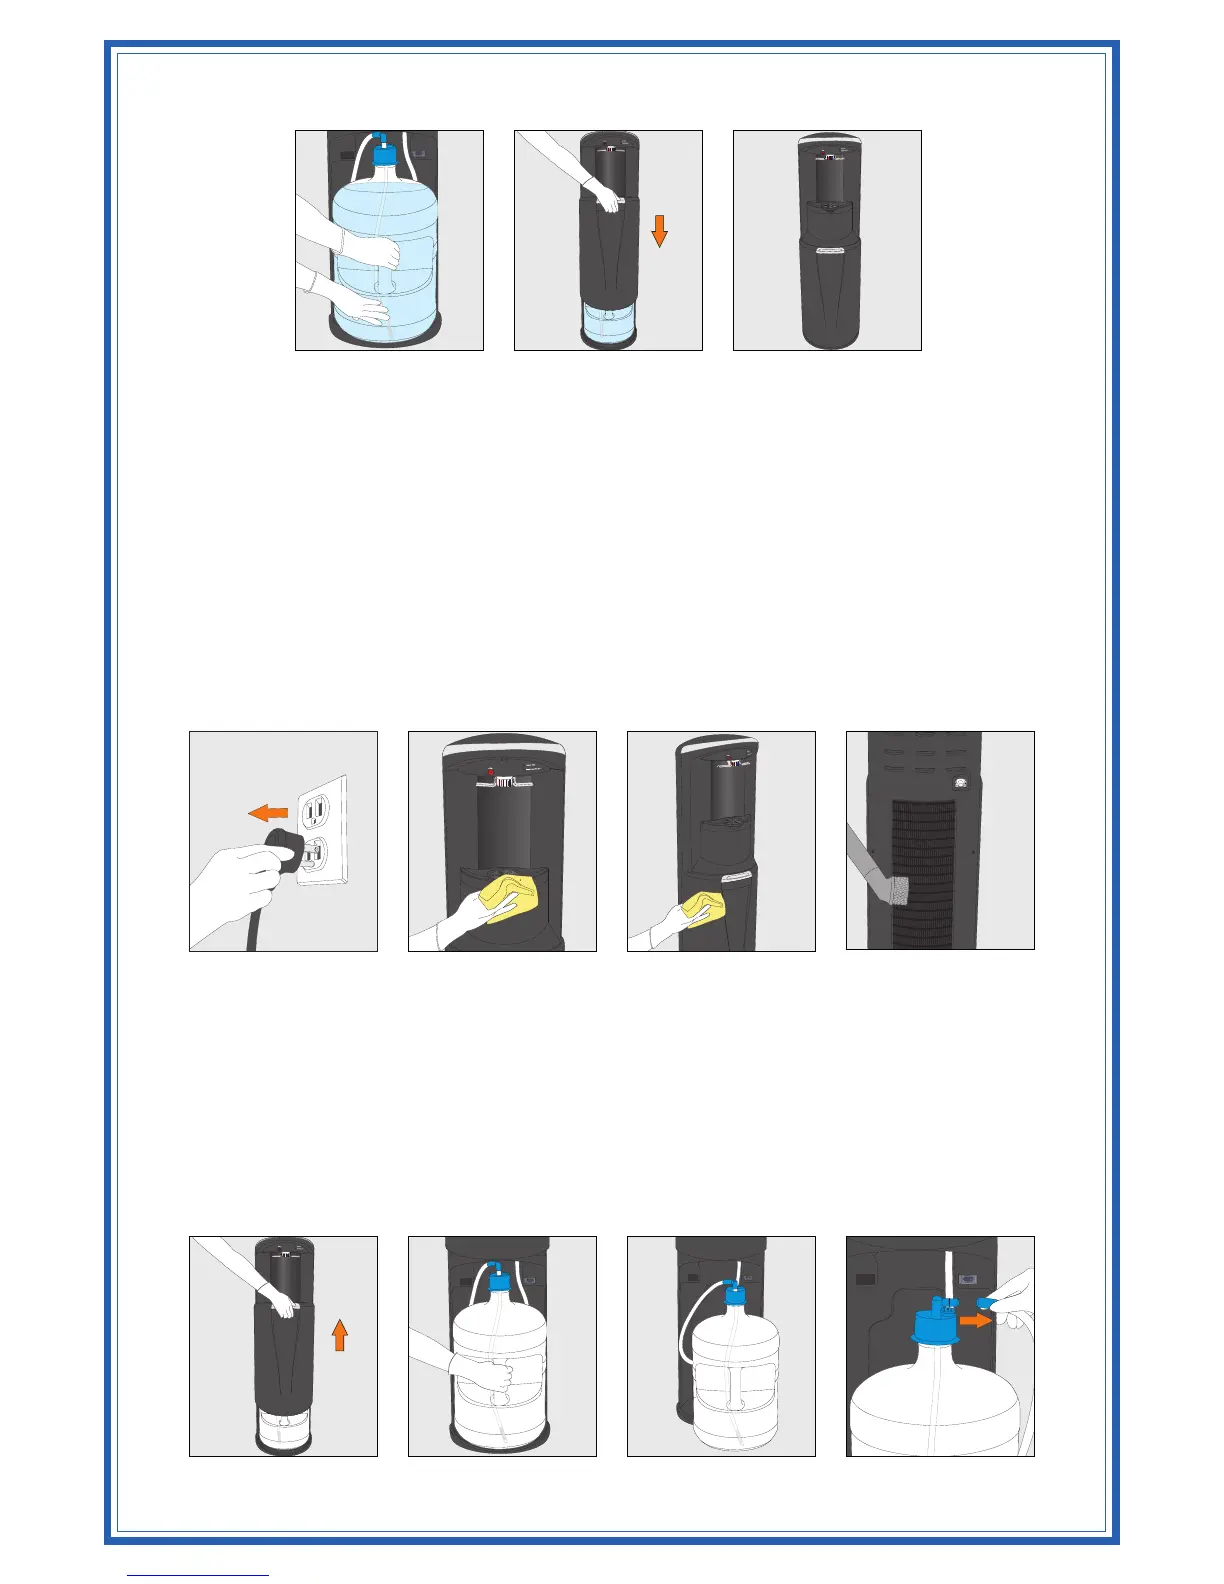
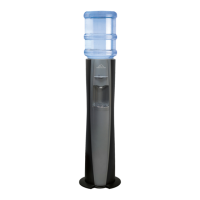
9. Slide bottle into cabinet and close the door (Figure 21 to Figure 23) (slide door downwards to close)
10. Place a container under faucet and dispense cold water until a smooth stream of water is dispensed (may
take up to 1 minute)
CLEANING
Do not immerse the unit in water for cleaning
External: Disconnect power supply cord (Figure 24), use only mild dishwashing liquid or cleaning
products and a soft cloth for cleaning the exterior surfaces (Figure 25 and Figure 26). USE bleach DO NOT
or abrasive cleaners. Use a vacuum cleaner to remove dirt and lint from the condenser (Figure 27). The unit
should be cleaned every 3 months, except where fingers touch the temperature selectors, which can be
wiped often with hygienic wipes or mild cleaning products.
Caution: Do not clean unit with a water jet device.
Ensure the following when cooler is to be serviced:
Turn off the Energy Saving Switch and disconnect power supply cord.
Replacement of SmartFlo SF-1 Water Cartridge
For the best quality and tasting water, it is recommended to change the SmartFlo SF-1 Water Cartridge
every 12 months. Follow the steps below to replace the SmartFlo SF-1 Water Cartridge. Recommend to
empty the bottle installed in the cooler prior to replacement of the SmartFlo SF-1 Water Cartridge and
Bottle Adaptor.
1. Open Dispenser Door (Figure 28). (Slide door upwards to allow access to bottle area)
2. Slide empty bottle out of cabinet (Figure 29 and Figure 30)
3. Disconnect the water line from the bottle adaptor (Figure 31)
4. Open the replacement SmartFlo SF-1 Water Cartridge kit, and remove the access key provided
Figure 28 Figure 29 Figure 30 Figure 31
Figure 21 Figure 22 Figure 23
Figure 24 Figure 25 Figure 26 Figure 27