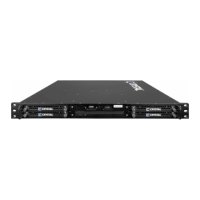
RS112 Rugged Server
EXPANSION/RISER CARD REMOVAL AND REPLACEMENT
Installing a plug-in expansion card requires an appropriate riser card. Contact a Crystal
Sales Representative or Technical Support if the system does not include a riser card.
Removing and Replacing the Plug-in Expansion/Riser Card
Disconnect power source to prevent injury.
Installing a plug-in expansion/riser card requires opening the RS112 cover; removing the
card cage; inserting the card into the motherboard; replacing the card cage; and
disconnecting and reconnecting the appropriate connectors.
Do not force the card. Forcing the card may result in equipment damage. If it does not
slide into place, check the alignment and try again.
Please reference Figure 6 on the next page.
Steps:
1.
Turn the unit OFF and disconnect the unit from the power source.
2.
Remove the chassis cover (see Removing the Cover on page 15).
3.
The card cage is retained by three screws, two from the rear of the unit and one at the
end of the retention bar. Locate and loosen. Carefully slide card cage forward and lift
from chassis.
4.
Remove the corresponding expansion slot filler bracket if installed or remove card.
5.
Align the expansion card with the appropriate slot and press the expansion card in firmly.
Set the plug-in cards into the riser card and attach using the pan head screws supplied
with the filler plate.
6.
With the expansion card in place within the slot, install the screw and tighten to hold the
card in place.
7.
Re-attach card cage assembly to chassis with the three screws.
8.
Attach appropriate connectors.
9.
Replace chassis cover.
RS112 Rugged Server User Guide Page 18 of 26