26
Charging
If the unit has not been put into use for an extended
period of time, charge the battery with an automotive-
type 12-volt charger for a minimum of one hour at six
amps.
WARNING: Batteries give off an explosive
gas while charging. Charge battery in a well
ventilated area and keep away from an open
flame or pilot light as on a water heater, space
heater, furnace, clothes dryer or other gas
appliances.
Fuse
A fuse is installed in your tractor’s wiring harness to
protect the tractor’s electrical system from damage
caused by excessive amperage.
If the electrical system does not function, or your
tractor’s engine will not crank, first check to be certain
that the fuse has not blown.
It can be found under the hood mounted behind the top
of the dash panel on the support bar. Pull the fuse out
and inspect it to determine if it is good or blown.
IMPORTANT:
Always use a fuse with the same
amperage capacity for replacement.
WARNING: Before servicing, repairing, or
inspecting, always disengage PTO, set
parking brake, stop engine and remove key to
prevent unintended starting.
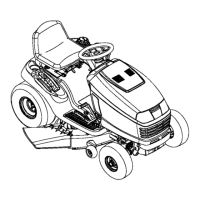
Cutting Deck Removal
To remove the cutting deck, proceed as follows:
• Place the PTO knob in the disengaged (OFF)
position and engage the parking brake.
• Lower the deck by moving the deck lift lever into the
bottom notch on the right fender.
• Remove the PTO belt from around the tractor’s
electric PTO clutch. Refer to Figure 28 or Figure 29.
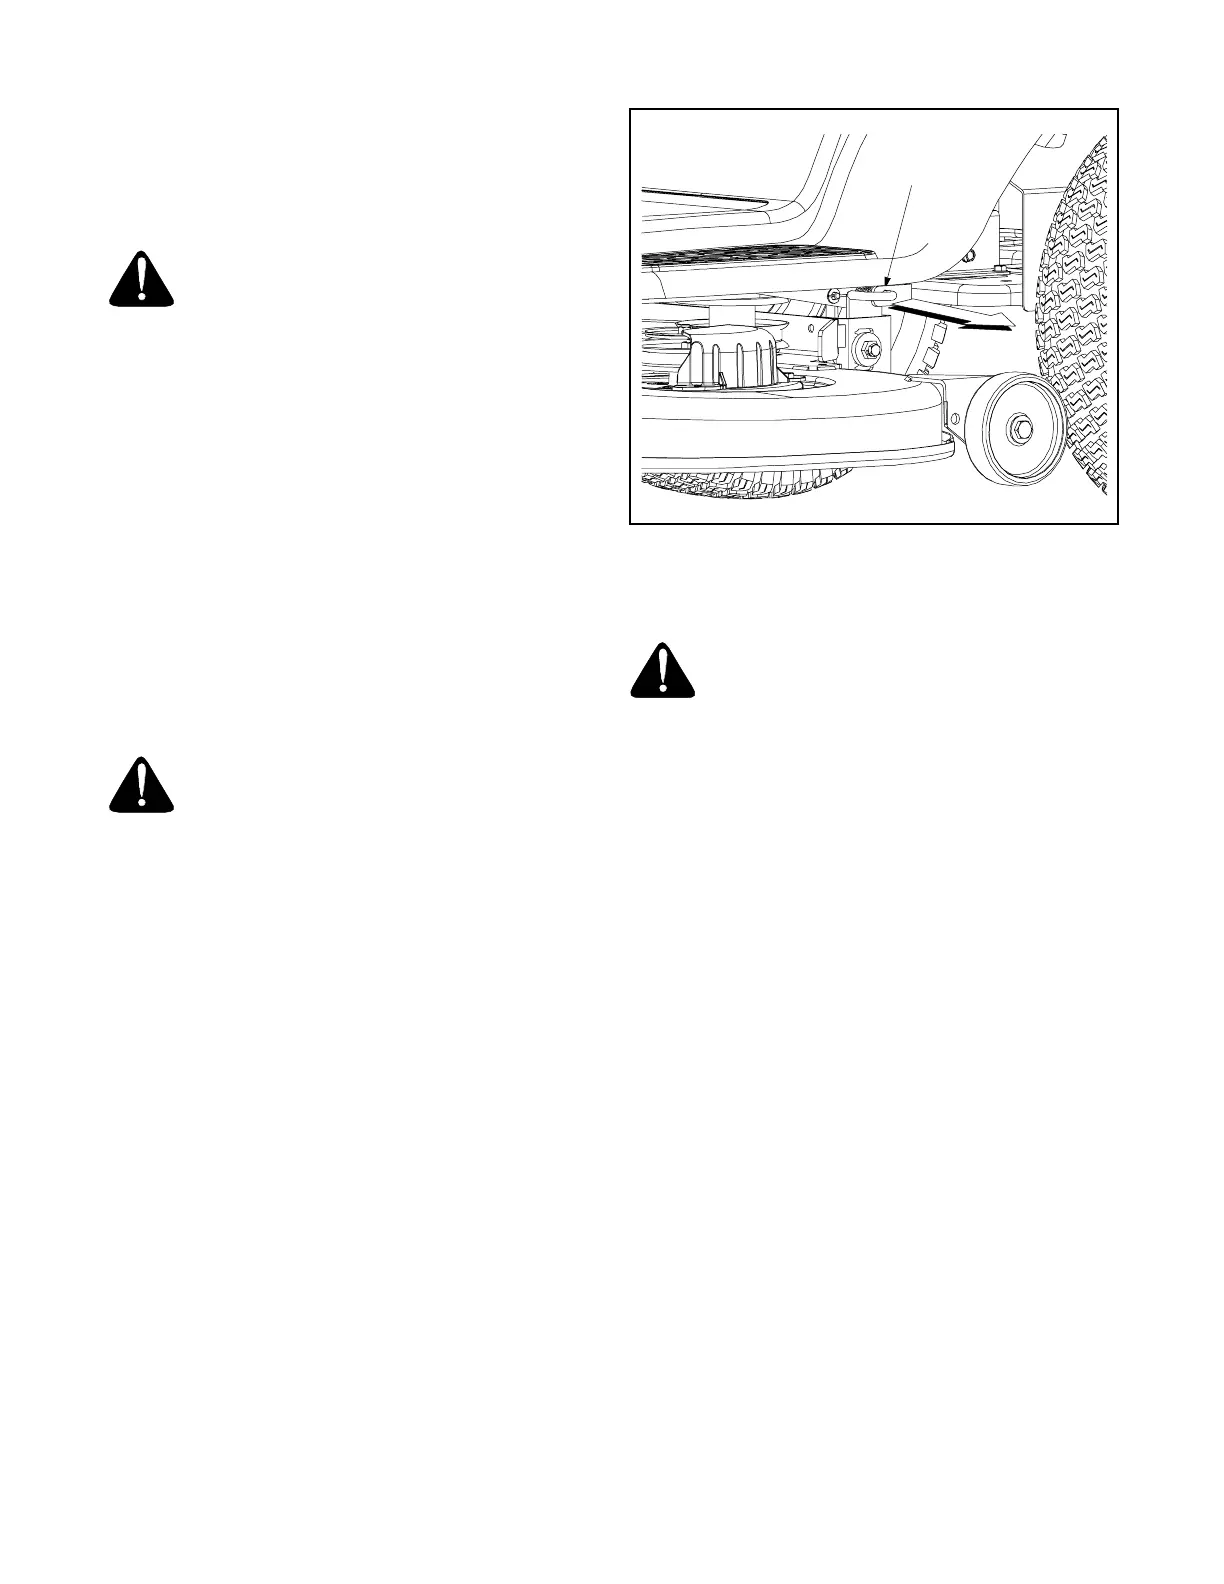
• Looking at the cutting deck from the left side of the
tractor, locate the deck support pin on the rear left
side of the deck.
• Rotate the pin slightly toward the rear of the tractor
and release the pin into the hole provided.
• Pull the deck support pin outward to release the
deck from the deck lift arm. See Figure 27.
• Repeat the above steps on the tractor’s right side.
• Move the deck lift lever into the top notch on the
right fender to raise the deck lift arms up and out of
the way.
• Gently slide the cutting deck toward the front of the
tractor allowing the hooks on the deck to release
themselves from the deck stabilizer rod.
• Gently slide the cutting deck (from the right side)
out from underneath the tractor.
Figure 27
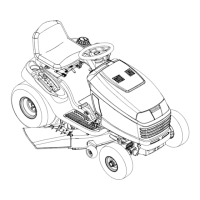
Changing the Deck Belt(s)
WARNING: Be sure to shut the engine off,
remove ignition key, disconnect the spark
plug wire(s) and ground against the engine to
prevent unintended starting before removing
the belt(s).
All belts on your tractor are subject to wear and should
be replaced if any signs of wear are present.
IMPORTANT:
The V-belts found on your tractor are
specially designed to engage and disengage safely. A
substitute (non-OEM) V-belt can be dangerous by not
disengaging completely. For a proper working machine,
use factory approved belts.
To change or replace the deck belts on your tractor,
proceed as follows:
• Lower the deck by moving the deck lift lever into the
bottom notch on the right fender.
• Remove the belt guards by removing the self-
tapping screws that fasten them to the deck. See
Figure 28 or Figure 29.
• Grasp the rearmost portion of the PTO idler bracket
and pivot it toward the discharge chute to relieve
tension on the PTO belt.
• Remove the PTO belt from the electric PTO clutch
and the PTO idler pulley(s).
• Grasp the deck idler pulley and pivot it toward the
left side of the deck to relieve tension on the deck
belt.
• Remove the deck belt from around all pulleys,
including the deck idler pulley.
• Route the new belts as shown in Figure 28 or
Figure 29.
• Remount the belt guards removed earlier.
Support Pin
 Loading...