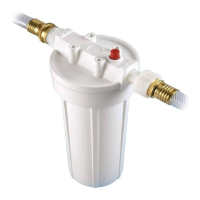
7. Alignfilterassemblywithendsofpipe,makingcertainthe
capopeningmarked"IN" isfacingyourincomingwater
supply.Itwillbenecessarytospreadendsof pipeapartto
installfilterassembly.Usingtwoadjustablewrenches,
holdincomingfittingsecurelywithonewrenchandtight-
ennutwithsecondwrench.Repeatprocessforoutgoing
fitting.
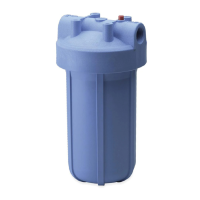
8. Turnonmainwatersupply.Slowlyturnhandleonhous-
ing1/4-turncounterclockwisetoallowsystemtofill with
water.Pressredpressure-reliefbuttonontopoffilterto
releasetrappedair.Checkforleaks,thenrotatehandle
fullyto"ON"position.Opennearestfaucetandflushfilter
cartridgefor15minutes.
i
Tienequealinearlaasambleadefiltroentre/aspuntas
delatuberfaasegurandosedequelaaberturadela
tapamarcada"IN"est6hacialaentradadel
abastecimientodeagua.Vahacernecesariosepararlas
puntasdelatuberfaparainstalarlaasambleadefiltro.
UsandodosIlavesajustables, agarreaseguradamente
elaccesorioentranteconunaIlaveyconlaotraapriete
latuerca.Repitaesteprocedimientoconelaccesoriode
salida.
Abraelabastecimientodeagua.kentamentegirela
manilad6ndole1/4devueltaene/sentidode/as
agulasdelrelojparapermitirqueelfiltrose//enecon
agua.Optimaelbot6ndealiviarlapresi6nencimade
latapapara@jarescaparelaireatrapado.Inspeccione
potgoteras.Despu6sgirelamanilacompletamente
hasta/aposicion"ON"(abierta).Abraelgrifom6scerca
ydejefluirelaguapot15minutos.
9.CAUTION:Ifwaterpipesareusedtogroundelectricalsys-
tems,appliancesorphones,becertaintoinstallajumper
wire.
9. PRECAUCION:siest6usandotuberfacomotomede
tierra,accesorio,o te/donos,asegF;resedeusarunhilo
Filter CurtrJc!lge
Rep|McemeRt
A. Turnwaterohcbyrotatinghandleontopofhousingin
clockwisedirection.
NOTE:Thiswillshutoffallwaterflowwithinthehouse-
hold.Depressredpressure-reliefbuttontorelievepres-
sure.Unscrewbottomofhousing.Discardusedcartridge.
Rinseouthousingandfill 1/3withwater.Add2 table-
spoonsofbleachandscrubwithnonabrasivebrushor
sponge.Rinsethoroughly.
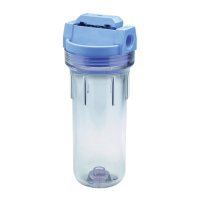
B. RemoveO-ringfromgrooveinhousingandwipeO-ring
andgrooveclean.LubricateO-ringwitha coatingofclean
siliconegrease.InsertO-ringbackintogrooveandsmooth
intoplacewithfinger.
NOTE:Thisstepisimportanttoensureproperhousing
seal.MakecertainO-ringisseatedlevelinthegroove.
Firmlyinsertnewcartridgeintohousing.Makecertainit
slipsoverthestandpipeatthebottomofthehousing.
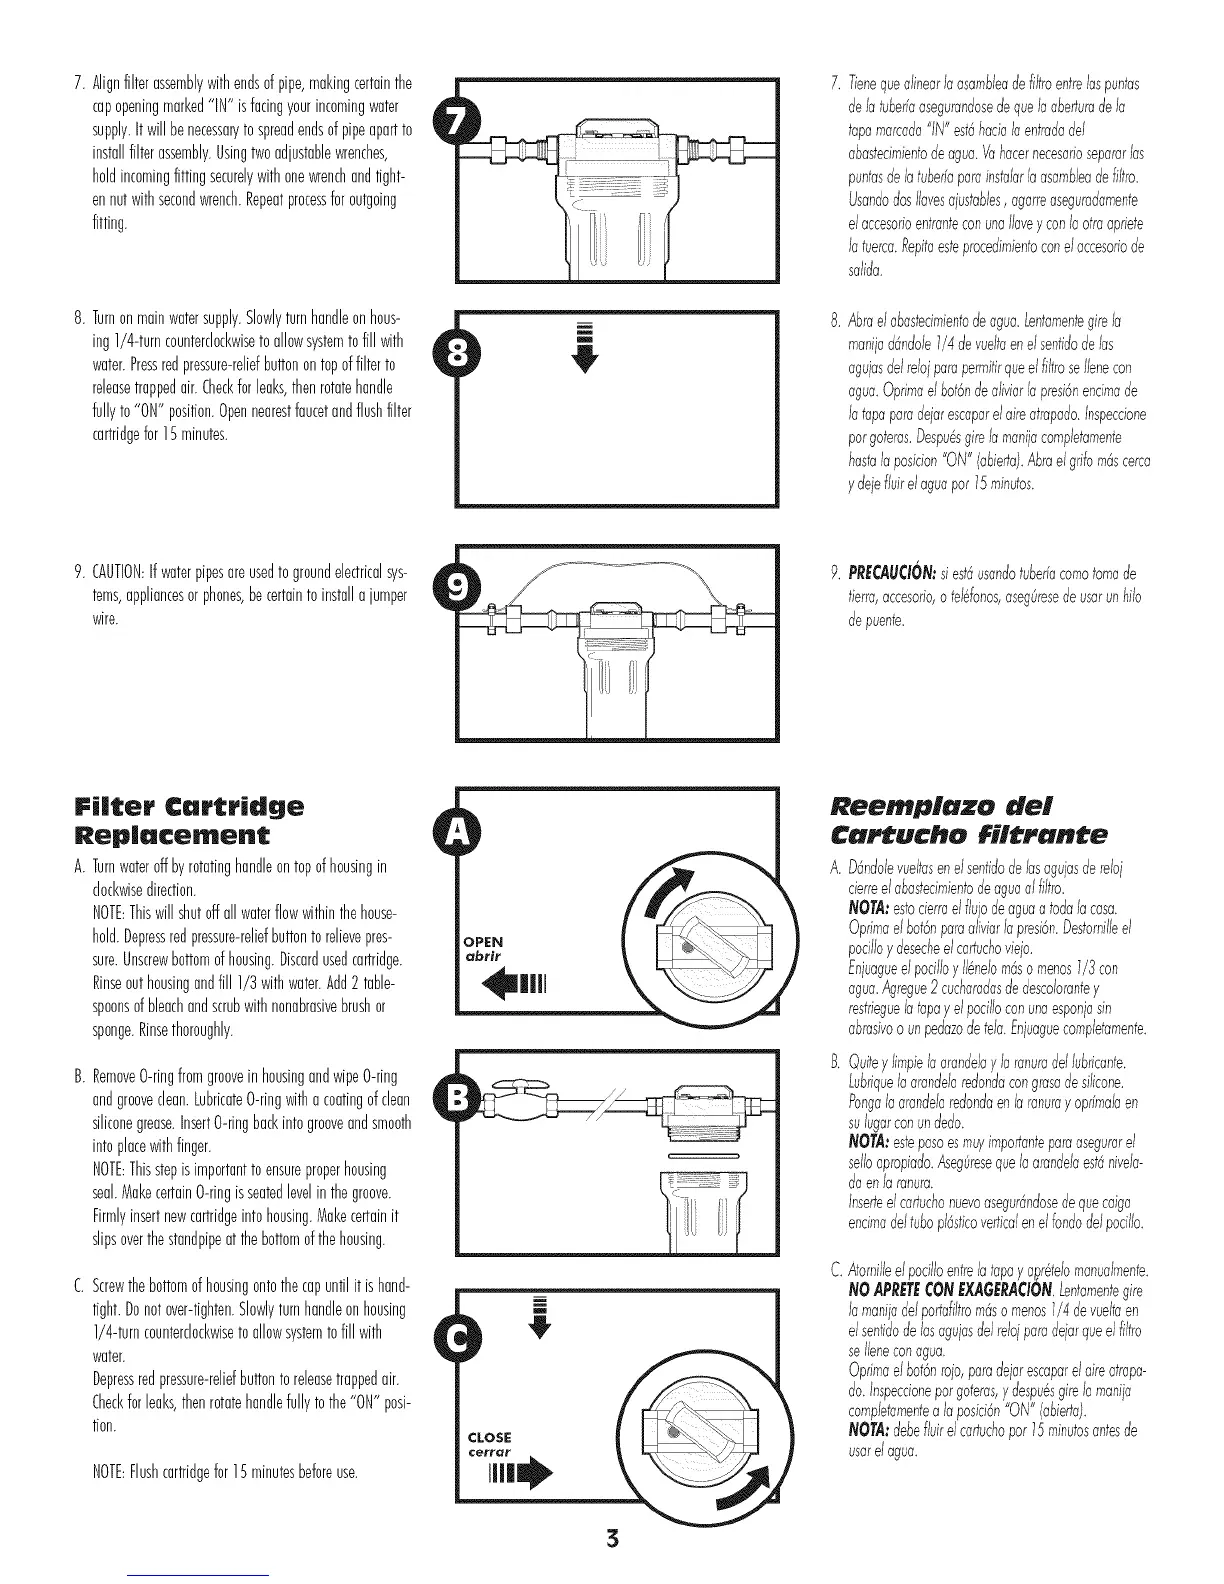
C.Screwthebottomofhousingontothecapuntilitishand-
tight.Donotover-tighten.Slowlyturnhandleonhousing
1/4-turncounterclockwisetoallowsystemtofill with
water.
Depressredpressure-reliefbuttonto releasetrappedair.
Checkforleaks,thenrotatehen@fullytothe"ON"posi-
tion.
NOTE:Flushcartridgefor15minutesbeforeuse.
i
CLOS_
Ree plazo del
Cartucho filtrante
A. D6ndolevueltasenelsentidode/asagujasdereloj
i cierreelabastecimientodeaguaalfiltro.
NOT&estocierraelflujodeaguaatoda/acasa.
Oprimaelbot6nparaaliviarlapresi6n.Destomilleel
pocilloydesecheelcartuchoviejo.
Enjuagueelpocilloy116nelom6so menos1/3con
agua.Agregue2cucharadasdedescolorantey
restrieguelatapayelpocilloconunaesponiasin
abrasivoounpedazodetela.Enjuaguecompletamente.
Quiteylimpielaarandelay laranuradellubricante.
kubriquelaarandelaredondacongrasadesilicone.
Pongalaarandelaredondaen/aranurayoprfmalaen
sulugarconundedo.
NOT&estepasoesmuyimportanteparaasegurarel
selloapropiado.Aseg/;resequelaarandelaest6nivela-
daen/aranura.
Inserteelcartuchonuevoasegu4ndosedequecaiga
encimadeltubopldsticoverticalene/rondode/pocillo.
Atornilleelpocilloentre/atapayapr#elomanualmente.
NOAPRETECONEXAGERACION.kentamentegire
lamaniladelportafiltrom6somenos1/4devueltaen
e/sentidodelasagulasde/relojparadejarqueelfiltro
seIleneconagua.
Optimaelbot6nrojo,paradejarescaparelaireatrapa-
do.Inspeccioneporgoteras,ydespu6sgirelamanila
completamentealaposici6n"ON"(abierta).
NOTA:debefluirelcartuchopot15minutosantesde
usarelagua.
 Loading...