Easy-Change Under-Sink Drinking Water Filter System
Installation and Operating Instructions
Model RV-EZ
Specifications
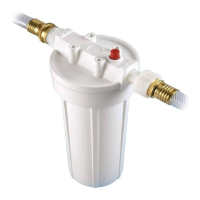
Parts Included:
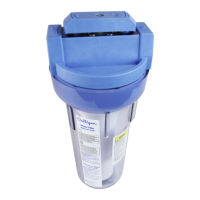
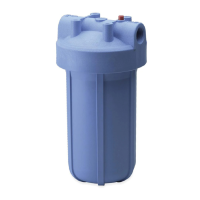
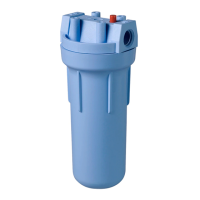
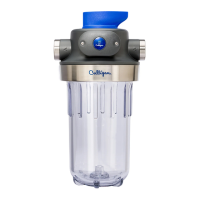
filter head with built-in bracket
filter cartridge
mounting screws
water supply adapter
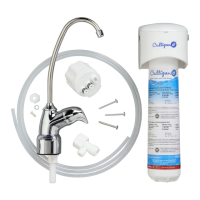
lead-free faucet and fittings
1⁄4-inch plastic tubing
bypass fitting kit (RV-BYP) for winterization
cartridge change reminder sticker
•
•
•
•
•
•
•
•
Precautions
Do not use with water that is microbiologically unsafe or of
unknown quality without adequate disinfection before or after the system. Systems
certified for cyst reduction may be used on disinfected waters that may contain
filterable cysts.
This filter must be protected from freezing, which can cause cracking of
the filter and water leakage.
Because of the product’s limited service life and to prevent costly
repairs or possible water damage, we strongly recommend that the head of the filter be
replaced every ten years. If the head of your filter has been in use for longer than this
period, it should be replaced immediately. Date the top of any new head to indicate the
next recommended replacement date.
Turn off water supply to head without cartridge if it must be left
unattended for an extended period of time.
NOTE:
For cold water use only.
Make certain that installation complies with all state and local laws and regulations.
The contaminants or other substances removed or reduced by the selected cartridge
are not necessarily in your water.
After prolonged periods of non-use (such as during a vacation) it is recommended
that the system be flushed thoroughly. Let water run for 10 minutes before using.
The filter cartridges used with this system have a limited service life. Changes in
taste, odor, and/or flow of the water being filtered indicate that the cartridge should
be replaced.
•
•
•
•
•
The RV-EZ-1 is tested and certified by NSF International to NSF/ANSI Standard 42 for
the aesthetic reduction of Chlorine Taste and Odor and Nominal Particulate Class III.
Tools Required
phillips screwdriver• adjustable wrench•
hand or electric drill (cordless recommended)• safety glasses•
utility knife (for plastic tubing)• Teflon
®
tape•
towel• center punch•
pencil• 1/4-inch & 9/16 or 5/8-inch drill bits•
tape measure• file•
Optional Materials
3" x 3" x 1/2" wood block•
1/8-inch drill bit•
CAUTION:
WARNING:
CAUTION:
CAUTION:
Range / Capacity Level 1 Level 3 Level 4
Pressure Range: 30 – 100 psi (2.1 – 6.9 bar)
Temperature Range: 40–100 ° F (4.4 – 37.7 ° C)
Rated Service Flow: 0.5 gpm (1.9 Lpm)
Filter Capacity: 3000 gallons (11,356 L) 500 gallons (1893 L)
Turbidity: 5 NTU max
The RV-EZ-4 is tested and certified by NSF International to NSF/ANSI Standard 42 for the
aesthetic reduction of Chlorine Taste and Odor, Chloramines and Nominal Particulate
Class 1. Standard 53 for the reduction of Cysts, Lead, Mercury, VOC, MTBE and Turbidity.
The RV-EZ-3 is tested and certified by NSF International to NSF/ANSI Standard 42 for
the aesthetic reduction of Chlorine Taste and Odor and Nominal Particulate Class 1.
Standard 53 for the reduction of Cysts, Turbidity, Lead, Lindane and Atrazine.
146155 Rev C 12/06