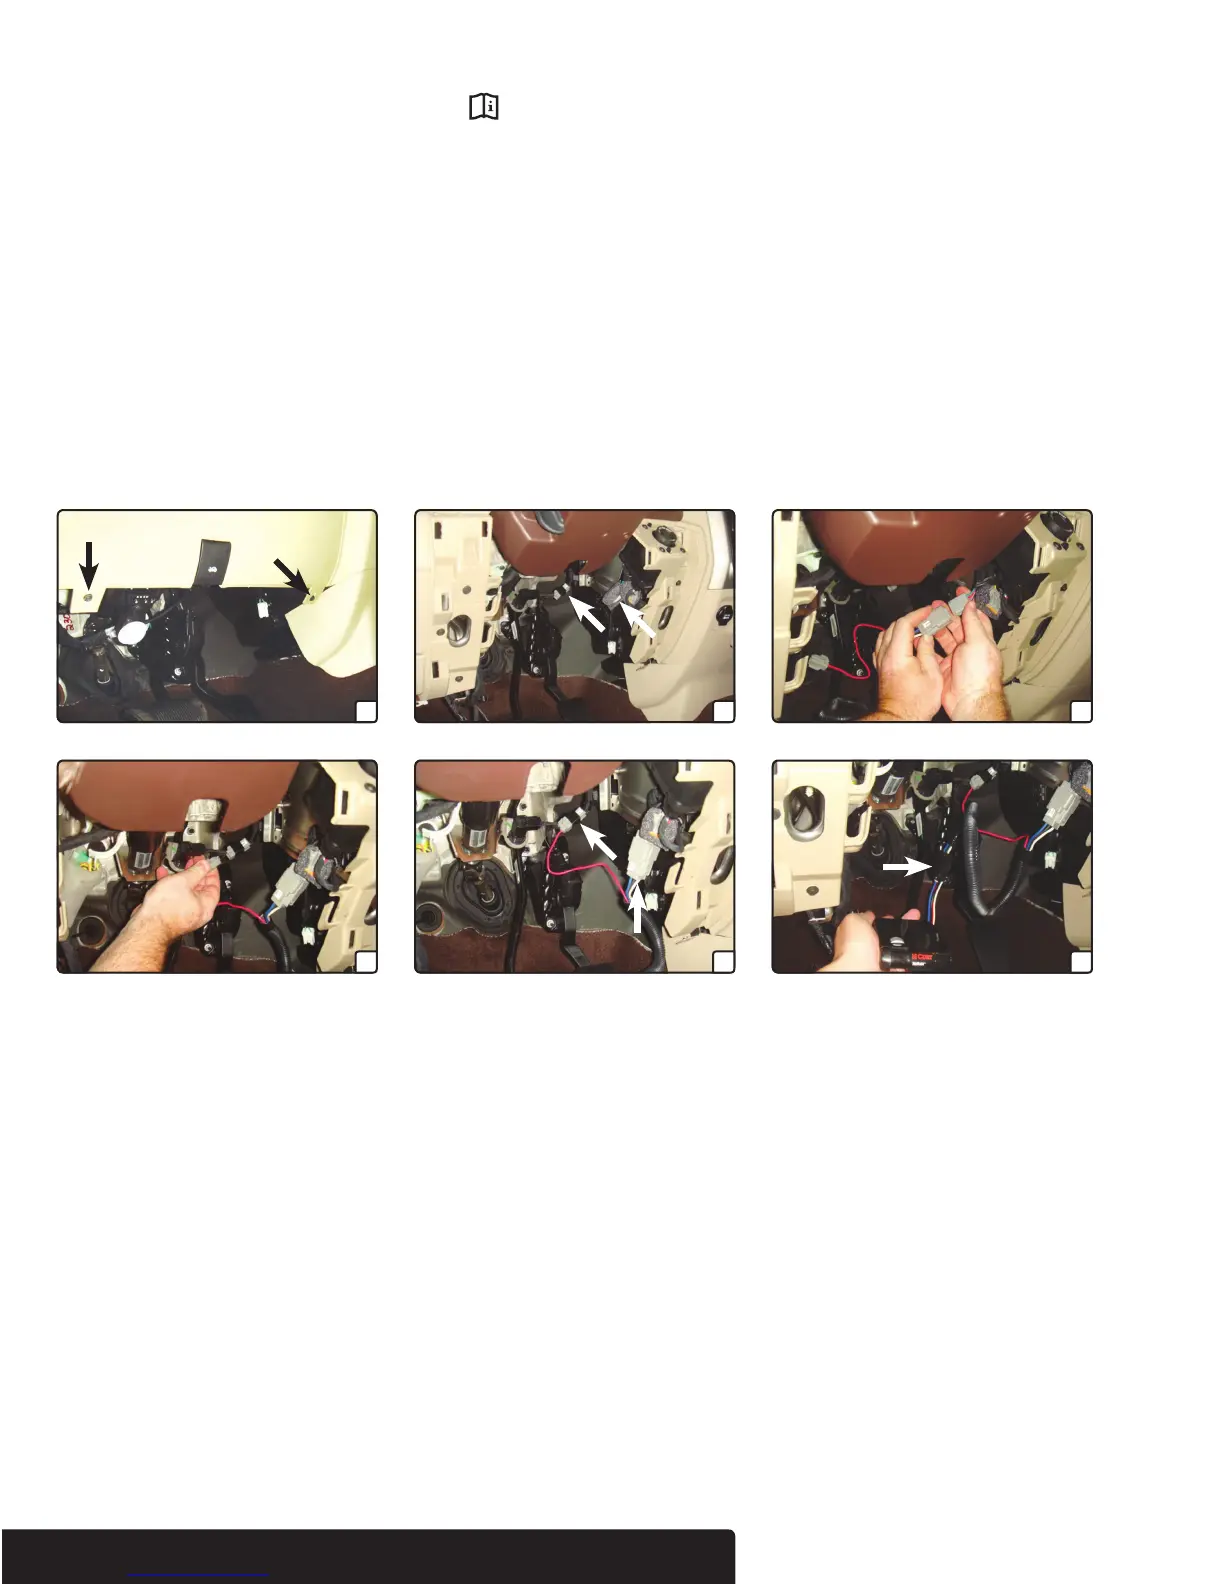
A B C
D E F
INSTALLATION
/
SAFETY INSTRUCTIONS
Step 1
Open the driver-side door and remove the two screws securing
the lower dash panel (A). Remove the lower dash panel by pulling
outwards.
Step 2
Locate the 2-pin and 4-pin vehicle brake control harness
connectors under the dash, above the gas pedal. There will be
two different size connectors wrapped in foam and taped to
other wiring (B).
Step 3
Remove tape and protective cover from both connectors. Take
care not to damage the locking tabs. The larger vehicle connector
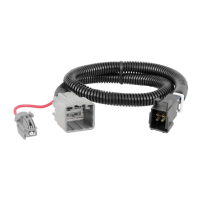
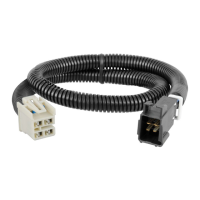
will be similar to that on the CURT brake control harness.
Step 4
Insert the 2-pin and 4-pin connectors on the CURT brake
control harness into the vehicle connectors (C,D). Make sure
the connector is fully inserted with locking tabs in place (E).
Step 5
Route the brake control harness along the back of the dash and
out the bottom to the brake control unit. Insert the brake control
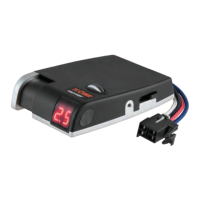
harness's black connector into the brake control's quick plug
connector. Secure the brake control harness with the provided
cable ties, avoiding any pinch points.
Step 6
Complete the installation using the brake control instructions.
Mount the unit as directed and perform test procedures as
instructed in the brake control user manual.
CURTMFG.COM • NEED ASSISTANCE? • 1.800.798.0813 • 51453-INS-RA • PAGE 2



 To Previous Page