OPERATING INSTRUCTIONS OI11
Brewing Instructions
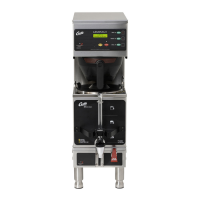
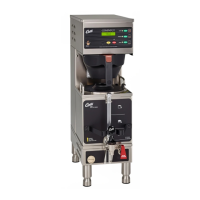
The G4 ThermoPro Brewer is factory preset for optimal performance.
G4TP2, OPERATING INSTRUCTIONS 011917NC
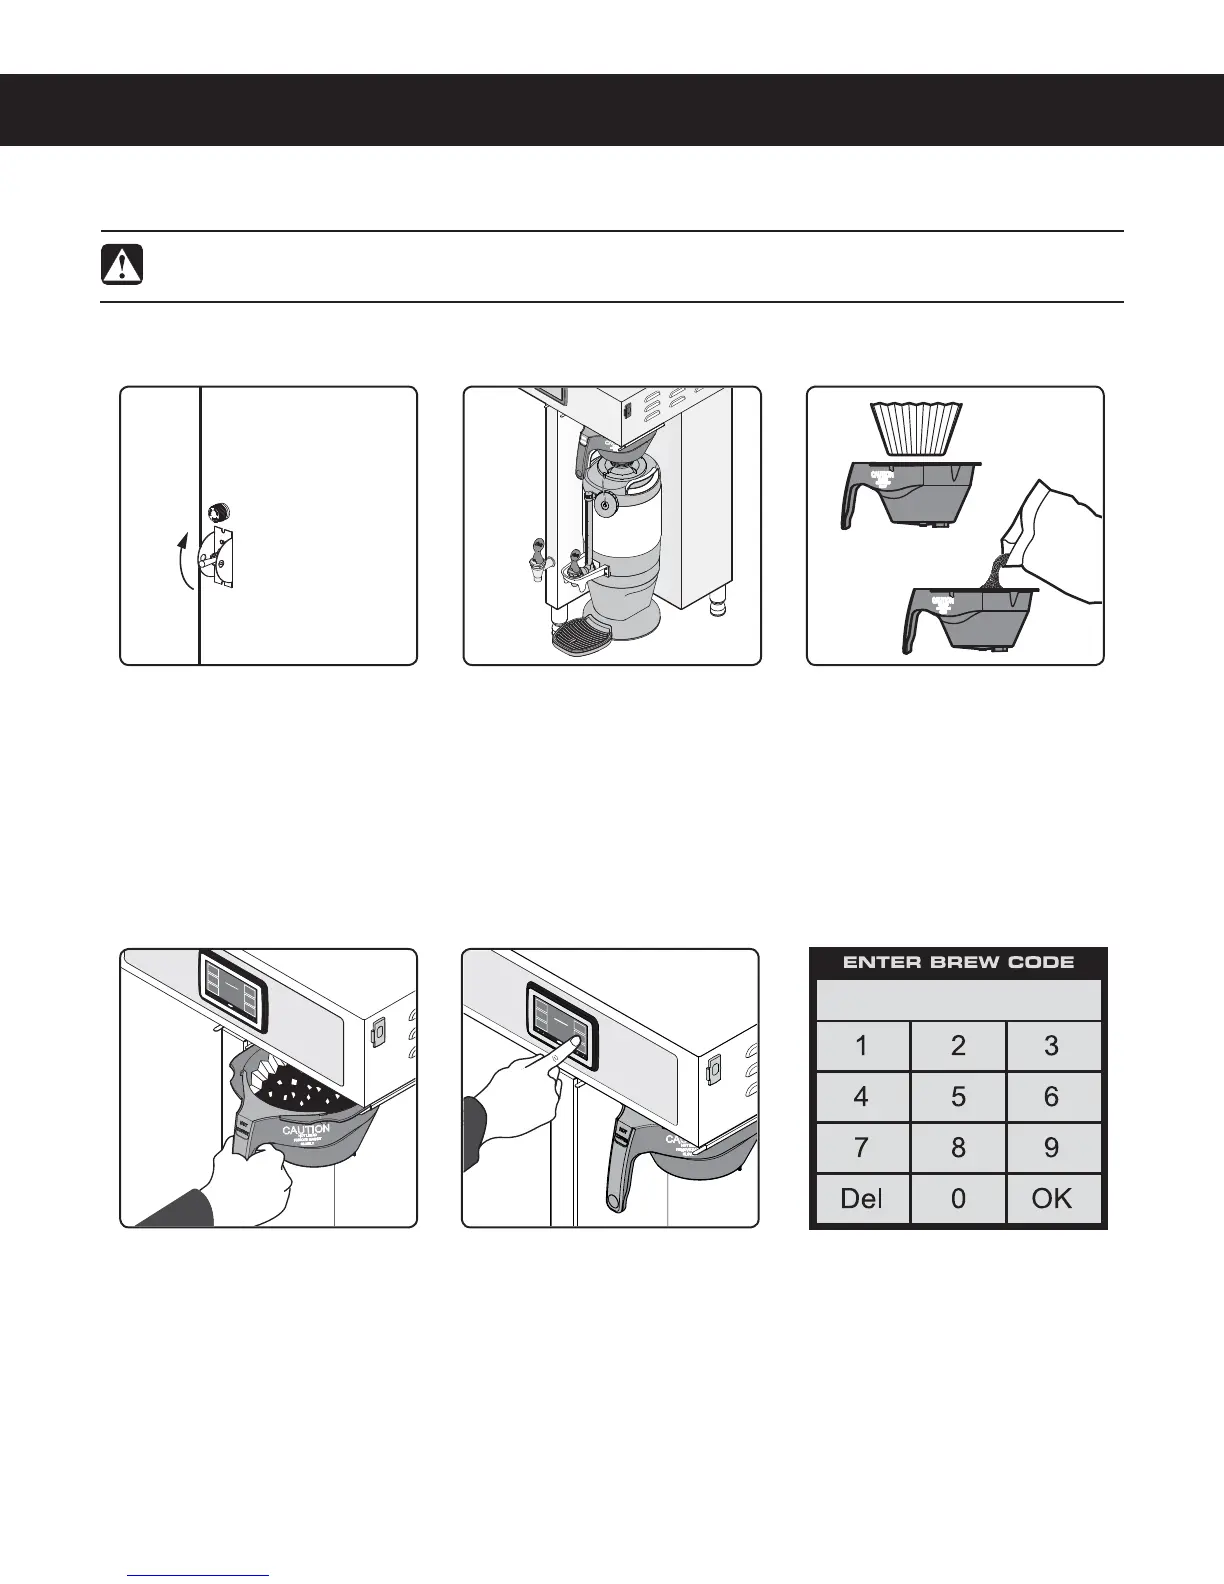
2 Center an empty dispenser
under the brew basket.
3 *OTFSUBDMFBOQBQFSmMUFS
into the brew basket. Fill with
the proper amount of ground
coffee. Level the coffee in the
mMUFS
4 4MJEFUIFmMMFECSFXCBTLFU
into the brew rails under the
control panel. Slide it all the
way back until it stops.
5 )PMEZPVSmOHFSPOUIF
appropriate brew icon. As
soon as you hear the click
of the brew valve, lift your
mOHFS#SFXJOHXJMMCFHJO
The brewer will brew coffee based on the settings programmed into the universal control module (UCM). To
change the settings, see the PROGRAMMING GUIDE section.
1 The brewer should be ON.
$POmSNUIJTBUUIFSFBSUPHHMF
switch. “Ready to brew”
should be on the display. If
the brewer is connected to an
inter-lock grinder, the grinder
should be on. When inter-lock
connection is made, grind
coffee at this time.
WARNING - TO AVOID SCALDING, AVOID SPLASHING. Keep body parts clear of the brewer during
CSFXJOH%POPUSFNPWFUIFCSFXCBTLFUXIJMFi#SFXJOHwBQQFBSTPOUIFEJTQMBZ
6 If a keypad appears on
the display, the brew code
feature is enabled (default
is off). Brewing will start
immediately after you enter
the brew code. See the
PROGRAMMING GUIDE to
set up/disable the brew code.
Back of brewer
 Loading...