11
x
y
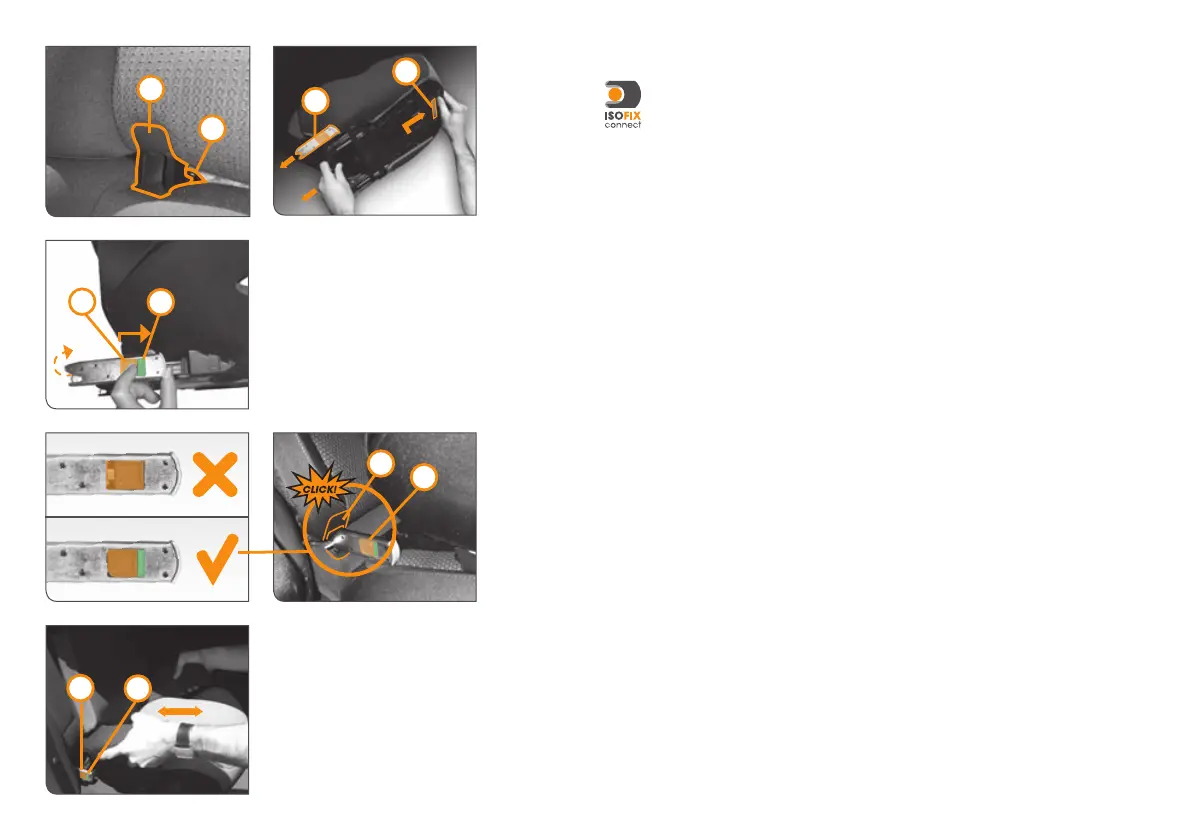
Activate the handle (v) on the underside of the child seat.
Pull out the ISOFIX connectors (w) as far as possible.
Turn the connectors 180°, so that they show in the direction of the ISOFIX
GUIDES (u).
NOTE! TAKE CARE THAT THE TWO GREEN SAFETY INDICATORS (x)
ON THE ISOFIX CONNECTORS (w) ARE NOT VISIBLE. IF NECESSARY,
RELEASE THE CONNECTORS (w) BY PRESSING AND PULLING BACK THE
RED RELEASE BUTTON (y). REPEAT THE PROCESS AS APPROPRIATE FOR
THE SECOND CONNECTOR
Push the two ISOFIX connectors (w) into the GUIDES (u) until they lock into
place on the anchorage points (i) with an audible „CLICK“.
The green safety indicator (x) must be clearly visible on both red release
buttons (y).
You can now use the handle (v) on the underside of the child seat to adjust
the position of the seat.
NOTE! PLEASE REFER TO THE SECTION „PLACING THE CHILD SEAT IN
THE CAR“.
You can now secure your child in the child seat; see „SECURING THE CHILD“
in both anchorage points. In many cars it is more effective to install the ISOFIX
guides (u) in an opposing direction.
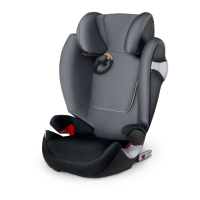
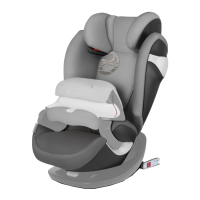
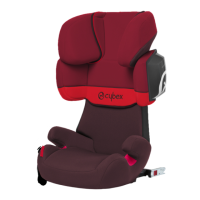
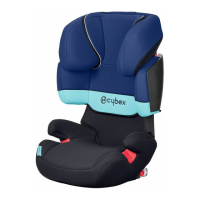
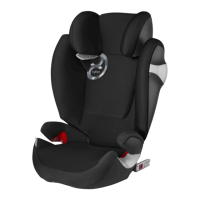
INSTINSTALLATION OF THE CHILD SEAT WITH ISOFIX
CONNECT SYSTEM
With the ISOFIX CONNECT System you can secure the child seat safely
in the car and thus make your child safer. Your child is further protected by
the security of your car‘s three-point automatic seat belt.
NOTE! THE ISOFIX ANCHORAGE POINTS (i) ARE TWO METAL RINGS
PER SEAT AND ARE LOCATED BETWEEN THE BACKREST AND THE
SEAT OF THE CAR. IF YOU ARE IN ANY DOUBT, CONSULT YOUR CAR’S
INSTRUCTION MANUAL FOR ASSISTANCE.
u
w
x
y
u
w
v
i